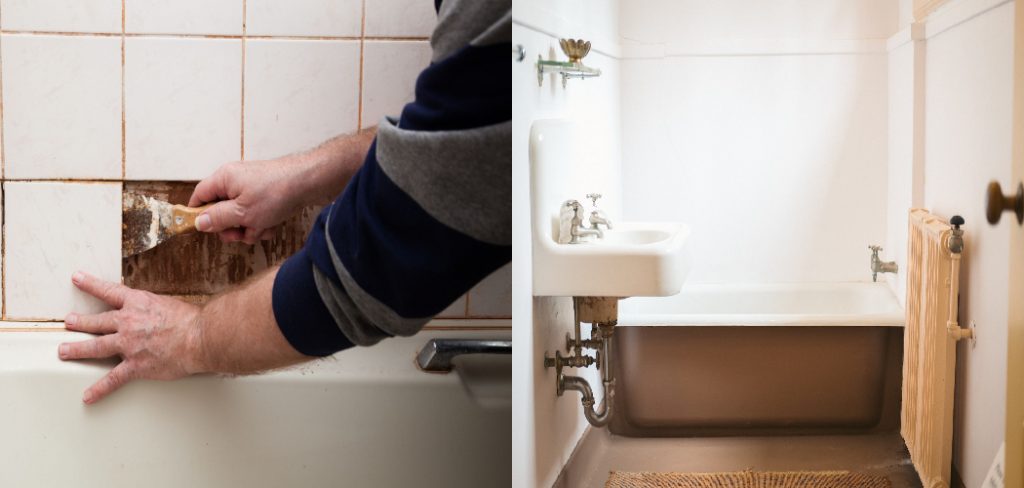
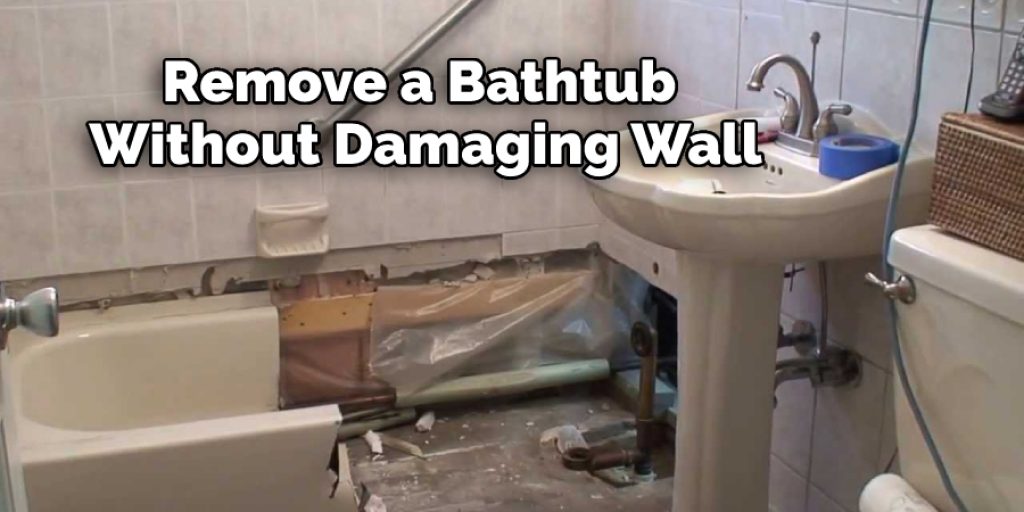
How to Remove a Bathtub Without Damaging Tiles
Once you get down due to it, once you eliminate a tub, one action led to the next. It’s a complicated job to replace an old bathtub with a fresh one. Many of the tiles on the floors throughout demolition would get harmed. When the older tub is widely available, the task will be able to go soon.
Whenever you need to open a wall to replace the second tub and place the current tub, it is even more complicated. You’ll want a friend to push the older tub over and put it into the fresh one. You may need to get a skilled contractor attaching to the tub. On this page, check the fundamentals of changing an older bath — or a “change-out,” as the experts know.
Remove old tub
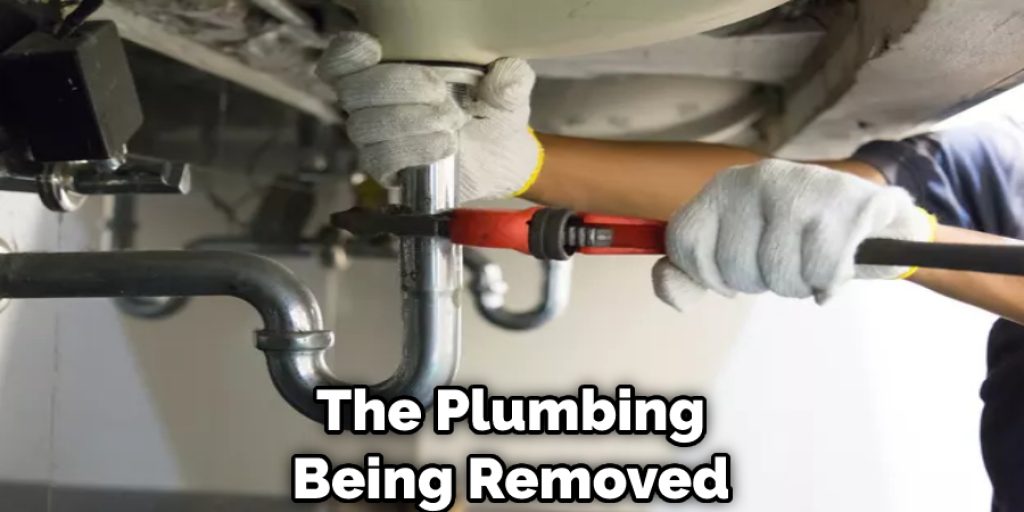
Perhaps your new bath is placed between two partitions, with the water taps and the shower base on those partitions. The plumbing must be removed, and then the tub must be lifted right out. When that doesn’t function, you may need to eliminate a portion of the wall, cut down the plumbing, and pull the tub from the wall.
Your new bathtub is probably placed between two walls, with the water taps and shower base on those walls. In order to remove the tub, the plumbing must be removed first. If that doesn’t work, you may need to remove a part of the wall, cut down the plumbing, and then pull the tub from the wall.
Your tub should be stand-alone, allowing you direct access to the fixtures and tubing. Removal is merely a function of the plumbing being removed and the pipe being lifted. To make space, detach the toilets and flushed tank or lavatory (or raise the bath over such fittings).
• There could be an entry board at the rear end of the bathtub’s drainage wall. Then no, drywall, paste and clay tiles, or flooring would most probably complete this section. Erase the external wall connection board so that the plumbing is visible. Select the connection on the drywall and function from there. It will help to find the frame and the pipes.
• To turn off the water to your shower, you will need to first turn off the water at the primary water cut-off pipe to your house. Then, turn on the nozzle of your shower to remove any water left behind in the plumbing.
• Detach the drainage from the bath that used a complete, flexible knob or Channel-lock screw. Then remove the slip bolt attaching the spare tube flowing from the drainage pipe to the bathtub. Disable the bath drain strainer if required that will free the drainage pipe underneath it.
• Unplug of the wall (like tile) from inside the shower. There’s enough in one pattern sequence. For all of this, choose a hammer and cold drill bit, and use safety eyewear to shield the eyes from thrown objects.
• There’s a chance your new bath is placed between two partitions, with the water taps and shower base on those partitions. If that’s the case, you’ll need to remove the plumbing and lift the tub out. If that doesn’t work, you may need to take out a section of the wall, cut down the plumbing, and pull the tub from the wall.
• Hoping you would shift the tub right out of the ground. When you didn’t knock the bath out from the rear wall, it will have to be in the pipes. The valves need to be shortened and sealed appropriately. When the valves are plastic or metal, you may cut them before the tub starts with a tool.When the valves are reinforced steel, you can likely break them at the connection.
To do so, use pipe screwdrivers. One tool is mounted on the cap and the other on the tubing. As mentioned before, thrown aside skids for the bath or have a buddy support you in draining the pool. Whenever the pool is down, with the help of assistance, you can pick it and move it.

The process of putting the new tub is essentially the opposite of removing the existing one. We’ll presume that the current tub is around the same width as the previous one, so the plumbing and fitting can match appropriately. If not, the plumbing would need to be changed before it can be put in to accommodate the new bath. Review the layers on the wall too.
10 Easy Ways on How to Remove a Bathtub Without Damaging Tiles:
1. Get a Disposable Bathtub:
An easy way to remove a bathtub without damaging tiles is to replace the tub with a “disposable” bathtub that can be easily inserted into or removed from the space. These are available at home improvement stores and only require you to cut out one section of your tile wall (and replace it when finished).
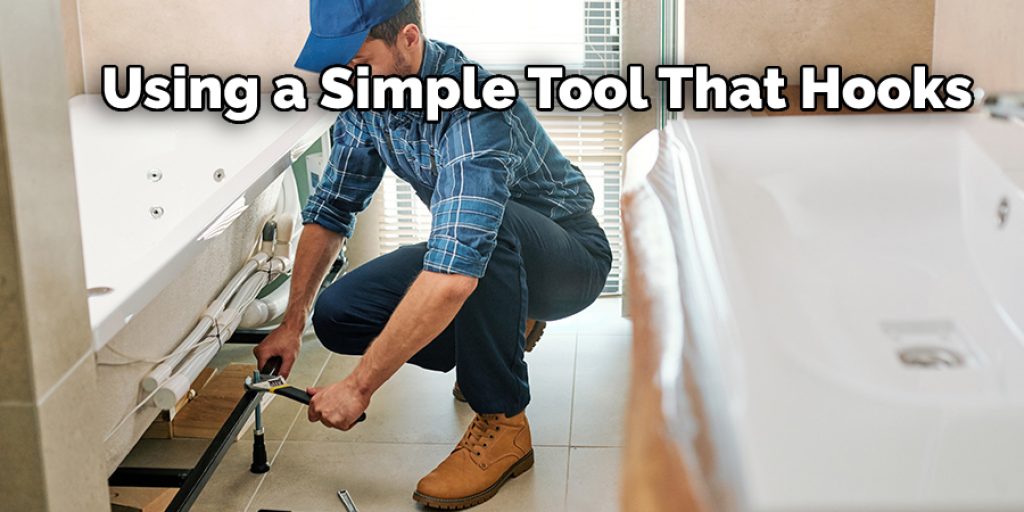
Tubs can be easily removed with a simple tool that hooks into the lip of the tub. You can also get them with “wheels” on one end, so you don’t have to pick them up.
2. Carpet Removal Tool:
Another way to remove a bathtub without damaging tiles is by using a carpet removal tool that you can rent from your local hardware store or home improvement retailer. A crack and crevice tool works well with most standard tubs. If the lip of your tub is too wide for the carpets removal tool, you can widen it using a grinder with a diamond blade. Be sure to keep the power cord away from water as you work.
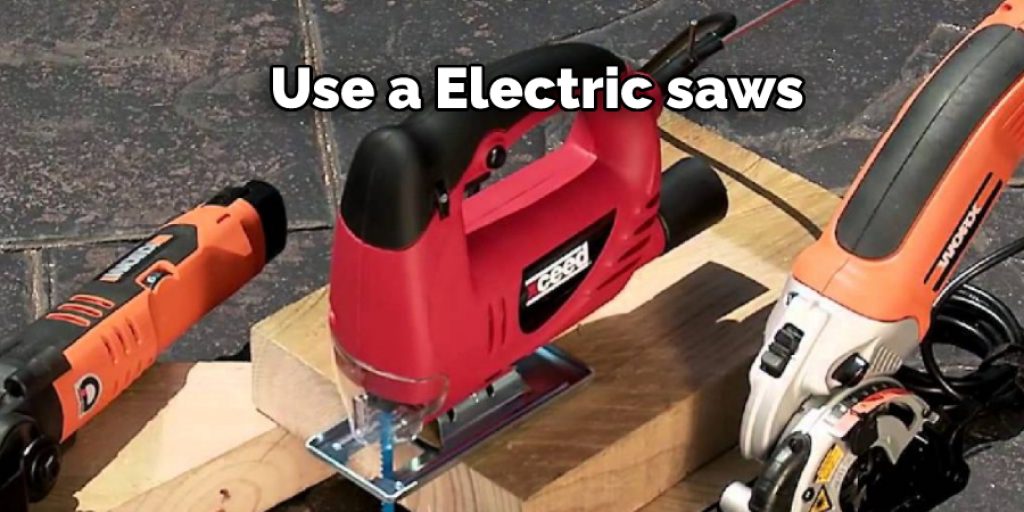
3. Electric Saws:
Electric saws are a good option for removing a bathtub without damaging tiles. The best saws for this task are a saber saw, circular saw, or reciprocating saw. These saws can grind through porcelain and metal fixtures with ease. Be sure to wear eye protection while using electric tools in the bathroom and work gloves to protect your hands from sparks.
4. Using Blow Torch:
There are a few ways to remove a bathtub without damaging tiles. One is using a blow torch. This method should only be used on porcelain fixtures as the torch will most likely burn through metal and drywall. Always use eye protection when using a blow torch, and consider having someone nearby in case of an emergency.
5. Cut Out the Tub Surround:
If you need to remove a bathtub but don’t want to damage the tiles, you can cut out the surround on the wall. This requires some skill and a circular saw with a diamond blade, but it can be done. Be very careful when working around electrical wires and pipes.
6. Using a Sledgehammer:
If you want to remove a bathtub without damaging tiles, it is not advisable to do it by breaking the tub into pieces. You should wear eye protection and cover the surrounding walls with plastic sheeting or tarps. Place rags around the pipes to catch any debris that falls.
7. Cover Tiles with Plastic Sheeting:
If your bathroom tiles are in good condition, you can remove the bathtub without damaging them by covering the walls with clear plastic sheeting. Use duct tape to hold the sheeting down, and be sure to wear work gloves when handling the sheeting to avoid injury.
8. Cutting Tile Out with Grinder:
This method is similar to cutting out the surround on the wall. Cut around the edges of the tile with an angle grinder (or another type of saw) and replace them with new tiles when you are finished. This is a less common option, but it can be done in certain cases.
9. No Impact Method:
If you do not want to damage your walls, floors, or countertops when removing a bathtub, you may want to try the “no impact” method. This way to remove a bathtub without damaging tiles simply requires you to cut out the caulking around the tub with a knife and then use pliers or another tool to pull it away from the floor.
You can then safely slide the tub back, leaving the tiles intact. If the tub has a drain, you will need to cut out the surrounding caulking and pull up on the tub flange before removing it.
10. Remove the Overflow Plate:
If your tub does not have a drain, you will need to remove the overflow plate before pulling the tub out. Removing a bathtub without damaging tiles requires removing screws and taking down the plate. Once this is done, you can slide the tub back toward the wall enough for it to be safely removed. If there are any tiles in the way, you can then cut them out with a wet saw.
Some Helpful Tips and Suggestions:
- If you will remove your bathtub, make sure that you have drained all of the water from it.
- A grab bar on each side of the bathtub will give you a little extra security and make it easier on yourself if you need to re-install a new tub later.
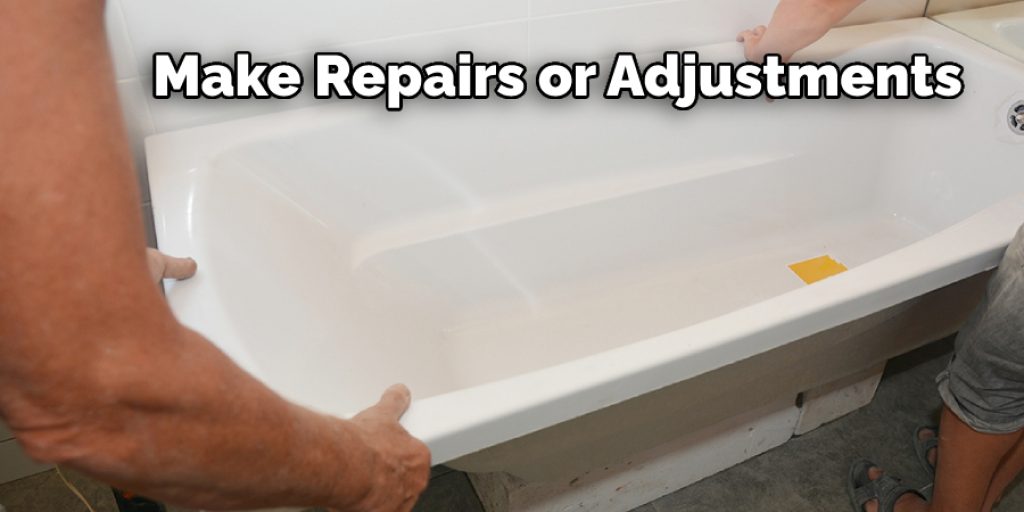
- Depending on your bathtub, it may be easier to remove tile from the bottom of the wall (just next to the tub) up. This makes it possible for you to make any necessary repairs or adjustments to the subfloor without having too much trouble.
- A pry bar should also be very handy when removing your bathtub.
- Leave the drain in place until you are ready to replace your tub. The last thing you want is for moisture to start pooling, making it possible for mold to develop.
- When removing tile, remember that it comes off much easier if you score or cut through the grout lines.
- Make sure you have the right tools for the job. For example, if you will be working with a lot of tiles, make sure that you have a grout saw on hand.
Conclusion:
As a homeowner, you may want to know the best way how to remove a bathtub without damaging tiles. The process can be done by either removing them before installing a new tub or tearing out the old tub after it has been removed from its original location and then replacing it with tiles in that spot.
For this solution to work, there will need to be enough space left on all sides of the wall where you plan on putting up tile for this option to work. However, this is an excellent alternative if you’re looking for ways not only how to replace but also to maintain your bathroom’s look and feel while saving money and time at the same time! We hope this blog post was informative. If you have any questions or want to know more, then feel free to comment below!
Angela Ervin
Angela is the executive editor of DIY quickly. She began her career as an interior designer before applying her strategic and creative passion to lifestyle and home. She has close to 15 years of experience in creative writing and online content strategy for housekeeping, home decorations as well as other niche efforts. She loves her job and has the privilege of working with an extraordinary team. She lives with her husband, two sons, and daughter in Petersburg. When she's not busy working she spent time with her family.