How to Remove Dents From Paper
When you accidentally crumple a piece of paper, the result is a dent. To remove this type of dent from a sheet of paper, try placing it between two pieces of waxed paper and ironing over the top. The heat from the iron will cause the wax to melt onto one side, which will, in turn, pull out any wrinkles or creases that were present in your sheet.
Whether from being crumpled or from being bent out of shape, this is the blog post for you! Here we have mentioned some simple techniques on how to remove dents from paper to help get rid of those pesky dents.

7 Techniques on How To Remove Dents From Paper:
1) The Wet Technique
This technique can simply moisten the area around the dent and let it sit until dry. You could also use a damp cloth to do so if water isn’t accessible. It will smooth over any bumps on the paper surface while simultaneously pulling up the dent itself.
2)The Hot Iron Technique
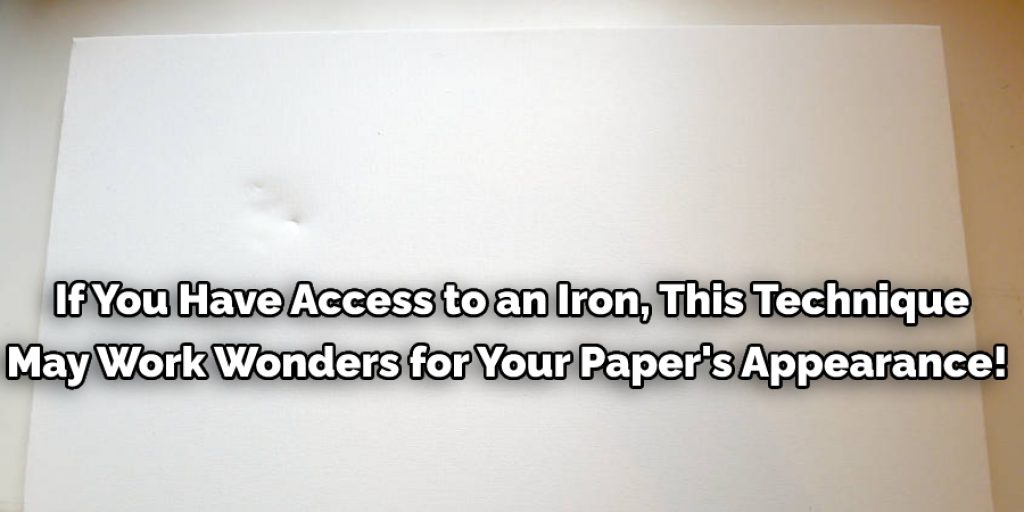
If you have access to an iron, this technique may work wonders for your paper’s appearance! Lay the hot iron on top of the dent for 30 seconds or so, then gently pull it away. The heat from the iron should have caused your paper’s fibers to soften just enough to be able to contour around the bend in your sheet slightly.
3)The Sponge Technique
If you have a damp sponge available, using this technique may be worth a try! Use the moistened surface of the sponge to gently rub around the dent until it has been flattened back out. Be sure, though, not to go too overboard with this technique as you don’t want to tear or rip your paper from being too resistant.
4)The Lighter Method
One way is by using a lighter, which may be useful for some individuals. Hold the tip of your lighter out and move it so that its flame is very close to the dent in question. The heat from the flame will, over a period of time, soften the paper’s fibers long enough so that they can be molded back into their original shape. It may take a little bit of effort either way since you don’t want to actually burn your paper, but the result should be worth it.
5)The Big Old Book Method
If all else has failed, you can always resort to the tried and true method of placing your paper between two heavy books or other flat objects. You will need to let it sit for a couple of days to allow gravity to do its work in pulling out the dent over time. However, depending on how severe the dent is and how many books you have on hand, it can be a time-consuming process.
6)The Paperclip Technique
If your dents are minor enough where the aforementioned techniques aren’t necessary but still noticeable, then this technique could do the job perfectly! Use a large paperclip to push down on the dent until it pops back out. You could also switch the paper clip into your dominant hand and then use it with your weaker hand if needed.
7)The Hair Dryer Method
This last technique isn’t the most effective but could work for minor dents. Using a blow dryer on warm or hot settings will help bolster your paper fibers, making them less resistant to being pulled back into place. Be sure not to leave the dryer’s tip too close to your paper, as you don’t want to create a new dent on your sheet.
If you’re not certain that this technique will work, it is probably best to try one of the previously mentioned techniques first.
Some Tips To Prevent Future Dent on Your Paper
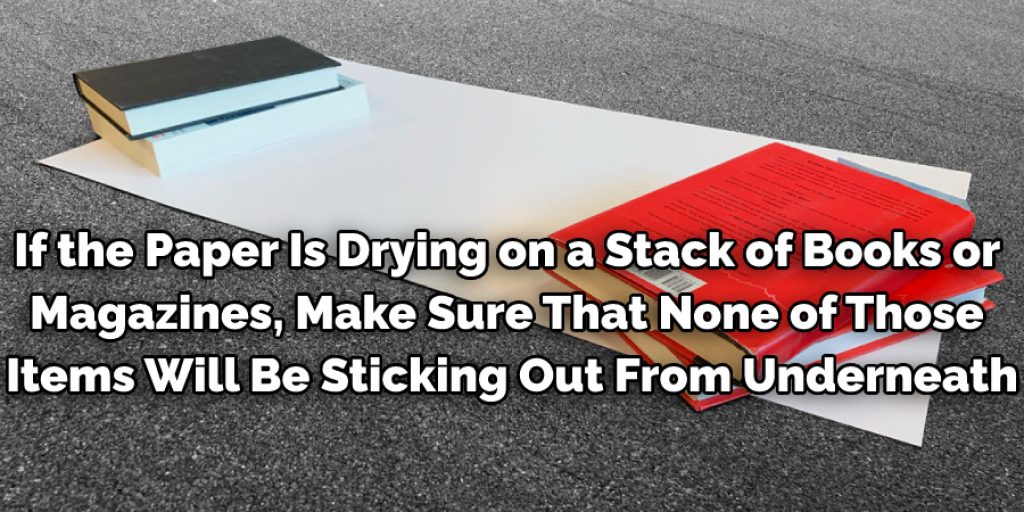
1) Be careful what you stick under the paper as it dries. For example, if the paper is drying on a stack of books or magazines, make sure that none of those items will be sticking out from underneath. The protruding item might leave a bend in your paper.
2) Do not place heavy objects directly on top of your paper when it is drying.
3) If possible, use a blotter (a piece of absorbent paper that lies between a wet item and a dry or extra-absorbent surface) in conjunction with a drying rack. For example, place the blotter on top of the drying rack after laying out your soaked paper to dry. This will allow air to circulate underneath as well as on top.
4) Ensure that the paper is completely dry before attempting to remove it from a drying surface, such as a shelf or rack. If you try to remove the paper from the drying surface prematurely, moisture may still be present and result in a permanent bend or crease.
5) If the paper is a thin material such as tissue paper, wet the entire sheet and then let it dry flat.
6) Once you’ve removed your paper from any drying surface, gently lay it face-up on a cloth towel and pat down to absorb excess moisture before flattening.
7) After you’ve moistened your paper, carefully lay it out to dry. Be sure that the piece is flat and not twisted or folded. If your paper is drying over a wire grate (like many clothes dryers), make sure the wire will allow air to flow underneath, which can otherwise leave an impression on one side of the tissue.
Conclusion:
Dents can be hard to remove. The best way would depend on the type of dent and how deep it is. The methods stated here are meant for minor dents only and may not be effective against more severe cases. Also, be sure to remember that some of these methods will leave your paper looking slightly wet. This is due to the water content in whatever was applied (i.e., if using the sponge technique).
It should not only go away once it has fully dried but also should not damage or otherwise harm your paper’s appearance or structure! We hope this blog post on how to remove dents from paper has been helpful to you! If you have any comments, questions, or concerns (or even tips of your own!), please feel free to leave a comment in the reply section below, and we’ll be sure to get back to you. Thanks for reading!
You May Also Read – How to Remove Coffee Stains From Paper
Elizabeth Davis
Elizabeth is a creative writer and digital editor based in the United States. She has a passion for the arts and crafts, which she developed from a young age. Elizabeth has always loved experimenting with new mediums and sharing her work with others. When she started blogging, she knew that DIYquickly would be the perfect platform to share her tutorials and tips. She's been writing for the blog from the beginning, and her readers love her helpful advice and easy-to-follow instructions. When she's not writing or editing, Elizabeth enjoys spending time with her family and friends.