How to Remove Doona Canopy
Are you looking for a way to quickly and easily remove your doona canopy? Removing your doona canopy isn’t a difficult process, but it does require some patience and precision. In this blog post, we will walk you through all the steps necessary to safely take down your doona canopy so that it can be stored away or replaced with something new.
You’ll also learn tips on how to take proper care of the fabric so that you don’t damage it during removal. So read on how to remove doona canopy!
Changing up the look of your bedroom doesn’t have to involve a full makeover. By learning how to remove a doona canopy, you can easily switch up the feel of your space without breaking the bank. Here, we’ll discuss not only how to remove and store a doona canopy safely but also tips on removing other types of fabric coverings like curtains or sunshades.
So whether it’s time for an aesthetic upgrade in your bedroom or if you’re just looking for simple DIY advice, read on and learn how to protect and install fabrics in any space effectively!
Why is It Important to Remove Doona Canopy?
There are many reasons why it is important to remove the Doona canopy. Such as:
1. To Collect Dust and Other Particles
One of the reasons you want to remove the Doona canopy is to collect dust and other particles that may be trapped in the fabric. This will help ensure a clean, safe sleeping environment for your baby.
2. To Wash
Another reason it is important to remove the Doona canopy is to wash it regularly. This will help keep the fabric looking and smelling fresh, as well as prevent allergens or germs from building up.
3. To Replace
You may also need to replace your Doona canopy if it has become worn or damaged over time. Replacing the canopy will help ensure a safe and healthy sleeping environment for you and your baby.
Removing the Doona canopy is a simple process that only takes a few minutes and can help keep your baby safe and healthy. To remove the canopy, first, unzip the zipper along the top of the canopy. Then gently pull open the fabric to completely expose the frame and bars. You can then unscrew each bar from its mount, then remove the canopy from the frame. Once the canopy is removed, you can clean or replace it as needed.
How to Remove Doona Canopy in 6 Easy Steps
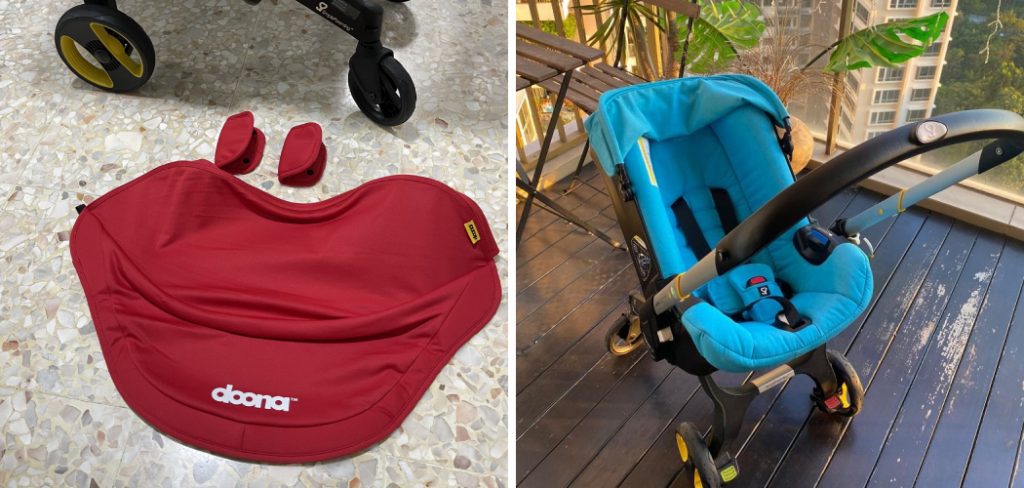
Step 1: Unzip the Canopy
The very first step is to unzip the canopy. Most Doona canopies have a zipper that you will need to locate and open in order to remove the canopy from the base of the stroller.

Step 2: Remove Velcro Straps
The next step is to remove any velcro straps that keep the canopy attached to the stroller’s frame. The straps should be easily removable with one simple tug.
Step 3: Lift Up Canopy
Once the velcro straps have been removed, you can lift the canopy up and away from the frame of the stroller. You may need to use a bit of force if it is stuck or difficult to remove.
Step 4: Disassemble the Canopy Frame
After removing the canopy from the frame, you will need to disassemble the canopy frame. Most Doona canopies come with a few pieces that need to be unscrewed or unclipped in order to remove the frame from the stroller fully.
Step 5: Fold and Store Canopy
Once the canopy has been removed from the frame, you can fold it and store it away safely. If you are not planning on using the canopy for a while, keep it in an environment free of dampness or humidity.
Step 6: Reattach Canopy Frame
The final step is to reattach the canopy frame to the stroller. This can be done by screwing or clipping it back in place. Once this is done, your Doona canopy will be ready for use again!
Following these six steps, you should know How to Remove Doona Canopy from your stroller. This is a great way to clean, store, and protect your Doona Canopy. For more tips and tricks about using your Doona stroller accessories, be sure to check out our other articles!
Some Additional Tips to Remove Doona Canopy
1. Do Not Put Too Much Pressure
This is very important when removing the canopy. If you put too much pressure, it may cause damage to the frame and make it difficult to re-install it.
2. Follow Instructions Carefully
The instructions that come with your model should be followed carefully when removing the canopy. This will help ensure a successful removal process without any damage or problems.
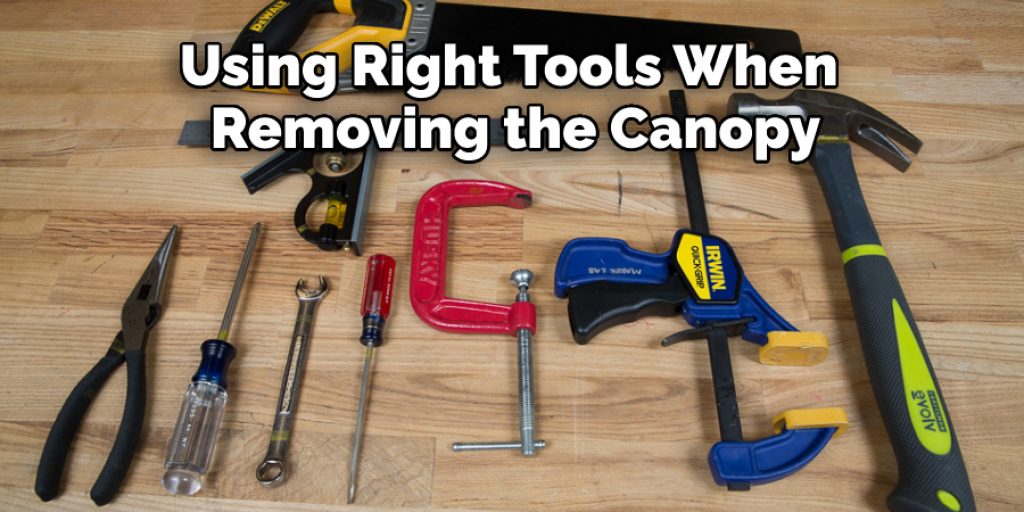
3. Use the Right Tools
Make sure you have the right tools when removing the canopy, such as a screwdriver or allen key. These will help to make sure that the process is done correctly and safely.
4. Take Your Time
Removing your Doona Canopy should not be rushed. If you rush, you could damage the frame or worse. Take your time to ensure that the process is done correctly and safely.
5. Clean the Area
Once you have removed the canopy, it’s important to clean the area where it was attached before replacing it – this will help to maintain its quality and longevity.
6. Contact a Professional
If you are having difficulty removing your canopy, it’s best to contact an experienced professional who can help. They can assess the situation and provide advice on how to safely and successfully remove the canopy without causing any damage.
By following these tips, you can ensure that your Doona Canopy is removed safely and successfully. This will help you get the most out of your Doona and keep it in top condition for years to come.
Frequently Asked Questions
What Precautions Should I Take Before Removing My Doona Canopy?
Before you begin to remove the canopy, it’s important to ensure all straps are properly adjusted. Additionally, you should ensure that any metal parts or plastic buckles are secured and not loose. Finally, if the canopy is attached to a wall or ceiling, make sure that the mounting hardware is properly secured.

How Can I Remove My Doona Canopy Easily?
Start by unlatching any buckles or zippers that are keeping the canopy attached to the frame of your bed. Once these are loosened, you should be able to easily lift up and remove the canopy from the bed frame. After it is removed, you can fold or roll up the canopy for easy storage.
What Are Some Tips For Properly Storing My Doona Canopy?
Once your Doona canopy is removed from the bed frame, you should store it in a cool and dry place that is free of dust and dirt. Make sure it is also away from any extreme temperatures or direct sunlight. Additionally, you should periodically check the canopy for signs of wear and tear to ensure it is still in good condition. If necessary, you can use a damp cloth to clean off any dirt or debris that has accumulated on the canopy. By following these simple tips, you can help keep your Doona canopy in great condition for years to come.
Can I Use My Doona Canopy Without Attaching It To The Bed Frame?
Yes, you can absolutely use your Doona canopy without attaching it to the bed frame. In fact, you can easily set up the canopy in another room or even outdoors using poles, stands, and other props. This allows you to have a comfortable and stylish place to relax without needing to attach it to a bed frame.
Just ensure you secure the canopy properly so it doesn’t come loose while in use. Also, ensure that the material is not exposed to extreme temperatures or direct sunlight. With these tips, you can easily make use of your Doona canopy in any room or outdoor space.
How Much Does It Cost To Replace a Doona Canopy?
The cost of replacing a Doona canopy will depend on the size, color, and material of the canopy you choose. Generally speaking, most Doona canopies range from $90-$200, depending on these factors.
Additionally, if you need to replace any mounting hardware or accessories, this may also add to the cost. However, it is important to note that proper storing and caring for your canopy can help reduce replacement costs in the long run. As such, ensure you follow all of the recommended storage and cleaning guidelines for optimal results.
Conclusion
Now you know how to remove doona canopy. It’s important to use caution when doing this process, as the canopy is made of delicate material, and any rough handling can cause damage. With a little care and patience, you will be able to remove your doona canopy with ease. You can also consider using an alternative method, such as folding it up or rolling it instead of attempting to remove it.
However, it’s important to remember that removing the canopy is the only way to ensure proper cleaning and maintenance. Be sure to follow the instructions provided and take your time when removing your doona canopy so that you can keep it looking as good as new.
Jane Hubbard
Jane has always been passionate about hair and beauty. After many years of working as a hairdresser specialist, she decided to start her own consultancy business. She is an experienced haircare and beauty consultant, and she loves helping others find the perfect look for them. She has been writing articles for DIY quickly for over 3 years. In her free time she enjoys keeping up with the latest news in the industry, practicing yoga, and spending time with her friends and family.