How to Remove Floor Vent Cover
The floor vent cover, a seemingly inconspicuous component of your HVAC system, plays a crucial role in maintaining air circulation and temperature regulation throughout your living space. However, over time, these vent covers may need to be removed for cleaning, maintenance, or replacement.

Understanding how to efficiently remove a floor vent cover is essential for ensuring proper airflow and keeping your HVAC system in top condition. In this guide, we will walk you through the step-by-step process of how to remove floor vent cover, regardless of the type or design. Armed with this knowledge, you’ll be equipped to handle this maintenance task with confidence, maintaining a healthy and comfortable environment in your home.
The Importance of Removing Floor Vent Covers for Cleaning and Maintenance
Floor vent covers are an essential component of any ventilation system, as they allow for proper air flow and distribution throughout a building. However, over time, these covers can accumulate dirt, dust, and other debris which can hinder their effectiveness. This makes it crucial to regularly remove and clean floor vent covers in order to maintain the overall cleanliness and efficiency of your ventilation system.
Preventing Dirt and Dust Build-Up
Regularly removing floor vent covers allows for easier access to the ducts and vents, making it easier to clean and prevent build-up of dirt and dust. This is especially important for those who suffer from respiratory allergies or asthma, as the accumulation of these particles can worsen symptoms.
Improving Air Flow and Efficiency
In addition to preventing build-up, removing floor vent covers also allows for better air flow and distribution. When dirt and dust accumulate on the vents, it can obstruct the air flow and cause inefficiencies in your ventilation system. This can result in higher energy costs and potentially lead to the need for costly repairs.
Detecting and Preventing Damage
Removing floor vent covers also allows for a closer inspection of both the cover itself and the surrounding ducts and vents. This can help detect any potential damage or issues that may need to be addressed, such as cracks or leaks. By regularly checking and maintaining these covers, you can prevent more extensive damage and save money in the long run.
Overview of Common Floor Vent Cover Designs
Floor vents are an essential part of any modern home. They serve as an opening for air to flow in and out, allowing proper ventilation and temperature control. However, floor vents can also be a source of frustration when it comes to cleaning and maintenance. One common problem that homeowners encounter is removing the floor vent cover.
There are various reasons why you may need to remove your floor vent cover. It could be due to regular cleaning, replacing a damaged cover, or accessing the air ducts for maintenance. No matter what the reason may be, it is essential to know how to remove your floor vent cover properly without damaging it.
10 Steps How to Remove Floor Vent Cover
Prepare the Area
Before you begin, it is important to prepare the area around the vent cover. This includes clearing away any furniture or other objects that may be blocking your access to the vent cover. Additionally, it is a good idea to protect the surrounding floor by laying down a drop cloth or newspaper. This will prevent any potential damage to the floor during the removal process.
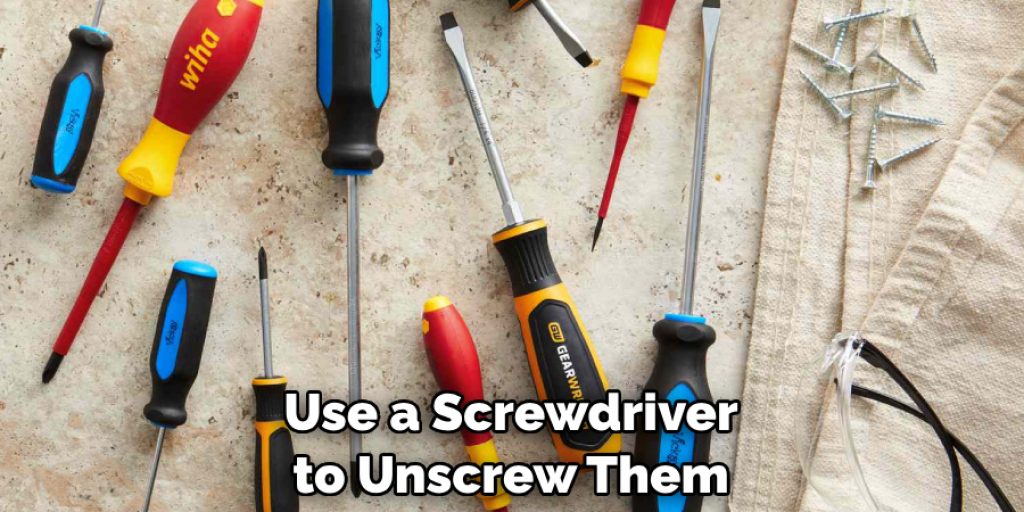
Locate the Screws
Most floor vents are secured in place with screws, so you will need to locate them before you can remove the cover. It is usually easy to spot these screws as they will be located along the edges of the vent cover. In some cases, there may be multiple screws that need to be removed. Use a screwdriver to loosen and remove the screws.
Unscrew and Remove the Cover
Once you have located all of the screws, use a screwdriver to unscrew them and remove them from their holes in the vent cover. Once all of the screws have been removed, carefully lift up on one side of the vent cover until it comes loose from its frame. Then, gently pull the cover towards you to fully remove it.
Disconnect Wiring (If Applicable)
In some cases, you may need to disconnect wiring before removing a floor vent cover. If this is necessary, make sure that you turn off power to any connected devices before attempting to disconnect any wiring or plugs. Once the power is turned off, you can safely remove the wiring and proceed with removing the floor vent cover.
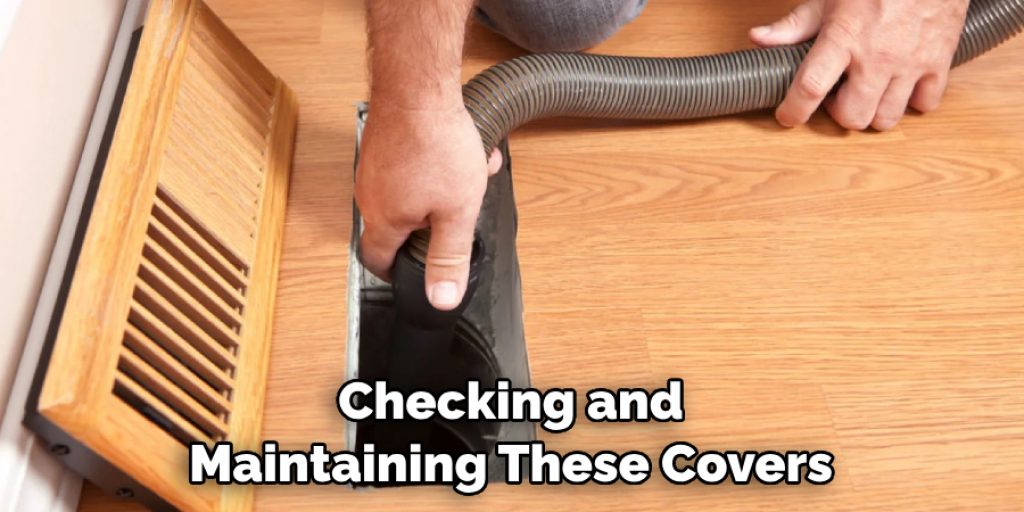
Clean Around Vent Opening
Once you have removed your old vent cover, take some time to clean around the opening using a vacuum cleaner and/or damp cloth or paper towel. This will help ensure that any dirt or debris does not get into your new vent cover when installing it later on in this process.
Measure Vent Opening
Before purchasing a new floor vent cover, measure both the length and width of your existing opening with a tape measure or ruler for accuracy. This will help ensure that you purchase an appropriately sized replacement for your old floor vent cover without having to make any modifications yourself afterward if necessary.
However, if you are unable to find an exact match for your measurements, it is recommended to choose a cover that is slightly larger than the vent opening to ensure proper coverage.
Purchase New Vent Cover
Now that you know what size replacement you need for your old floor vent cover, head out and purchase one from your local home improvement store or online retailer of choice! Make sure that you double-check measurements when purchasing just in case there are any discrepancies between what was listed online and what is actually delivered in person at your doorstep later on.
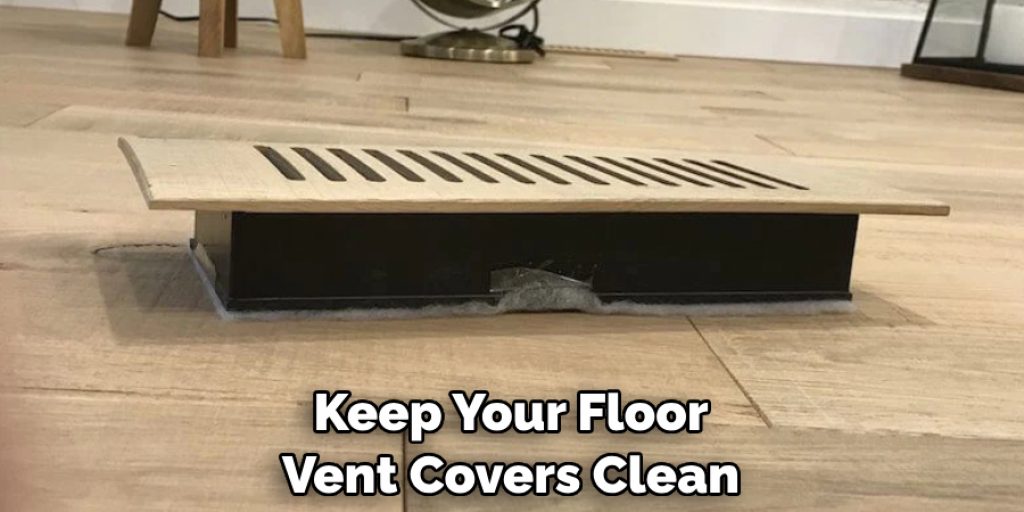
Cleaning and Maintenance
It is important to keep your floor vent covers clean in order for them to function properly and not become clogged with debris. Regular cleaning will also help improve the air quality in your home. To clean your floor vent cover, simply remove it from the floor and gently scrub it with warm water and mild soap. You can also use a small brush.
Install New Vent Cover
Once you have purchased your new floor vent cover, install it into place by lining up its edges with those of its corresponding frame and pushing down firmly until it clicks into place securely. If applicable, reconnect any wiring associated with this device prior to moving on to Step 9 below.
To test the installation, turn on your heating or air conditioning system and ensure that proper airflow is coming through the vent cover. If everything looks good, proceed to reattaching your carpet or flooring material around the newly installed floor vent cover.
Secure Vent Cover With Screws
Now that your new floor vent has been installed into place securely within its corresponding frame, secure it further by inserting each screw back into its original hole(s) around its perimeter. Use a screwdriver if needed for added torque while tightening each screw back into place.
Once all screws are in place, double check that the vent cover is still flush and level against the floor. If you notice any unevenness or gaps, adjust the placement of the screws accordingly before fully tightening them.
Test Out Your New Floor Vent Cover
Finally, after completing all the steps above successfully – test out your new floor vent cover by turning on power if applicable and then adjusting temperature settings accordingly via the thermostat control panel as desired! If everything works as it should, congratulations! You have successfully removed and replaced your floor vent cover.
Things to Consider When Removing Floor Vent Cover
When removing a floor vent cover, it is important to consider the following factors to ensure a smooth and safe process:
- Type of Floor Vent Cover – Different types of floor vent covers may require different methods for removal. For example, metal grates may be held in place by screws while plastic covers may have snap-on mechanisms.
- Size and Shape of Floor Vent Cover – Floor vent covers come in various sizes and shapes, so it is important to measure and take note of the dimensions before attempting to remove them.
- Location of Floor Vent Cover – The location of the floor vent cover can also affect the removal process. For instance, a cover located in a high traffic area or near furniture may require extra caution during removal to avoid damaging the surrounding area.
- Age and Condition of Floor Vent Cover – Older and damaged floor vent covers may be more fragile and require gentler handling during removal to prevent further damage.
- Tools and Equipment Needed – Depending on the type of floor vent cover, you may need specific tools or equipment for removal. For example, a screwdriver for screws or pliers for snap-on mechanisms.
- Safety Precautions – It is important to take safety precautions when removing a floor vent cover, such as wearing gloves and protective eyewear to avoid injury from sharp edges or debris.

Common Mistakes to Avoid When Removing Floor Vent Covers
Floor vent covers are important fixtures in a house or building as they help to regulate airflow and maintain the temperature inside. They also add aesthetic value to a room, making it look more put together.
Not Turning off the HVAC System
One of the biggest mistakes people make when removing floor vent covers is not turning off their HVAC (heating, ventilation, and air conditioning) system. This can result in a sudden rush of air coming out of the vents, which can be dangerous and cause injury.
Using the Wrong Tools
Another mistake people make is using the wrong tools to remove floor vent covers. Some may use sharp objects like knives or screwdrivers, thinking it will make the task easier.
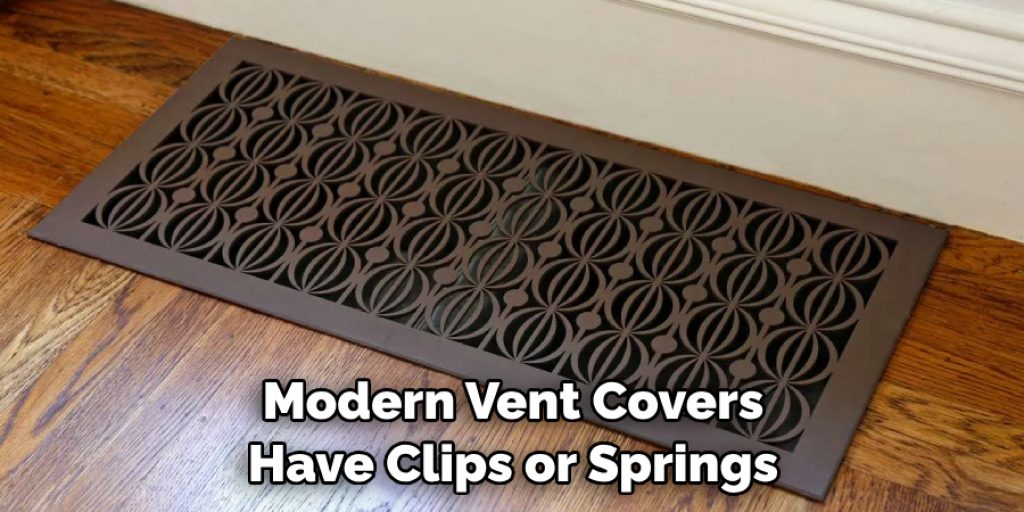
Pulling Straight Up
Many people assume that floor vent covers are attached with screws or nails and try to pull them straight up from the floor. However, most modern vent covers have clips or springs that hold them in place. Pulling straight up can damage these mechanisms and make it difficult to put the cover back on.
Conclusion
Floor vent covers are typically easy to remove. With just a few basic tools, you can often get the job done in just a few minutes. As long as you take proper precautions – like wearing goggles and gloves – and keep your hands away from moving parts, this project should go smoothly. Furthermore, the same safety measures should be applied when reinstalling your vent cover.
With all of that said, many homeowners find it necessary or desirable to remove their floor register cover periodically for cleaning, repairs or decorative purposes. Following the steps laid out in this blog post, you should be able to easily accomplish this task even if you have limited experience working on DIY projects.
So go ahead and give yourself a pat on the back – mastering how to remove floor vent cover is an important first step that you can now proudly tick off of your list!
Angela Ervin
Angela is the executive editor of DIY quickly. She began her career as an interior designer before applying her strategic and creative passion to lifestyle and home. She has close to 15 years of experience in creative writing and online content strategy for housekeeping, home decorations as well as other niche efforts. She loves her job and has the privilege of working with an extraordinary team. She lives with her husband, two sons, and daughter in Petersburg. When she's not busy working she spent time with her family.