How to Remove Permanent Retainer at Home
Many people wonder how to remove permanent retainer at home and what tools they need. This blog post will answer these questions and provide you with the necessary steps to remove your permanent retainer yourself safely!
We recommend that you always consult your orthodontist before removing your retainer, but if this is not possible, we’ve provided some information on how to do it safely. If you are unsure about anything in the instructions below, please seek professional help from an orthodontist or dental specialist.
What is a Permanent Retainer?
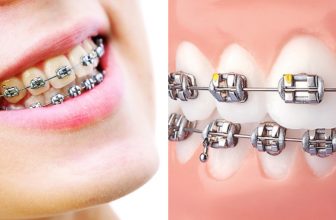
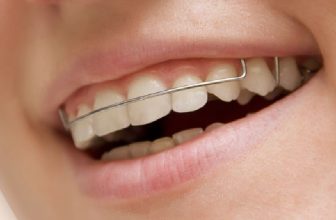
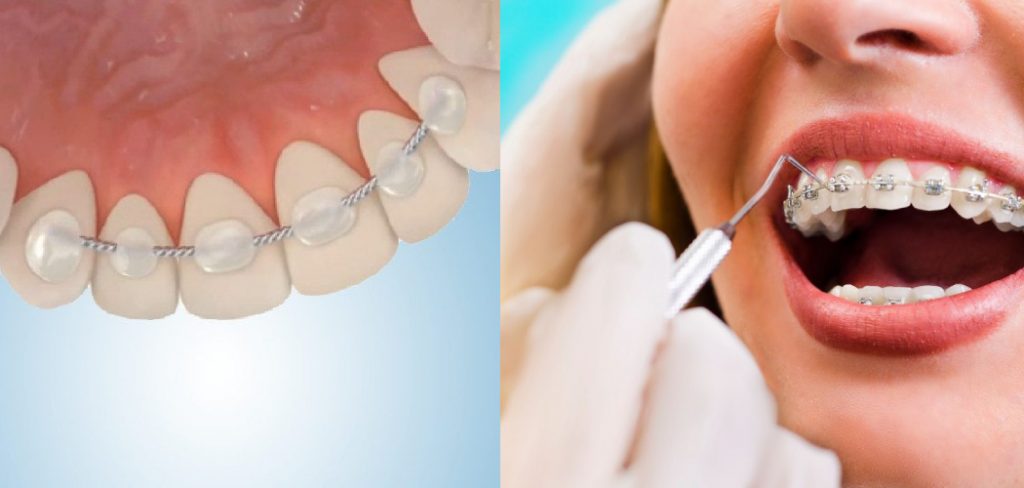
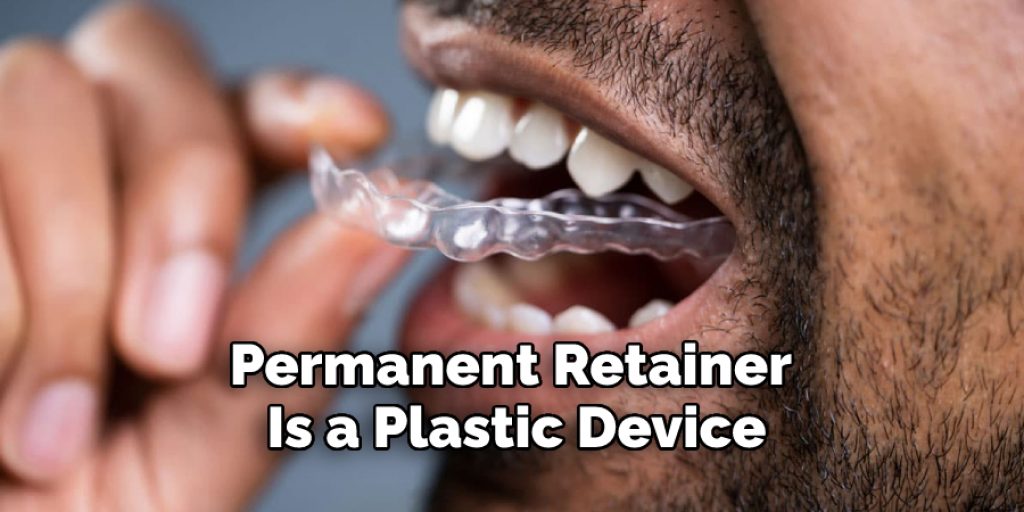
A permanent retainer, also known as a bonded or fixed retainer, is a thin wire that is attached to the back of your teeth after orthodontic treatment. It is used to keep your teeth in place and prevent them from shifting back to their original position. This type of retainer is most commonly used on the lower front teeth, but can also be used on the upper front teeth. Unlike a removable retainer, a permanent retainer is not meant to be taken out on a regular basis.
Tools Needed for Removal
Before attempting to remove your permanent retainer, make sure you have the following tools ready:
Dental Floss or Floss Threaders:
You will need dental floss or floss threaders to remove any remaining adhesive residue from your teeth after the retainer is removed. This will ensure that your teeth are clean and smooth.
Dental Mirror:
A dental mirror can help you see behind your teeth as you work on removing the retainer. If you do not have a dental mirror, a small handheld mirror can also work.
Pliers:
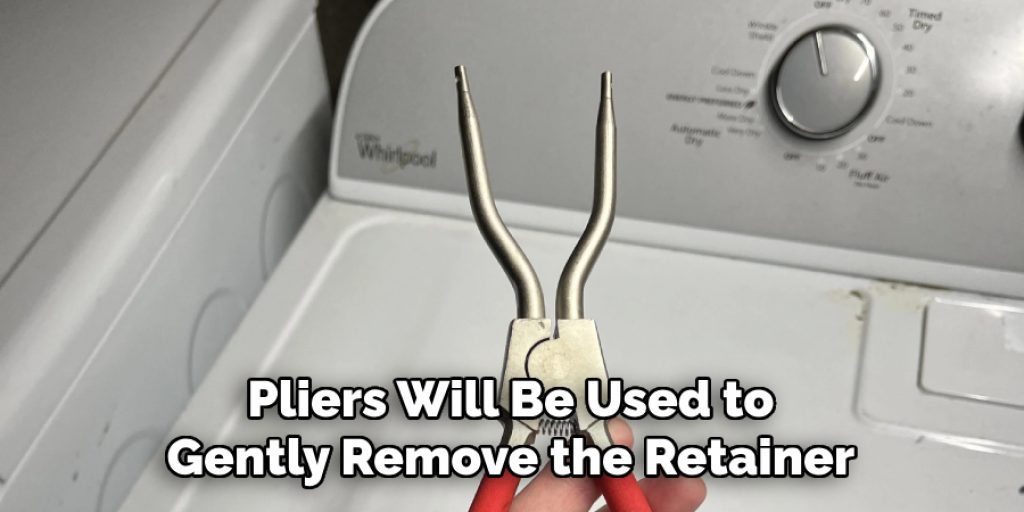
Pliers will be used to gently remove the retainer from your teeth. It is important to use clean and sanitized pliers for this process. If you do not have pliers, you can also use a thin and flat object like a credit card or spoon.
10 Ways on How to Remove Permanent Retainer at Home:
1) Oil Pulling:
It has been used for centuries in Ayurveda because of its powerful cleansing, healing, and rejuvenating effects. The procedure of “oil pulling” is very simple. You can either do this before brushing your teeth or before taking a bath. Take 1-2 teaspoons of sesame oil (black for teeth whitening) in your mouth and swish it all around for 10-15 minutes. Then spit it out in the trashcan, not the sink! Next, rinse your mouth with warm water and then brush as you usually would.
You can repeat this process every day to remove plaque and tartar buildup, which cause tooth decay, cavities, and gum disease. Although oil pulling may not completely remove your retainer, it can help loosen any adhesive residue and make the removal process easier.
2) Salt Water Rinse:

Mix one teaspoon of sea salt into a cup of warm water. Swish this around your mouth for about 5 minutes. Then, spit it out into the trash can, not the sink! This is one of my favorite ways to whiten my teeth and remove stains naturally. Salt is a natural disinfectant, and if you had a cut on your finger, it would sting! That’s because the salt kills bacteria. However, use this method sparingly as too much salt can damage tooth enamel.
If you have a little bit of plaque or tartar build-up on your teeth, this method can help loosen it and make it easier to remove with dental floss. You can do this once a week before brushing your teeth.
3) Apple Cider Vinegar:
Apple cider vinegar has powerful antibacterial properties that help fight plaque and bacteria in the mouth. It also helps to remove stains from the teeth. Mix 1/4 cup of apple cider vinegar into a glass of water. Use this as a mouthwash for about 1 minute, then spit it out into the trash can, not the sink! This should be done daily until you see positive results. Be careful not to use apple cider vinegar too frequently, as it can erode tooth enamel.
You can also use apple cider vinegar as a natural cleaner for your retainer. Soak your retainer in a mixture of 1/2 cup water and 1/4 cup apple cider vinegar for 15-20 minutes, then rinse it off with warm water.
4) Bentonite Clay:
Mix 1 to 2 tablespoons of bentonite clay into a glass of water. Allow the ingredients to dissolve for about 3 minutes, then swish it around your mouth for 1 to 2 minutes. Finally, spit it out into the trash can, not the sink! The bentonite clay will remove toxins and plaque from your teeth while pulling stains away as well. This should be done daily until you see positive results. Bentonite clay is known to be safe and gentle on teeth.
It is also safe to use bentonite clay as a cleaner for your retainer. Mix 1 to 2 tablespoons of bentonite clay with water until it becomes a paste-like consistency. Brush this mixture onto your retainer, then rinse it off with warm water.
5) Lemon Water:
Lemon water has antibacterial properties that help fight bacteria in the mouth. It also helps whiten your teeth by removing stains. Prepare a glass of warm water with the juice of half a lemon squeezed into it. Swish the mixture around your mouth for about a minute, then spit it out into the trash can, not the sink! This should be done daily until you see positive results.
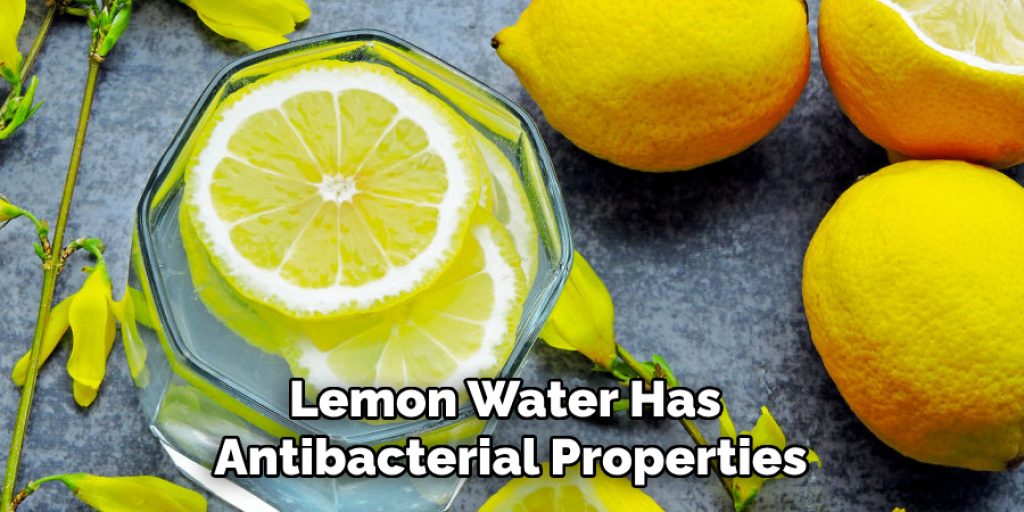
Although lemon water can be a natural teeth whitener, it is not recommended to use this method too frequently as the acid in lemons can erode tooth enamel. You can also use this mixture to soak your retainer for 10-15 minutes, then rinse it off with warm water.
6) Baking Soda:
To use baking soda to remove a permanent retainer at home, mix one teaspoon of baking soda with a few drops of hydrogen peroxide and enough water to make a paste. Apply the mixture directly onto your retainers and leave them on for about 3 minutes. Scrub this off with a toothbrush, then rinse your mouth out with warm water. This can be done once a week.
You can also use baking soda to clean your retainer by mixing one teaspoon of baking soda with water until it becomes a paste-like consistency. Use this mixture to brush your retainer, then rinse it off with warm water.
7) Activated Charcoal:
Activated charcoal has been used for centuries to whiten teeth and remove stains from them. You can purchase activated charcoal in capsule form at most health food stores and online. Take three capsules daily until you see positive results, then reduce them to two per day for maintenance.
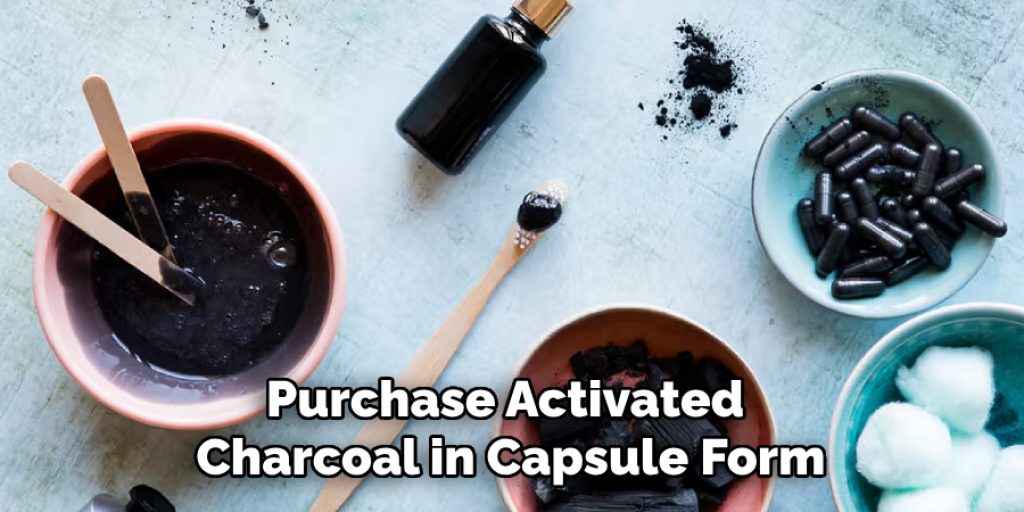
To use activated charcoal to clean your retainer, mix one capsule of activated charcoal with a small amount of water until it becomes a paste. Brush this onto your retainer, then rinse off with warm water.
8) Aloe Vera:
Aloe vera has antibacterial properties that can help fight plaque and bacteria in the mouth. It also helps to remove stains from the teeth. Cut off a leaf from an aloe vera plant. Peel back the skin on its surface to reveal the gel inside. Use this to brush your teeth or use it as a mouthwash. This should be done daily until you see positive results. Be careful not to use aloe vera too frequently as it can cause irritation in some people.
You can also use aloe vera gel to soak your retainer for 15-20 minutes, then rinse it off with warm water. This will help clean and disinfect your retainer.
9) Epsom Salt:
Epsom salt has antibacterial properties that can help fight plaque and bacteria in the mouth. It also helps to remove stains from the teeth. Pour 1/4 cup of Epsom salt into a glass of warm water. Swish this around your mouth for about 5 minutes, then spit it out into the trash can, not the sink! This should be done daily until you see positive results. Be sure to rinse your mouth out with warm water after using this method as Epsom salt can leave a salty taste in the mouth.
You can also use Epsom salt to soak your retainer for 15-20 minutes, then rinse it off with warm water. This will help clean and disinfect your retainer.
10) Coconut Oil:
Coconut oil is a safe alternative to other traditional dental procedures. Its antimicrobial properties help fight bacteria that could be harmful to the gums and teeth in your mouth. And, like olive oil, it’s also great for moisturizing dry skin and removing food debris from the retainer after each use! Simply swish one tablespoon of coconut oil in your mouth for about 10-15 minutes, then spit it out into the trash can. This method is safe to do daily until you see positive results.
You can also use coconut oil as a natural cleaner for your retainer by soaking it in a mixture of one tablespoon of melted coconut oil and enough water to cover the retainer. Let it soak for 15-20 minutes, then rinse it off with warm water.
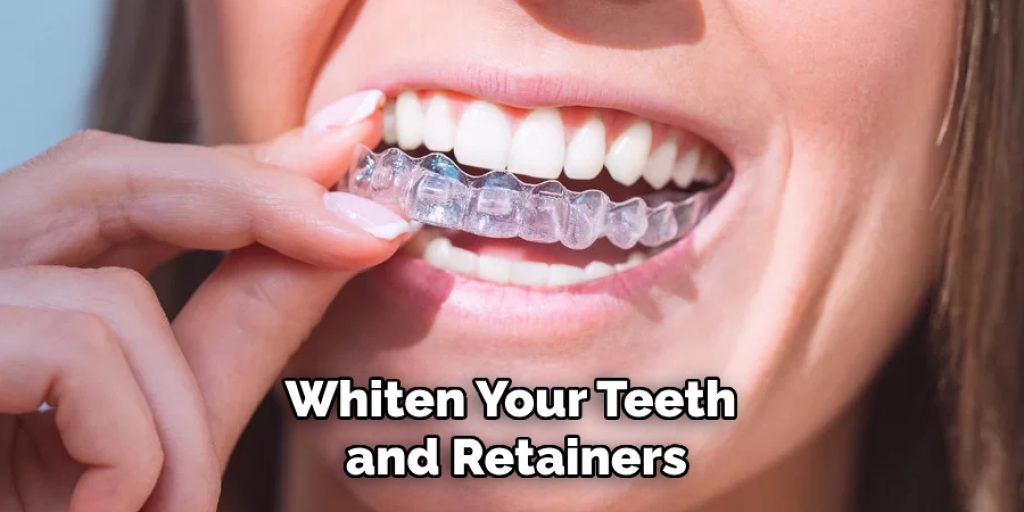
Following these natural methods of removing permanent retainers at home to clean and whiten your teeth and retainers can be a safe and effective way to maintain good oral hygiene. By incorporating these practices into your daily routine, you can enjoy a brighter, cleaner smile without the use of harsh chemicals or expensive treatments. Remember to always consult with your dentist before trying any new oral hygiene methods and discontinue use if you experience an adverse reaction. With a little patience and consistency, you can achieve the healthy smile you’ve always wanted!
Some Tips and Suggestions:
- Since the permanent retainer is a plastic device, it should be relatively easy to remove with boiling water. Boil some water in a pot, and once it’s at a rolling boil, you can drop in your retainers for about 5-10 minutes or until they become soft enough to remove without damage.
- You can also try simply pouring boiling water on top of the retainer. The heat might soften it enough to be removed without damaging it too much.
- If you’re trying to remove your retainers while you are still wearing them, try using a toothbrush or Q-tip with some vaseline or lip balm on the end of it to work the retainer out gently.
- You can use a hairdryer if you turn it on low and point it at your retainers for a few minutes to soften them up as well, but be careful not to burn yourself with the hot plastic!
- If all else fails, you can try using professional orthodontic tools or plain old pliers. The bottom line is that you must be very careful when removing your retainers because they are made of rugged, unyielding plastic, and you could easily snap them if you aren’t gentle.
- If you end up having to cut your retainer to remove it, you can try using some super glue to put the pieces back together once they are clean. You can then try to reinsert it, although this may not be recommended by your orthodontist.
- If at any point you feel that the retainer is too difficult to remove on your own, please seek professional help from an orthodontist or dentist. They have the necessary tools and expertise to safely remove your permanent retainer without damaging it or causing harm to your teeth.
- Remember to always clean your permanent retainer after each meal by brushing it with a soft-bristled toothbrush and some non-abrasive toothpaste or using one of the methods mentioned above.
- If you experience any pain, discomfort, or unusual changes in your teeth or gums while wearing a permanent retainer, consult with your orthodontist or dentist immediately.
- Lastly, be patient and consistent with your natural teeth whitening methods. Results may vary, but with regular use, you can achieve a brighter smile without the need for harsh chemicals or expensive dental procedures. Take care of your teeth and retainers, and they will take care of you!
Frequently Asked Questions:
Q: How Long Should I Use Each Natural Teeth Whitening Method?
A: It is recommended to use each method daily until you see positive results, and then continue with maintenance as needed. You can also rotate between different methods for better results. It’s essential to be consistent and patient with these methods as they may take some time to show significant changes. But remember to consult with a dentist if you have any concerns or experience any discomfort.
Q: Can I Use These Methods if I Have Sensitive Teeth?
A: While these natural teeth whitening methods are generally safe, it’s always best to consult with your dentist if you have sensitive teeth. Some of these methods may contain ingredients that could aggravate sensitivity. Also, remember to be gentle and not use excessive force when applying any of these techniques.
Q: How Long Will It Take for These Methods to Show Results?
A: The time it takes for these methods to show results may vary from person to person. Some may see improvements within a week, while others may take a few weeks or months. The key is to be consistent and patient, as natural remedies take time to work. Remember, good things come to those who wait!
Q: Can I Still Use These Methods if I Have Dental Work or Braces?
A: It is recommended to consult with your dentist before trying any natural teeth whitening methods if you have dental work or braces. Some ingredients may not be suitable for certain dental conditions or could potentially damage braces. Your dentist can provide personalized advice and recommendations for your specific situation.
Q: Can These Methods Replace Professional Dental Whitening Procedures?
A: While these natural methods can help whiten teeth, they may not provide the same level of results as professional dental whitening procedures. If you desire more dramatic whitening results, it may be best to consult with your dentist and consider professional treatments. However, these natural methods can help maintain a brighter smile after professional whitening or as an alternative for those who prefer more natural options.
Conclusion:
When you remove your permanent retainer at home, make sure to use the right tools. Your dentist or orthodontist will provide them for you when they install it back in after its removal period is over. You can also purchase mouthwash that has peroxide and salt in it from a store like CVS or Walgreens; these ingredients are helpful because they shrink adhesions between teeth and gums, which may be present following your worn appliance.
Place this on your teeth where the retainer is located. This will help numb it so that you can easily take off the retainer with pliers or forceps. Then try rinsing out your mouth with warm saltwater followed by cold water to make sure there isn’t any swelling left from removing the retainer yourself. We hope this blog post on how to remove permanent retainer at home has been helpful. Let us know your thoughts in the comments below!