How to Remove Scratches From LVP Flooring
Are you noticing more and more scratches on your Luxury Vinyl Plank (LVP) flooring? Living with children or pets can be fun, but it often comes with inevitable wear and tear. Lvp flooring is designed to resist scratches, but even the most challenging floors will need occasional maintenance to look their best.
If you’re wondering how to remove scratches from your Lvp flooring without damaging it further, you’ve come to the right place! It’s a common problem for LVP owners. Scratches from regular foot traffic, furniture shifting, pets running around, or even dirt particles dragging across the surface can happen over time.
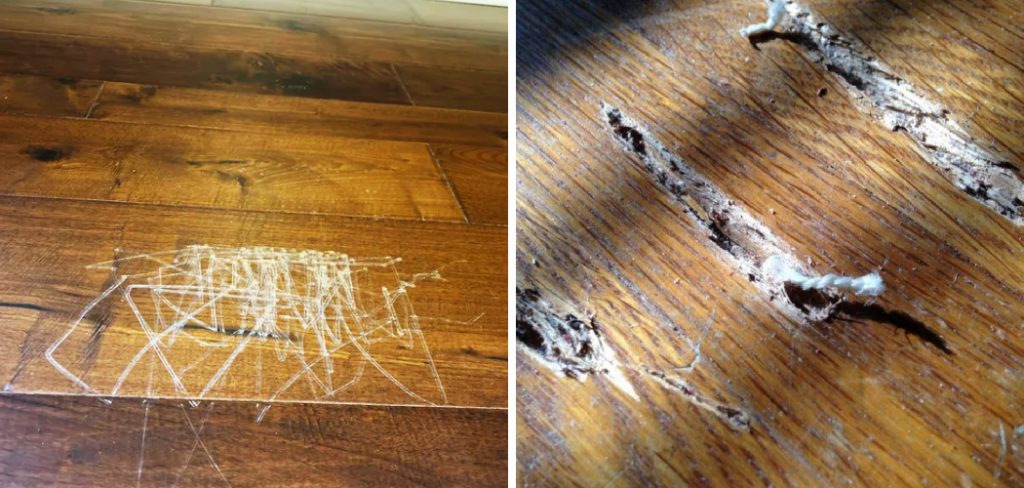
It might feel like these pesky marks are here to stay – but not forever! Removing minor scratches from an LVP floor without completely replacing the planks is possible with careful maintenance and cleaning.
In this blog post, we’ll look at how to remove scratches from LVP flooring and ensure that your floor looks new again! We will cover all the tips and tricks for removing surface scratches and restoring that earlier sheen. Read on for all the information you need about repairing scratched Lvp (Luxury Vinyl Plank) floors in an easy-to-follow guide.
Necessary Items
Before starting the process, you’ll need to gather some necessary items to have on hand. These items will help you tackle any scratches that appear on your Lvp flooring quickly and easily. Here’s a quick rundown of what you’ll need:
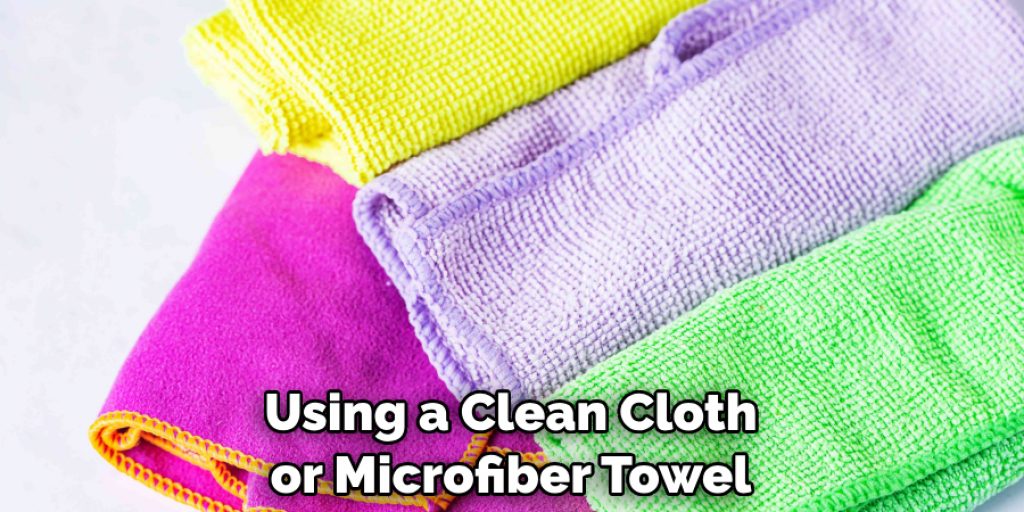
- Clean cloth or microfiber towels
- Vacuum cleaner with a soft brush attachment
- Warm water
- Dish soap or Lvp floor cleaner
- Baking soda or toothpaste (for more stubborn scratches)
- Soft-bristled brush
- Rubber gloves
10 Steps on How to Remove Scratches From LVP Flooring
Now that you have all the necessary items ready let’s dive into the step-by-step guide to removing scratches from LVP flooring.
Step 1: Clean the Scratched Area
Before attempting to remove scratches, cleaning the affected area thoroughly is essential. Use a vacuum cleaner with a soft brush attachment or sweep the surface to remove any loose dirt and debris. Then, using a clean cloth or microfiber towel, wipe down the scratched area with warm water, dish soap, or a Lvp floor cleaner. This will help remove any grime or residue that may fill in the scratch, making it less noticeable.
Step 2: Make a Baking Soda Paste
You can make a paste using baking soda and water for more stubborn scratches. Mix equal parts of baking soda and water in a small bowl until it forms a thick paste. This paste will act as an abrasive, so be cautious not to scrub too hard and damage the Lvp flooring.
Step 3: Apply the Paste
Using a soft-bristled brush, apply the baking soda paste onto the scratch. Be gentle and use only enough pressure to cover the scratch completely. Let it sit for a few minutes to loosen any debris or dirt trapped in the scratch.
Step 4: Scrub the Scratch
Using a soft-bristled brush, gently scrub the scratched area in circular motions. Be cautious not to apply too much pressure as it may damage or dull the Lvp flooring’s finish.
Step 5: Wipe Away the Paste
After scrubbing, use a clean cloth or microfiber towel to remove any excess paste and debris. You should see the scratch becoming less noticeable.
Step 6: Rinse the Area
Using warm water, thoroughly rinse the area where you applied the paste to ensure all residue and debris are removed.
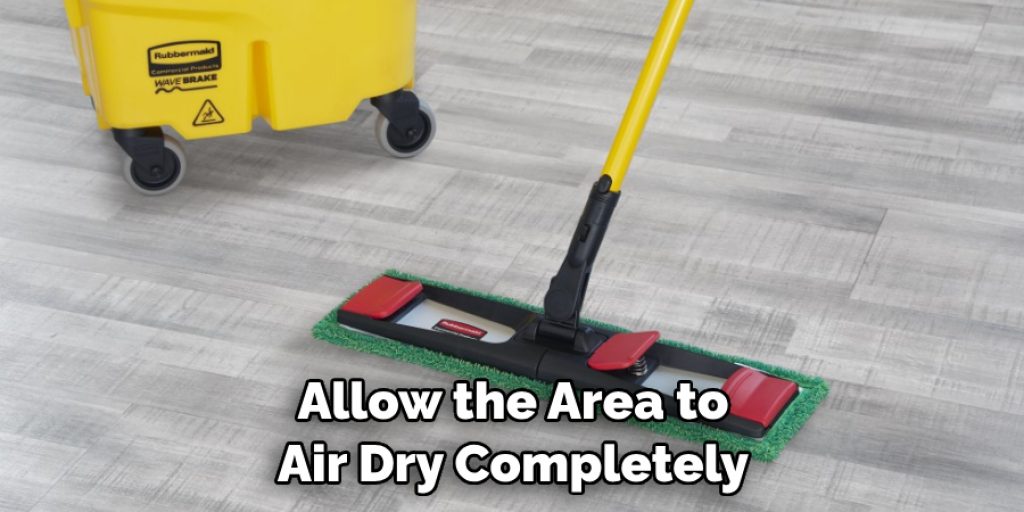
Step 7: Dry the Floor
Wipe down the area with a clean cloth or microfiber towel to remove any excess moisture on the floor’s surface.
Allow the area to air dry completely before moving on to the next step.
Step 8: Use Toothpaste for Deeper Scratches
You can use toothpaste as an alternative for deeper scratches that cannot be removed with just baking soda paste. Apply a small amount of whitening toothpaste directly onto the scratch and gently rub it with your finger or a soft-bristled brush. Let it sit for a few minutes before wiping it away with a clean cloth or microfiber towel.
Step 9: Rinse and Dry the Area
After using toothpaste, rinse the area thoroughly with warm water and wipe it dry with a clean cloth or microfiber towel. This method may take a few attempts to remove the scratch fully, so be patient and repeat the process if necessary.
Step 10: Follow Up with Regular Cleaning
Once you have successfully removed the scratches, it’s essential to maintain your Lvp flooring regularly. Use a soft-bristled broom or vacuum with a soft brush attachment to remove any loose dirt or debris daily. Follow up with weekly mopping using warm water and a mild Lvp floor cleaner to keep your floors shiny and new.
Lvp flooring is a popular choice due to its durability and easy maintenance. However, scratches can still occur with regular use. Following these steps for removing scratches and implementing preventive measures, you can keep your Lvp flooring looking beautiful for years. Remember always to use caution and follow the manufacturer’s guidelines for maintenance to ensure your floors remain scratch-free.
8 Tips for Preventing Future Scratches on LVP Flooring
Now that you have successfully removed scratches from your Lvp flooring, here are some tips to help prevent them in the future:
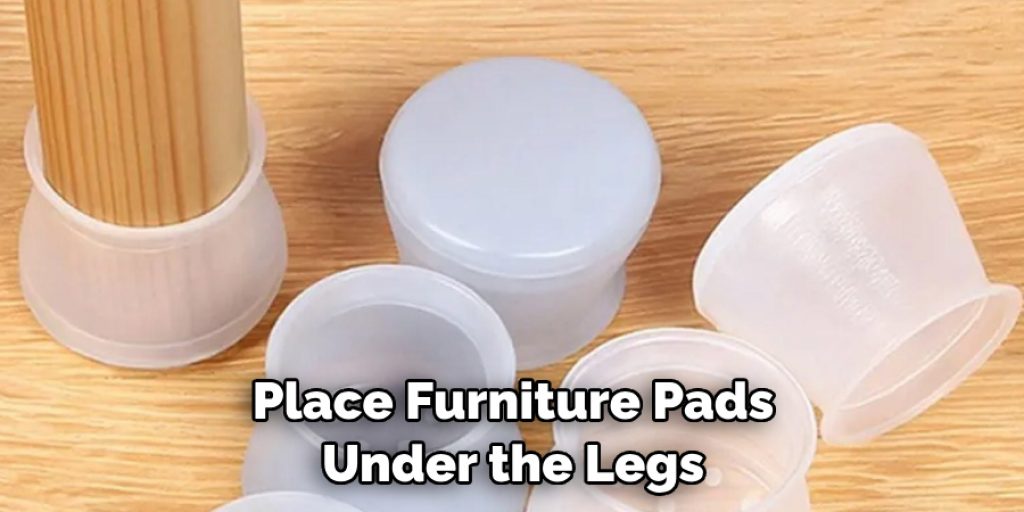
1. Use Furniture Pads
Place furniture pads under the legs of any heavy furniture to prevent them from scratching or damaging your Lvp flooring.
2. Trim Pets’ Nails Regularly
Keep your furry friend’s nails trimmed regularly to avoid scratches caused by their claws on the Lvp floor surface.
3. Use Rugs in High Traffic Areas
Consider placing rugs or mats in high-traffic areas to reduce the wear and tear on your Lvp flooring.
4. Avoid High Heels
High heels can cause dents and scratches on Lvp flooring, so avoid wearing them indoors.
5. Clean Up Spills Immediately
Any spills or stains should be cleaned immediately to prevent damage or staining to your Lvp flooring. For tougher stains, use a mild cleaner recommended for Lvp floors.
6. Use Caution When Moving Heavy Objects
When moving heavy objects such as furniture or appliances, place a protective barrier between the thing and your Lvp flooring to avoid scratches or dents.
7. Place Doormats at Entryways
Placing doormats at entryways can help prevent dirt and debris from being tracked onto your Lvp flooring, reducing the risk of scratches.
8. Follow Manufacturer’s Guidelines
Lastly, always follow the manufacturer’s guidelines for cleaning and maintaining your Lvp flooring to avoid any potential damage or scratching.
Scratches on Lvp flooring can be frustrating, but with these easy tips and tricks, you can easily remove them and prevent new ones from forming. Remember always to use caution when cleaning or moving heavy objects on your Lvp flooring, and follow the manufacturer’s guidelines for maintenance.
Proper care has made your Lvp flooring look beautiful and scratch-free for years. So, keep these necessary items and steps handy and enjoy your gorgeous Lvp flooring without worrying about scratches.

Frequently Asked Questions
Can Scratches on Lvp Flooring Be Removed?
Minor scratches can be easily removed using household items such as baking soda and toothpaste. For deeper scratches, professional help may be needed.
Can Scratched Lvp Flooring Be Repaired?
It may be challenging to repair if the scratches are deep enough to damage the flooring’s core layer. Replacing the damaged planks or seeking professional help is recommended in this case.
How Can I Prevent Future Scratches on Lvp Flooring?
Using furniture pads, trimming pets’ nails, and avoiding high heels are some ways to prevent future scratches on Lvp flooring. Additionally, following the manufacturer’s maintenance guidelines can help preserve your floors’ appearance. Remember always to use caution when moving heavy objects or cleaning spills immediately.
What Product Removes Scratches From Vinyl Flooring?
Household items such as baking soda, toothpaste, and mild cleaners recommended for Lvp flooring can effectively remove scratches from vinyl flooring. It’s always best to test a small, inconspicuous area before applying it to the entire scratch. If these methods don’t work, seeking professional help may be necessary.
Is LVP Flooring Resistant to Scratches?
Lvp flooring is considered highly durable and scratch-resistant. However, it is not entirely immune to scratches, especially from sharp or heavy objects. You can keep your Lvp flooring looking new for years with proper care and preventive measures.
So remember always to follow the manufacturer’s guidelines and use caution when moving or cleaning the floor’s surface. With its easy maintenance and beautiful appearance, it’s no wonder Lvp flooring is a popular choice for many households.
Scratches on Lvp flooring can happen with regular use, but they don’t have to be permanent. Remember to use caution when cleaning or moving objects on your Lvp flooring, and always follow the manufacturer’s guidelines for maintenance. With proper care, your Lvp flooring can continue looking beautiful and scratch-free for years.

Conclusion
Lvp flooring is a popular choice due to its durability and easy maintenance. However, scratches can still occur with regular use. Removing scratches from LVP flooring is not easy, but with the right tools and careful application, you can make your floor look new again.
You can remedy small scratches on your LVP floor with patience and a good eye without too much trouble. The most important takeaway here is to recognize that fixing minor blemishes and damages on your own is okay. Before attempting anything, however, always refer to the care instructions that came with your LVP flooring – a misstep here could cost you more money in the long run.
By following these steps on how to remove scratches from Lvp flooring for eliminating scratches and implementing preventive measures, you can keep your Lvp flooring looking beautiful for years to come.
Remember always to use caution and follow the manufacturer’s guidelines for maintenance to ensure your floors remain scratch-free. With proper care, your Lvp flooring will continue to be a stylish and functional addition to your home. So, keep these tips handy and enjoy your scratch-free floors! Finally, if all else fails, contact a professional who can do the job properly and help you take full advantage of the considerable benefits of LVP floors.
Angela Ervin
Angela is the executive editor of DIY quickly. She began her career as an interior designer before applying her strategic and creative passion to lifestyle and home. She has close to 15 years of experience in creative writing and online content strategy for housekeeping, home decorations as well as other niche efforts. She loves her job and has the privilege of working with an extraordinary team. She lives with her husband, two sons, and daughter in Petersburg. When she's not busy working she spent time with her family.