How to Remove Tire Studs
Tire studs are metal spikes that are inserted into the tire treads to provide added grip on icy roads. While they’re highly effective in keeping your vehicle stable in winter, they can also puncture your tires or damage the road surface as the ice melts. That’s why it’s essential to remove tire studs once the winter season is over.
If you’ve never done it before, taking on this task may be intimidating, but the good news is that it’s incredibly easy and requires minimal effort. In this blog post, we’ll guide you through the entire process of how to remove tire studs so you’re well-prepared to do it yourself.
Can You Remove the Tire Studs?
Winter is a magical time of year, full of cozy sweaters, hot cocoa by the fire, and tire studs for those living in snowy climates. These tiny metal studs are the key to staying safe on icy roads, but what do you do when the snow melts, and you’re left with a set of rubber wheels that sound like they’re filled with marbles? The answer is simpler than you might think: tire studs can be removed!
While some people choose to simply wait until the studs wear down naturally, removing them manually can extend the life of your tires and save you some money in the long run. If you’re not comfortable with tackling the task yourself, most tire shops offer stud removal services for a fee. With safe driving habits and a little bit of maintenance, you’ll be cruising along in your stud-free vehicle in no time.
Why Should You Remove Tire Studs?
As winter comes to an end and the snow melts away, it’s time to start thinking about removing those tire studs. You may be tempted to keep them on for a little longer, but the truth is, removing tire studs not only improves the life of your tires but also increases fuel efficiency and ensures a safer drive.
The studs, designed to grip ice and snow, can wear down your tires or even damage the road during dry or warmer conditions. Driving with studs during milder weather can cause louder road noise and a rougher ride. So, take the time to remove those studs and enjoy a smoother, safer, and more efficient ride in the warmer months ahead.
How to Remove Tire Studs: A Comprehensive Guide
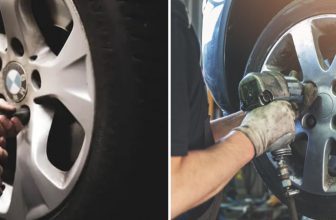
Step 1: Find the Studs
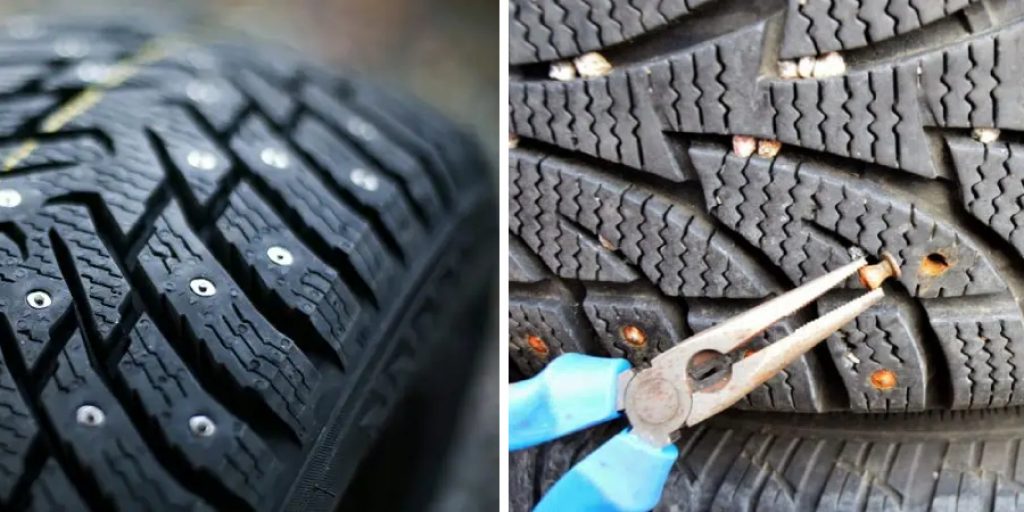
The first step in removing tire studs is to locate them on your tires. These might initially be difficult to spot, so don’t worry if it takes you a few minutes to find them all. Look for a small metal protrusion sticking out from the tire treads. Once you’ve found a few, it’ll be easier to see where the others are.
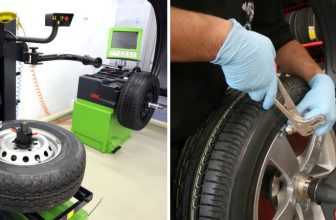
Step 2: Gather the Right Tools
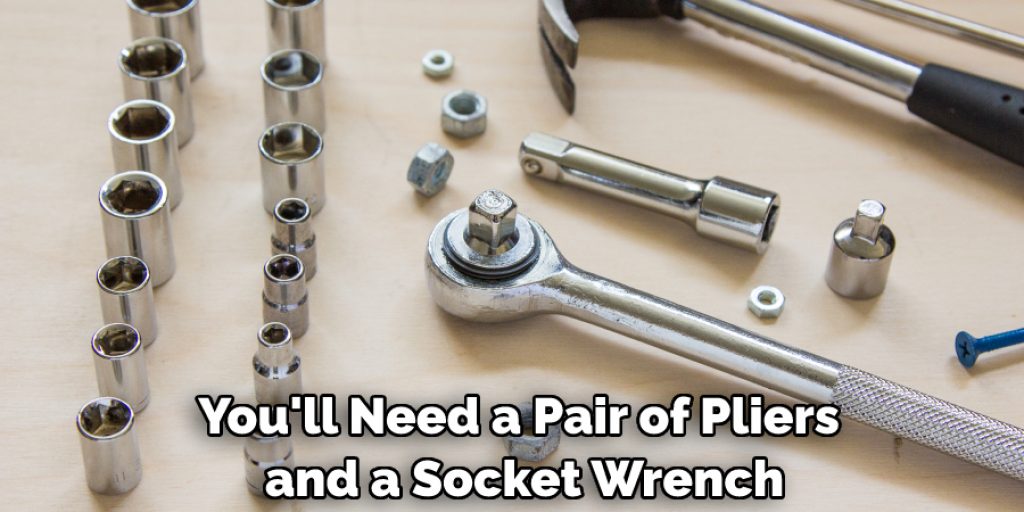
Before you start removing the studs, make sure you have all the necessary tools at hand. You’ll need a pair of pliers and a socket wrench with a smaller head to remove the nuts that secure the studs. In addition, a magnetic tray is useful for storing smaller nuts and bolts and will prevent them from rolling around on the ground.
Step 3: Remove the Nuts
Using the socket wrench, loosen each nut that secures the studs. Make sure you turn each nut counterclockwise. Once the bolt is loose enough, you can use your hands to take it off entirely. Don’t forget to place each stud and nut on the magnetic tray so you don’t lose any of them.
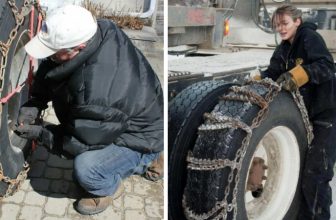
Step 4: Pull Out the Studs
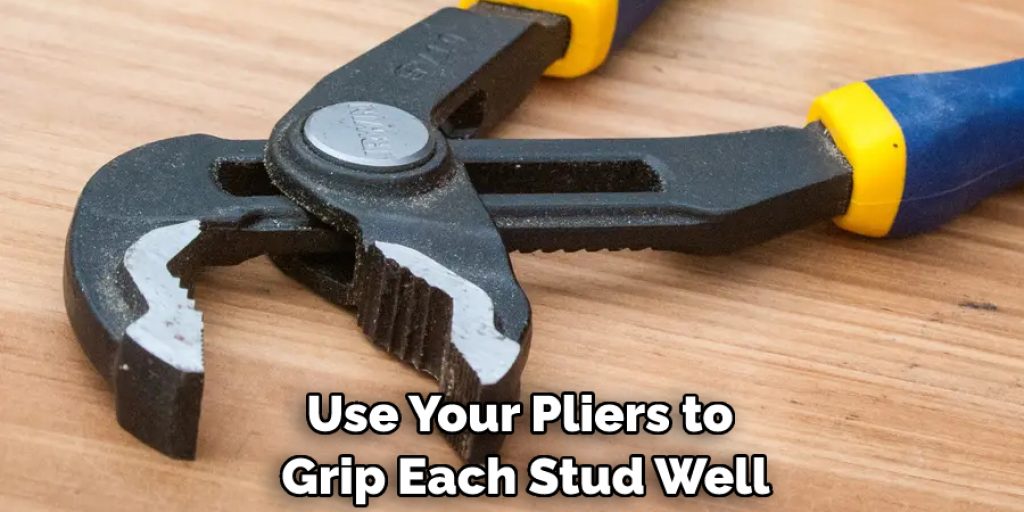
Now that you’ve removed all the nuts, the studs should come out quickly. Use your pliers to grip each stud well and slide them out of their holes. If any of the studs are particularly stubborn, you may need to use some force, but be careful not to damage the studs or the tire treads.
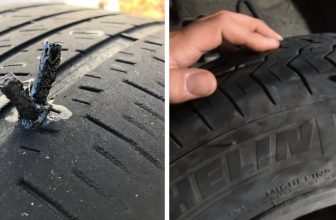
Step 5: Inspect the Tires
After you’ve removed all the studs, take a closer look at the tire treads to ensure there are no punctures or damage from the studs that were removed. You may need to visit your mechanic or local tire shop for repairs if you find any damage.
Step 6: Clean the Tire Treads
Once you’re sure there is no damage to the tires, take a damp cloth and wipe any excess dirt or debris from the tire treads. This will help prevent any corrosion or rusting of the tire’s metal components.
Step 7: Reinstall New Studs (If Needed)
Finally, if you need to replace the studs you removed, reinstall them by aligning each one with its hole and securing it using your pliers and socket wrench. When reinstalling studs, make sure they are flush with the tire treads so there is no risk of punctures or other damage.
That’s it! You’ve now learned how to remove tire studs and are ready to hit the road safely. For more information on tire safety, be sure to consult your local auto repair shop or mechanic.
5 Considerations Things When You Need to Remove Tire Studs

1. Check the Local Laws
Before you remove your tire studs, it’s important to check the local laws to see if there are any restrictions on doing so. In some areas, driving without tire studs during certain months of the year is illegal. Additionally, some states require that you have a certain type of tire on your vehicle if you plan on driving in winter conditions.
2. Consider the Weather Conditions
Another thing to consider before removing your tire studs is the current weather conditions. If it’s warm outside and there isn’t any snow or ice on the roads, you likely won’t need studs. However, if it’s cold out and snow or ice is present, you’ll want to keep your studs in place.
3. Know How to Remove Them Properly
If you do decide to remove your tire studs, it’s important to know how to do so properly. Improperly removing studs can damage your tires, which can lead to a blowout while driving. Additionally, if you don’t remove all of the studs from your tires, it could cause problems when installing new ones later.
4. Have a Spare Tire Handy
When removing your tire studs, it’s a good idea to have a spare tire handy in case one of your tires gets damaged in the process. This way, you won’t have to worry about being stranded on the side of the road with a flat tire.
5. Consider Your Driving habits
Finally, before removing your tire studs, take a moment to consider your driving habits. If you regularly drive in winter conditions or on icy roads, then it’s probably best to keep your studs in place. However, removing your studs likely won’t be an issue if you rarely drive in these conditions.
Benefits of Remove Tire Studs
Winter driving can be a daunting and treacherous experience, especially when it comes to navigating through icy conditions. However, with the right equipment, you can confidently tackle the ice and snow.
One such piece of equipment is the tire stud, a small metallic protrusion that’s attached to the tire tread. While they provide excellent grip, they have drawbacks, which is why removing tire studs can be more beneficial in the long run.
Removing the tire studs reduces road damage, improves fuel economy, reduces noise pollution, and increases handling and control. With these benefits, removing tire studs may be a cost-effective and practical solution for safer winter driving.
Some Common Mistakes People Make When Trying to Remove Tire Studs
Winter is here, and with it comes the need to prep your car for the snowy roads. Removing tire studs is just one part of that prep, but it can be tricky. Some common mistakes people make when trying to remove tire studs include using the wrong tools, not lubricating the studs, and applying too much force. Using the wrong tool could result in ruining the threads on the stud, which means having to replace it completely.

Not lubricating the studs can make them difficult to remove, leading to frustration and wasted time. Finally, applying too much force could cause damage to both the studs and the wheel itself. It’s important to approach tire stud removal with care and attention to detail so that you can get the job done right the first time.
Conclusion
Removing tire studs is a straightforward process that anyone can do, and it only takes a few minutes. Follow the steps we’ve outlined in this blog post, and you’ll have all your tires ready for summer in no time. In addition, don’t forget to check the condition of your tires while you’re removing the studs. Ensuring they’re in good condition and ready for the next season is crucial. We hope this guide has helped you learn how to remove tire studs with ease. Stay safe on the roads!
You Can Check It Out To Use a Grill Brick
Louis Wein
Louis has always been fascinated by cars. He loves the way they look, the sound of the engine, and how they make him feel when he's driving. He is always keen to learn more about different mechanics of cars and how the engine contributes to other aspects of the car. As an automotive technician with over 10 years of experience, he knew how they worked and loved taking them apart to see how they went back together. He was especially interested in the mechanics of combustion engines and loved finding ways to make them more efficient. He loves to work on cars and help people keep their vehicles running smoothly. As a senior editor, he enjoys contributing to Diy quickly because it allows him to share his knowledge and expertise with others.