How to Repair Scratch in Vinyl Floor
If you’ve ever been frustrated with a scratched and marred vinyl floor, then we have good news for you: repairing the scratch is easily done from home! For homeowners who don’t want to spend hundreds of dollars replacing their entire flooring, this DIY solution can help bring back the shine.
With a few simple steps on how to repair scratch in vinyl floor and some basic tools usually found in any household, you can give your vinyl floors new life. Read on to discover our step-by-step guide on how to repair a scratch in vinyl flooring!
Needed Tools and Materials
- Vinyl touch-up fluid or repair kit
- Sandpaper (optional)
- Clean cloths
- Furniture polish
9 Step-by-step Guidelines on How to Repair Scratch in Vinyl Floor
Step 1: Clean the Scratched Area
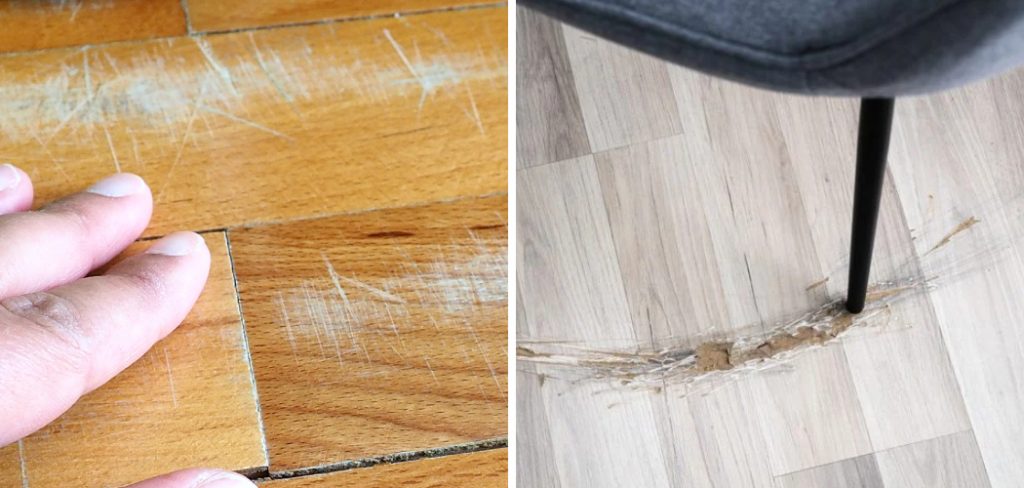
The first step to repairing a scratch in vinyl flooring is thoroughly cleaning the area. Take a clean cloth and wipe away any dirt and debris from the damaged section of your floor. This ensures that there is no extra build-up that could interfere with the repair process. If necessary, use a tiny amount of warm water and gentle soap to clean the area. It’s important to ensure that the area is completely dry before moving on to the next step.
Step 2: Sand if Necessary
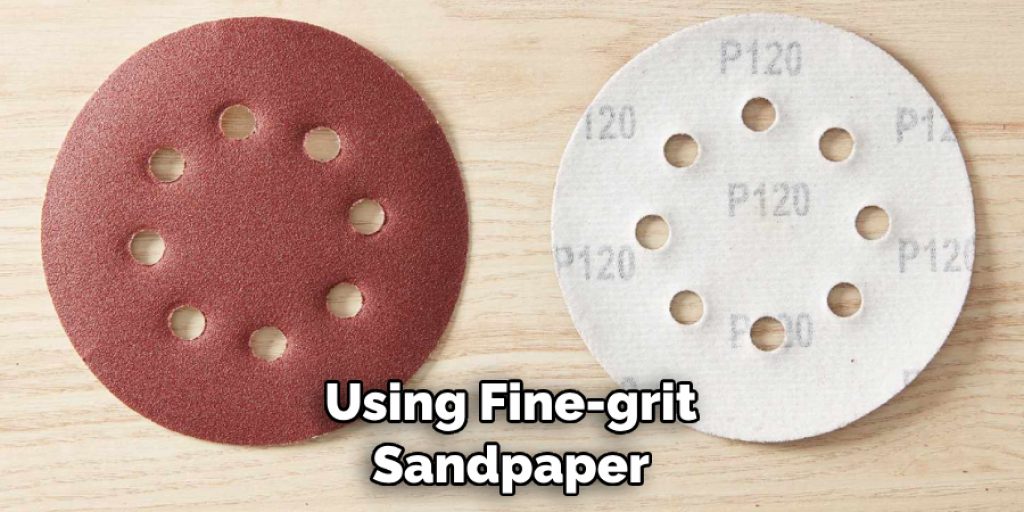
If your vinyl flooring has a deep scratch, you may need to sand it down before proceeding with repairs. Using fine-grit sandpaper, gently sand the damaged area until it is smooth and level with the rest of the flooring. Be sure to wipe away any dust or debris after sanding. But remember, this step is optional and only necessary for deep scratches.
You may skip this step if your scratches are shallow. But if you do decide to sand, be sure to avoid damaging the surrounding flooring. You don’t want to create new scratches while trying to fix one.
Step 3: Prepare the Repair Kit
If you are using a vinyl touch-up fluid or repair kit, make sure to read the instructions carefully before beginning. Most kits come with detailed instructions on how to properly mix and apply the product for the best results. It’s important to follow these instructions exactly to ensure a successful repair.
However, if you prefer a more natural approach, you can use olive oil or mineral oil as an alternative. You can also mix equal parts of baking soda and white vinegar to create a paste for repairs.
Step 4: Apply Repair Product
Using the kit or touch-up fluid, apply a small amount of the product directly onto the scratched area. Use a clean cloth to gently spread and blend the product into the surrounding vinyl. Continue this process until you have covered all visible scratches.
It’s important to work quickly as some products may dry fast. But, if you’re using olive oil, let it sit for a few minutes before wiping away any excess. It’s also important to not overapply the product as this can lead to a raised surface.
Step 5: Let It Dry
Allow the repair product to dry completely according to the instructions provided. This usually takes around 24 hours, so be patient and avoid walking on the repaired area during this time. It’s important to let the product dry thoroughly, as this will ensure a smooth and flawless finish. You can use a fan or open windows to help speed up the drying process.
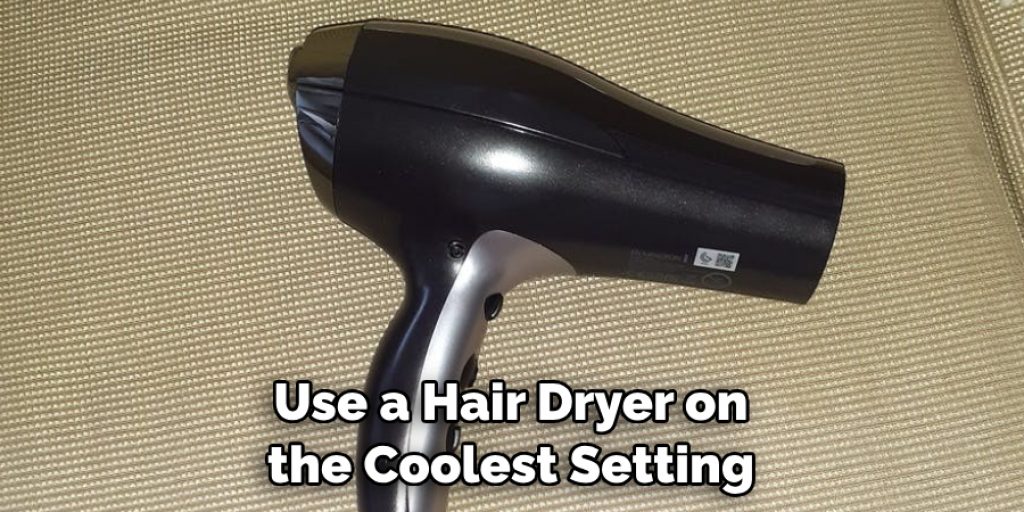
You can also use a hair dryer on the coolest setting to dry the area faster. But, avoid using a hot setting as it may damage the vinyl. You may also need to repeat this step depending on the severity of the scratches.
Step 6: Sand Again (Optional)
If you are not satisfied with the results after the first repair application, you can repeat steps 4 and 5 until the scratch is no longer visible. Once again, if necessary, sand the area lightly in between applications. It’s important to be patient and take your time for the best results.
Although it may be tempting to rush, rushing could affect the final outcome. You can also seek professional help if you’re unsure about the repair process. It’s always better to err on the side of caution when it comes to your flooring.
Step 7: Apply Furniture Polish
Once your repairs have dried and you are satisfied with the results, use a clean cloth to apply furniture polish to the entire vinyl flooring. This will help blend in the repaired area with the rest of the floor, giving it a more uniform appearance. It will also add shine and protect the vinyl from future scratches.
You can use a regular furniture polish or a specific vinyl flooring cleaner for this step. You can also make your own cleaner by mixing equal parts of water and vinegar. It’s important to not use too much polish as it can make the flooring slippery.
Step 8: Buff and Shine
After applying furniture polish, use a clean cloth to buff and shine the repaired area. This will help blend in the repairs even further, making them less noticeable. But remember to use a gentle touch and avoid using harsh chemicals or materials, as these can damage the vinyl.
You can also use a soft-bristled brush for this step, but avoid using wire brushes or scouring pads. It’s crucial to take care of your vinyl flooring to avoid future scratches. This includes regularly cleaning and sweeping to prevent debris from causing any damage.
Step 9: Regular Floor Maintenance
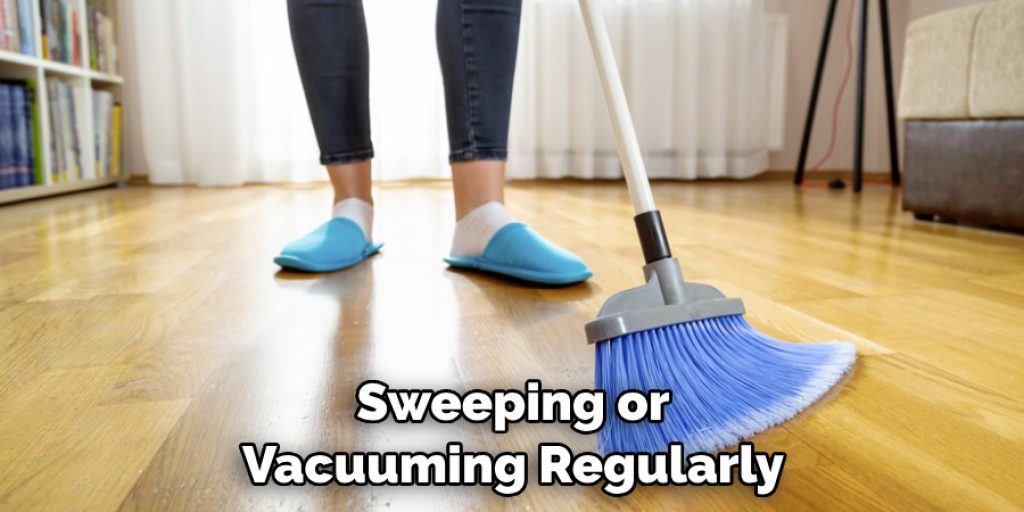
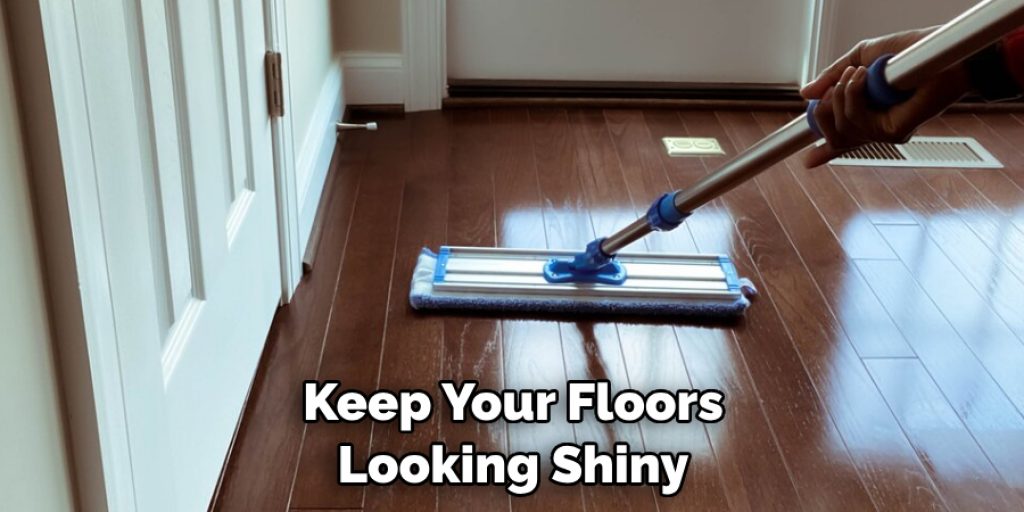
To prevent future scratches and damage to your vinyl flooring, be sure to regularly maintain it by sweeping or vacuuming regularly, cleaning up spills promptly, and avoiding dragging heavy objects across the floor. This will help keep your floors looking shiny and new. It’s also important to inspect your flooring for any signs of wear and tear and take the necessary steps to repair or replace damaged areas before they worsen.
This regular maintenance will help extend the life of your vinyl flooring and save you from having to deal with more extensive repairs in the future. This is especially important for high-traffic areas such as entryways and kitchens.
Now that you know how to repair scratch in vinyl floor, don’t let minor damage ruin the appearance of your flooring. With a little time and effort, you can easily restore the shine and beauty to your vinyl floors at home! So next time you spot a scratch, don’t panic – just follow these simple steps and your floors will look as good as new in no time.
Frequently Asked Questions
Q1: Can I Use Nail Polish to Repair a Scratch in Vinyl Flooring?
A1: No, it is not recommended to use nail polish as it may cause further damage or discoloration to the floor. It is best to use a vinyl touch-up fluid or repair kit specifically designed for repairing scratches on vinyl flooring.
Q2: How Long Does the Repair Process Take?
A2: The repair process can take anywhere from 24 hours to a few days, depending on the severity of the scratch and how many times you need to repeat the steps. It is important to allow enough time for the repairs to dry completely before using the floor again.
Q3: Can I Use This Method to Repair Tears in Vinyl Flooring?
A3: No, this method is specifically for repairing scratches. For tears or holes in vinyl flooring, it is best to consult a professional for proper repair techniques.
Q4: How Often Should I Maintain My Vinyl Flooring to Prevent Scratches?
A4: To prevent scratches and damage to your vinyl flooring, it is recommended to regularly maintain it by sweeping or vacuuming regularly, cleaning up spills promptly, and avoiding dragging heavy objects across the floor. This will help keep your floors looking shiny and new for years to come.
Conclusion
Repairing a scratch in the vinyl floor can be difficult, but with the right steps and supplies, it’s possible to do the job correctly. Start by cleaning the scratched area, then remove any dirt and debris from other areas around it. You should also inspect for loose vinyl pieces or chips. If you find any, glue them back into place using two-part epoxy before sanding down the area.
From there, use fine-grit sandpaper to smooth out any rough patches and prime the area for painting. After that’s complete, apply one or two layers of paint and finish with a few coats of clear sealer to protect the newly painted area from further damage.
With some time and effort, you can easily repair a scratch in your vinyl floor – allowing you to keep enjoying your beautiful floors for many years to come! Now that you know how to repair scratch in vinyl floor, why not get out there and give it a try today?
Angela Ervin
Angela is the executive editor of DIY quickly. She began her career as an interior designer before applying her strategic and creative passion to lifestyle and home. She has close to 15 years of experience in creative writing and online content strategy for housekeeping, home decorations as well as other niche efforts. She loves her job and has the privilege of working with an extraordinary team. She lives with her husband, two sons, and daughter in Petersburg. When she's not busy working she spent time with her family.