How to Replace Mobile Home Floor
Are you ready to tackle a home improvement project that can give your mobile home the facelift it needs? Replacing your old flooring is an easy way to instantly bring new life and beauty into any space.
Whether you’re looking for a budget-friendly way to update your floors or want to commit to the long haul with a luxurious option, we’ve got all of the tips and tricks on how you can easily replace your mobile home’s flooring with different materials that are sure to make it look brand new! Let us show you how to replace mobile home floor!
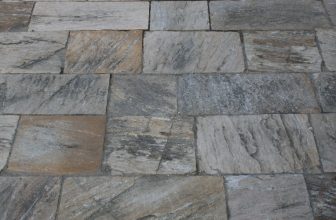
What is a Mobile Home Floor?
Before we dive into the process of replacing a mobile home floor, let’s quickly go over what it actually is. A mobile home floor typically consists of two layers – the subfloor and the finished flooring material. The subfloor is made up of plywood or oriented strand board (OSB) and serves as a base for the upper layer of flooring.
This upper layer can be made of a variety of materials such as vinyl, laminate, hardwood, or carpet. It’s important to understand the different layers of your mobile home floor so that you can properly replace them.
Tools and Materials You’ll Need
To successfully replace your mobile home floor, you will need a few essential tools and materials. These include:
- Measuring Tape
- Circular Saw or Jigsaw
- Pry Bar
- Hammer
- Screwdriver
- Replacement Flooring Material of Your Choice
- Adhesive or Flooring Adhesive
- Finishing Nails
- Safety Equipment (Gloves, Safety Glasses)
10 Simple Step-by-step Guidelines on How to Replace Mobile Home Floor
Step 1: Preparation
The first step in any home improvement project is to properly prepare the space. This includes clearing out all furniture and items from the room, as well as removing any old flooring material. Make sure to also disconnect any appliances or electronics that may be attached to the floor. It’s a good idea to cover nearby furniture and items with plastic sheets to prevent any damage during the process. This is also a good time to put on your safety equipment.

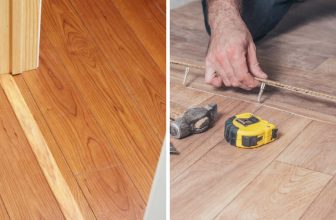
Step 2: Measure and Cut
Using a measuring tape, measure the length and width of your room. This will give you the dimensions needed for your replacement flooring material. Take these measurements with you when purchasing your new flooring material.
Once you have your new material, use a circular saw or jigsaw to cut it to the appropriate size. It’s always better to have more material than needed, as you can trim it down later. If your replacement flooring material is ceramic tile, make sure to cut it with a wet saw.
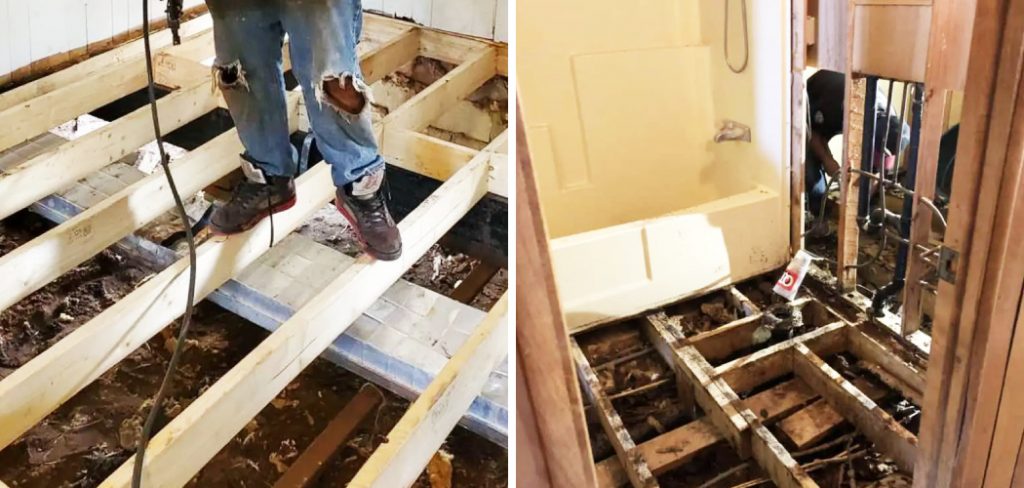
Step 3: Remove Old Flooring Material
Using a pry bar and hammer, carefully remove the old flooring material. Make sure to discard any debris properly. Otherwise, it could cause problems in the future, such as mold or rot. It’s also important to inspect the subfloor for any damage and make necessary repairs before moving on to the next step.
But before you do any repairs, be sure to let the subfloor completely dry if there is any moisture present. It’s important to have a dry and stable subfloor for your new flooring material. You can also use this time to inspect and repair any cracks or holes in the subfloor.
Step 4: Inspect Subfloor
Once the old flooring material is removed, inspect the subfloor for any damage. If there are spots that need to be replaced, now is the time to do so. Use a circular saw to cut out damaged sections and replace them with new plywood or OSB.
It’s important to securely attach the new subfloor to prevent any squeaking or movement in the future. You can use screws or nails for this. It’s also a good idea to seal any seams or gaps with a waterproof sealant.
Step 5: Clean and Level the Subfloor
Before installing the new flooring, make sure to clean and level the subfloor. This will ensure that your new flooring material is installed correctly and will last longer. Use a broom or vacuum to remove any debris, and then use a leveling compound to even out any areas that may be uneven.
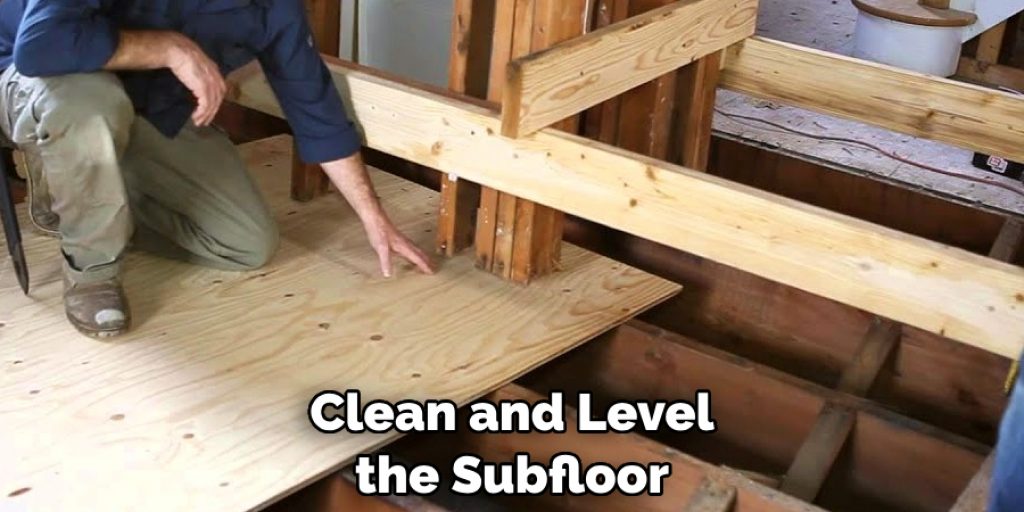
It’s important to let the compound dry completely before moving on. But, if you are using self-adhesive tiles, you can skip this step. This type of flooring material can be installed directly on the subfloor.
Step 6: Lay Down Adhesive
Depending on the type of flooring material you have chosen, you may need to lay down a layer of adhesive. Make sure to follow the manufacturer’s instructions for proper application. It’s important to apply the adhesive evenly and avoid any air pockets. A notched trowel can be helpful in spreading out the adhesive. This step is especially important for flooring materials such as vinyl or linoleum. You can skip this step if you are using self-adhesive tiles.
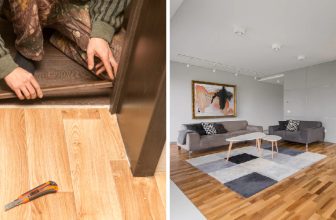
Step 7: Install New Flooring Material
Carefully lay down your new flooring material, making sure it is even and aligned with the walls. If necessary, use a rolling pin or heavy object to press down and secure the flooring in place. Although this step may seem simple, it’s important to take your time and make sure the flooring is correctly installed.
Any mistakes could result in uneven or damaged flooring. It’s also important to follow the manufacturer’s instructions for installation, especially for materials like ceramic tile or hardwood. But, if you are using self-adhesive tiles, you can simply peel and stick them onto the subfloor.
Step 8: Secure with Finishing Nails
For added stability, you can secure your new flooring material with finishing nails. Simply hammer them into the subfloor along the edges of the room. It’s important to use enough nails to prevent the flooring from shifting or moving in the future.
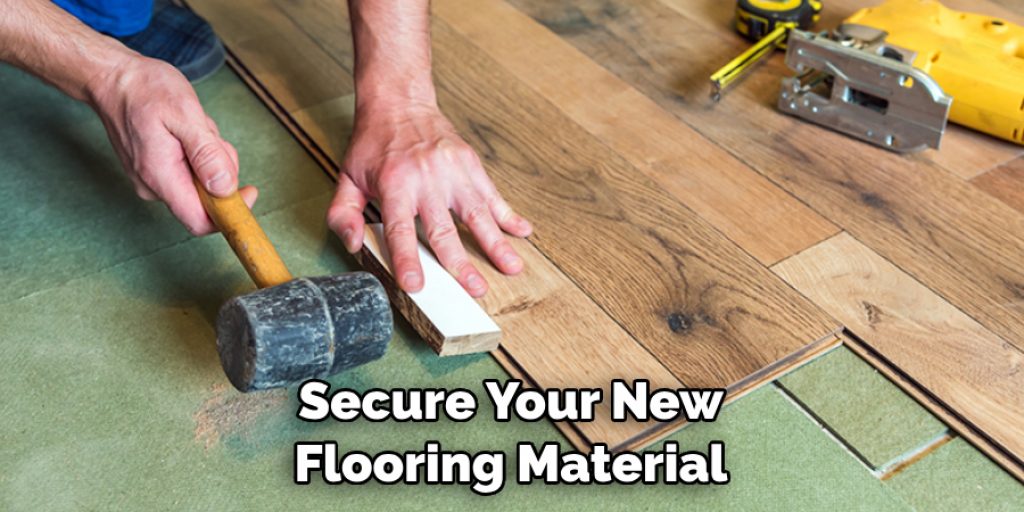
But if you are using self-adhesive tiles, this step is not necessary. It’s important to note that if you have chosen a flooring material such as hardwood or laminate, they may require special tools for installation, so make sure to follow the manufacturer’s instructions.
Step 9: Trim Excess Material
If needed, trim any excess material around the edges of the room using a circular saw or jigsaw. But, if you are using self-adhesive tiles, this step is not necessary. It’s important to make sure the edges are neat and aligned with the walls for a professional finish. It’s also a good idea to seal any gaps between the flooring and walls with caulk.
You can also add baseboards or molding for a finished look. It’s important to let the flooring set and bond for at least 24 hours before walking on it or moving furniture back into the room.
Step 10: Allow Adhesive to Dry
If you use adhesive, make sure to allow it to dry completely before moving any furniture back into the room. This can take anywhere from a few hours to a day, depending on the type of adhesive used. Always check the manufacturer’s instructions for recommended drying time. Once the adhesive is dry, you can move your furniture back in and enjoy your newly replaced mobile home floor!
Following these simple steps will have you on your way to a brand-new floor in no time! Remember to always follow proper safety precautions and consult with a professional if you are unsure about any part of the process. Now go enjoy your newly replaced mobile home floor! So, this is how you can replace your mobile home floor!
Things to Consider
- Always Make Sure to Properly Prepare the Space Before Beginning the Project.
- Inspect and Repair Any Damage to the Subfloor Before Installing New Flooring Material.
- Follow the Manufacturer’s Instructions for the Proper Application of Adhesive.
- Allow Enough Time for the Adhesive to Dry Completely Before Moving Furniture Back Into the Room.
- Consult With a Professional if You Are Unsure About Any Part of the Process.
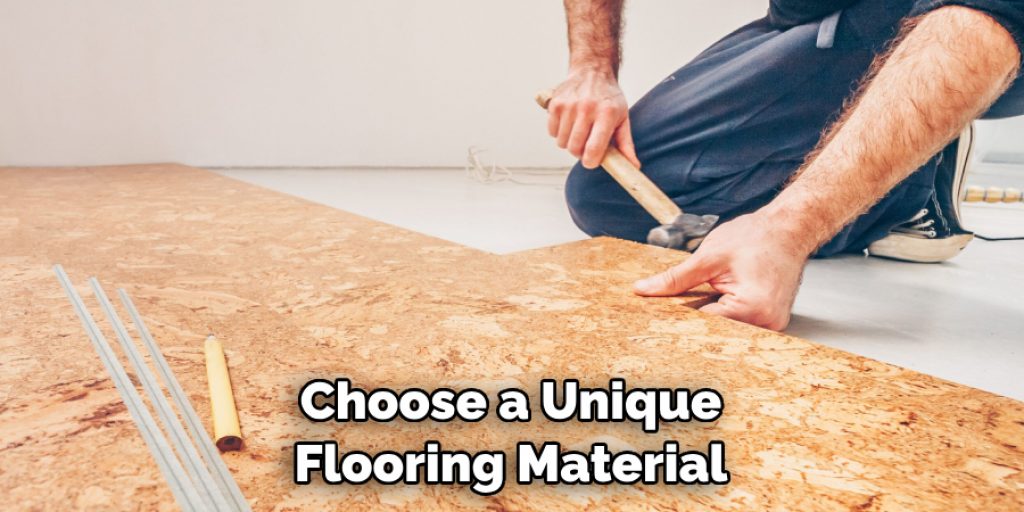
- Don’t Be Afraid to Get Creative and Choose a Unique Flooring Material to Make Your Mobile Home Stand Out.
With these tips, you can easily replace your mobile home floor and give your space a brand-new look without breaking the bank. So go ahead and try it out for yourself! We hope this guide has been helpful in showing you how to replace mobile home floors. Happy renovating!
Frequently Asked Questions
Q1: Can I Replace My Mobile Home Floor Without Professional Help?
A1: Yes! With the right tools and materials, replacing your mobile home floor can be a DIY project. It’s important to carefully follow the steps and take proper safety precautions. But if you have any doubts or concerns, it’s always best to consult with a professional.
Q2: How Often Should I Replace My Mobile Home Floor?
A2: It depends on the type of flooring material and how well it is maintained. Generally, vinyl and laminate flooring can last up to 20 years, while hardwood and carpet may need to be replaced every 5-10 years. It’s important to regularly inspect your floors for any signs of damage or wear and tear.
Q3: Can I Use Any Type of Flooring Material for My Mobile Home?
A3: Yes, you can use a variety of materials for your mobile home floor as long as they are suitable for your subfloor and meet any safety requirements. It’s important to do some research and consider the environment in which your home is located before choosing a flooring material.
Q4: How Can I Prevent Future Damage to My Mobile Home Floor?
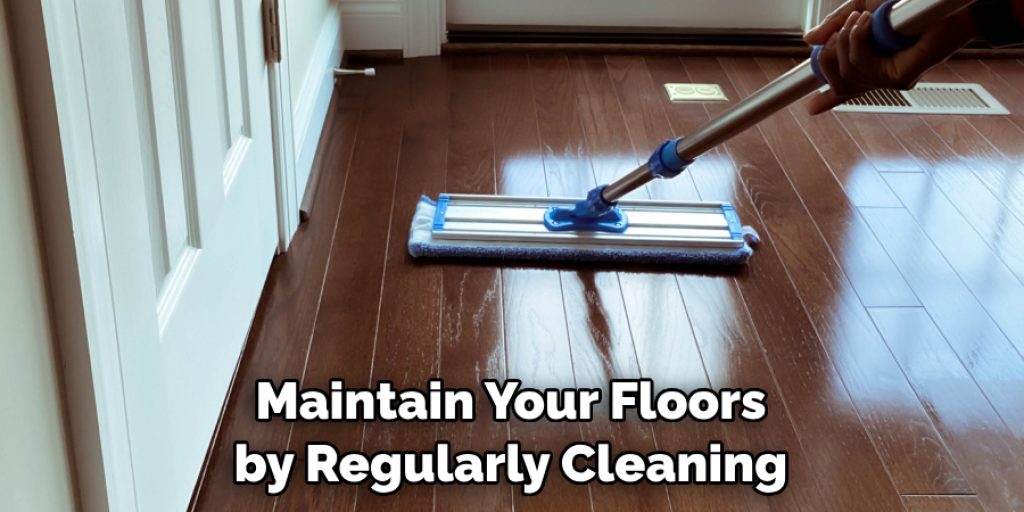
A4: To prevent future damage, it’s important to properly maintain your floors by regularly cleaning and inspecting for any signs of wear and tear. It’s also a good idea to avoid exposing your floors to excessive moisture or heavy furniture that can cause indentations.
Conclusion
The process of replacing your mobile home floor may be daunting and intimidating, but knowing the steps ahead of time and preparing for all the potential challenges will make it much easier. With a little patience and careful preparation, you can have a new mobile home floor that looks great! All that’s left to do now is create an action plan, gather your tools and supplies, work through each step with precision, and enjoy your new beautiful floor.
Hopefully, this article on how to replace mobile home floor has served as an invaluable resource if you’re considering updating or replacing the flooring in your mobile home. To start your project today, take advantage of discounts with top-rated stores to get started on the right foot. And don’t forget – measure twice and cut once!
Angela Ervin
Angela is the executive editor of DIY quickly. She began her career as an interior designer before applying her strategic and creative passion to lifestyle and home. She has close to 15 years of experience in creative writing and online content strategy for housekeeping, home decorations as well as other niche efforts. She loves her job and has the privilege of working with an extraordinary team. She lives with her husband, two sons, and daughter in Petersburg. When she's not busy working she spent time with her family.