How to Restore Engineered Hardwood Floors
Engineered hardwood floors have become increasingly popular due to their durability, easy maintenance, and pleasing aesthetics. However, despite its reputation for being sturdy, the appearance of your engineered hardwood floors may become dull and lifeless over time due to wear and tear.
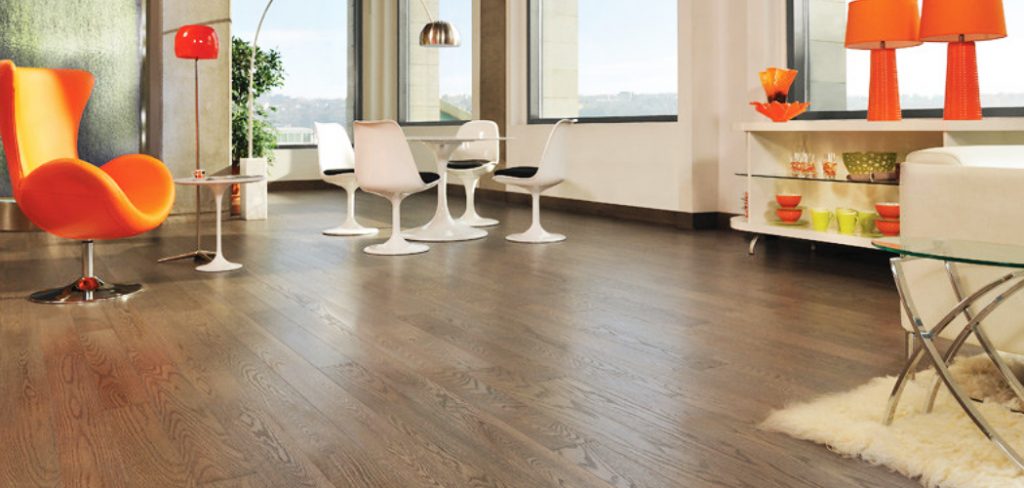
The good news is that you don’t need to replace your floors entirely, as there is an option of restoring them. Restoration is a cost-effective method of transforming the beauty of your floors, and in this blog, we will share essential steps on how to restore engineered hardwood floors and restore their natural shine.
Can You Restore Engineered Hardwood Floors?
Regarding flooring options, engineered hardwood floors remain a popular and stylish choice. However, wear and tear can take a toll on the flooring over time, leaving scratches, dents, and discolored spots. The good news is that it is possible to restore engineered hardwood floors to their former glory with the right tools and techniques.
From sanding to refinishing, experts can help breathe new life into your floors and give your home an updated look. So, if you’re looking to restore your engineered hardwood floors, don’t give up hope – plenty of options are available to help you achieve the desired results.
Why Should You Restore Engineered Hardwood Floors?
Engineered hardwood floors offer durability, versatility, and a premium look, which is why they are so popular in modern home interior design. However, despite their sturdy construction, they are still susceptible to wear and tear. This is where floor restoration comes in.
Restoring your engineered hardwood floors not only revitalizes their appearance but also prolongs their lifespan. From sanding down scratches and scuffs to applying a fresh coat of finish, restoration experts are equipped with the tools and knowledge to bring your hardwood floors back to life.
Once your floors have been restored, you can expect to enjoy a sleek and polished surface that is sure to turn heads. So, if you’re looking to enhance the value and beauty of your home, consider restoring your engineered hardwood floors today.
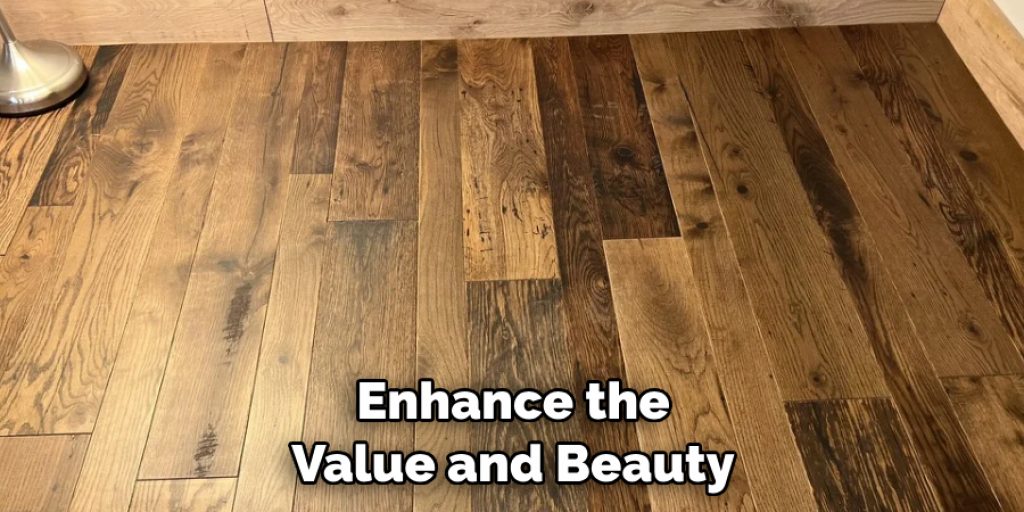
How to Restore Engineered Hardwood Floors: Revive The Beauty of Your Engineered Hardwood Floors
Step 1: Inspect Your Floors
The initial step to restoring your engineered hardwood floors is to carefully inspect them to identify the areas needing restoration. Look out for scratches, dents, or stains. You can do this by examining the surface of the floor; moving furniture or other home fixtures that cover the floor. This step ensures you have a clear idea of what needs to be done before embarking on the restoration process.
Step 2: Scrub the Floors
Start by scrubbing the floor with a soft-bristle brush or a vacuum cleaner. Remove dirt and debris that has accumulated over the years and clean the crevices and corners your gumption can’t reach. You can also use a hot water mop to clean and loosen hardwood floor dirt. Make sure to use only wood-friendly cleaners to protect the hardwood from wear and tear.
Step 3: Sanding
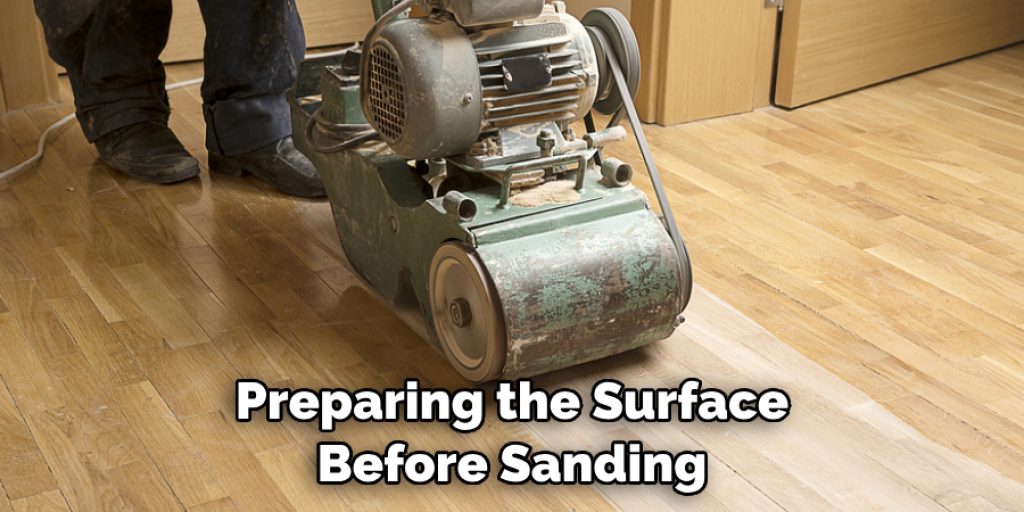
Sanding helps remove scuff marks and serious scratches as well as any remaining finish that needs to be redone. Use sandpaper with a high grit number to prevent damaging the hardwood surface fibers. The number of sandpaper grits to use will depend on the level of damage on the surface of the floor. Ensure you sand consistently and frequently check the results to know when to stop.
Step 4: Staining and Refinishing
Once the floors are clean and smooth, you may decide to give it a new look by staining it. Choose a staining color that compliments your home decor and a protective finish to seal and protect the floors. Follow the product instructions to refinish the floors and allow them to dry for some hours. Ensure that you work in small sections to prevent the finish from drying unevenly. After the first coat, let it dry, and then repeat for a second coat.
Step 5: Buffing
If you have engineered hardwood floors with a polyurethane finish, buffing can help restore its shine. Use a floor buffer or an electric sander to buff the floor until it regains its shine. Make sure to select the right pads for your machine to avoid damaging the floors. Buffing helps to remove any remaining scratches and also smooths out the surface.
Step 6: Adding a Final Coat
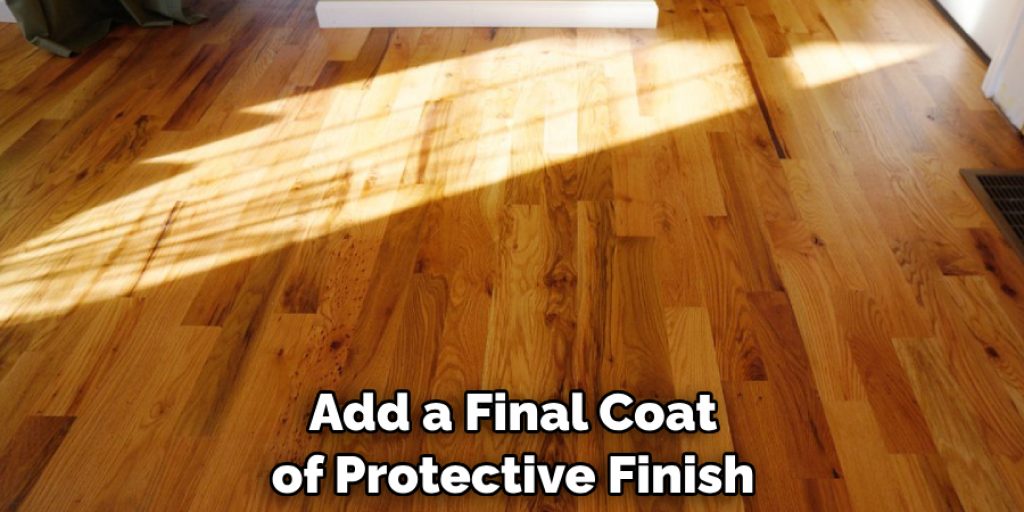
Add a final coat of protective finish after buffing to give your floors extra protection. This will help seal the stain and prevent any damage from daily wear and tear. Follow the product instructions for applying the final coat and allow it to dry completely before stepping on the floors.
Step 7: Regular Maintenance
To ensure that your newly restored engineered hardwood floors last for years, maintain them regularly. This includes sweeping or vacuuming the surface daily, mopping with a wood-friendly cleaner weekly, and using furniture pads to prevent scratches. Avoid using harsh chemicals or abrasive materials when cleaning, as it can damage the floor’s finish.
Follow these steps on how to restore engineered hardwood floors and you’ll have beautiful and durable floors that will enhance the overall look of your home. Remember to inspect, scrub, sand, stain, refinish, buff, add a final coat, and regularly maintain them for optimal results. With proper care and maintenance, your engineered hardwood floors will maintain their beauty for years to come.
Some Considerations Things When You Need to Restore Engineered Hardwood Floors
If you’re looking to restore your home’s engineered hardwood floors, there are a few things to consider before diving headfirst into the project. First and foremost, it’s important to assess the overall condition of your floors. Are there any major dents, scratches, or stains that must be taken care of? Next, consider the type of finish on your floors and what type of refinishing method will best suit your needs.
Additionally, it’s crucial to make sure your floors are properly cleaned and prepped before beginning any restoration work. With these considerations in mind, you’ll be on your way to achieving beautiful, like-new floors in no time.
5 Benefits of Restoring Engineered Hardwood Floors
1. Durability
Engineered hardwood floors are incredibly durable and can last for decades with proper care and maintenance. They are constructed from multiple layers of wood, which makes them more resistant to moisture and temperature changes than solid hardwood floors. Additionally, engineered hardwood floors are less likely to warp or crack over time due to their construction.

2. Easy Installation
Engineered hardwood floors are also much easier to install than solid hardwood floors. Since they come in planks that have already been pre-cut, they can be installed quickly and easily without the need for special tools or skills. This makes them ideal for DIY projects or for people who want to save money on installation costs.
3. Versatility
Engineered hardwood floors are also very versatile as they come in a variety of colors, finishes, and textures. This allows homeowners to customize the look of their flooring to match their existing décor or create an entirely new look for their home. Additionally, engineered hardwood floors can be used in any room in the house since they do not require special installation techniques as solid hardwood does.
4. Eco-Friendly
Another benefit of restoring engineered hardwood floors is that it is an eco-friendly option as it helps to reduce waste by reusing materials that would otherwise end up in landfills. It is also a great way to reduce energy consumption, as restoring existing flooring does not require the same amount of energy that would be needed to produce new flooring from scratch.
5. Cost Savings
Finally, restoring engineered hardwood floors can also help homeowners save money as it typically costs less than installing brand-new flooring from scratch. This can be especially helpful if you are trying to stay within a budget when remodeling your home or if you simply want to get more bang for your buck when it comes to flooring options.
Some Common Mistakes People Make When Trying to Restore Engineered Hardwood Floors
Floor restoration is a tedious task that requires patience and attention to detail. Engineered hardwood floors are often chosen for their durability and versatility; it’s no wonder many homeowners opt for them.
Unfortunately, some people make mistakes when restoring these floors that can be detrimental to their longevity and beauty. One common mistake is not properly preparing the surface before sanding, which can leave marks and affect the final result. Moreover, choosing the wrong sandpaper grit or using cheap products can cause further damage.
To avoid such errors, it’s important to seek professional assistance or do ample research beforehand. That way, you can restore your engineered hardwood floors to their former glory and prolong their lifespan.
Conclusion
In summary, restoring engineered hardwood floors is a cost-effective solution to achieve a new, revitalized look. By following the above steps, you can restore the natural beauty of your floors and make them shiny, resilient, and attractive again.
It’s important to prioritize proper maintenance to keep your floors in the best condition for years. Ensure you follow the above steps carefully or hire a professional for the best results. Let your floors shine! Thanks for reading our post about how to restore engineered hardwood floors.

