
How to Rewire a Sewing Machine Motor
There comes a time in every sewer’s life when its machine’s motor needs to be rewired. This can seem daunting at first, but it can be a breeze with the right instructions! Follow these simple steps, and you’ll have your machine up and running like new. So keep reading to learn more about how to rewire a sewing machine motor.
What Is a Sewing Machine Motor?
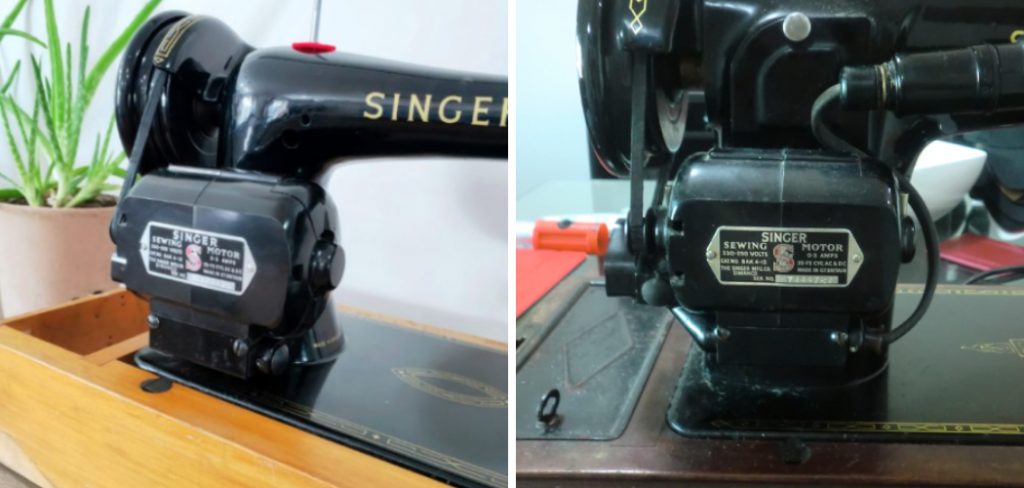
A sewing machine motor is a device that helps to power the machine and keep it running smoothly. The motor is typically located underneath the sewing machine, and it is responsible for operating the needle and other moving parts. The speed of the motor can be adjusted depending on the type of stitch being made. Sewing machine motors are generally reliable, but they can sometimes overheat or experience other problems. If the motor is not working properly, it may need to be replaced.
Why Should You Rewire a Sewing Machine Motor?
Sewing machines have been around for centuries, and their basic design has remained largely unchanged. However, the motors that power sewing machines have undergone a dramatic transformation. Early sewing machine motors were large and bulky, making them difficult to operate and repair. Today, sewing machine motors are much smaller and more efficient.
They also generate less heat, making them less likely to overheat and cause fires. As a result, it is important to rewire a sewing machine motor when it shows signs of wear and tear. This will help prolong the life of the motor, but it will also make the sewing machine easier to use and more reliable.

How to Rewire a Sewing Machine Motor Step by Step Guide
Step 1: Disconnect the Motor
Disconnect the motor from the power source. Unplug the machine from the wall outlet or switch off the circuit breaker if the machine is hardwired. If you’re working on a portable sewing machine, remove the batteries.
Step 2: Remove the Motor
Now that the sewing machine is unplugged and the power cord removed, it’s time to take off the motor. There are usually two screws holding the motor in place. Unscrew these and carefully remove the motor from the machine.
Step 3: Inspect the Motor
Once the motor is in your hands, take a look at it. The motor should have two main parts: the armature and the field. The armature is the part that spins and contains the winding wire coils. The field is the stationary part of the motor that provides the magnetic field necessary for the armature to spin.
If either the armature or field is damaged, it will need to be replaced. However, if both parts are in good condition, you can proceed to the next step.
Step 4: Test the Motor
Before rewiring the motor, it’s a good idea to test it first. This will help you determine if the motor is still working properly and save you time in the long run.
You’ll need a 9-volt battery and a set of alligator clips to test the motor. First, connect one end of the alligator clip leads to the battery’s positive terminal and the other end to one of the armature terminals on the motor. Then, do the same thing with the battery’s negative terminal and the other armature terminal. If the motor starts to spin, it’s in good working condition.
Step 5: Rewire the Motor
Now that you’ve tested the motor and confirmed that it’s still working, it’s time to rewire it. You’ll need a soldering iron, some solder, and some heat shrink tubing to do this.
Start by soldering one of the armature terminals to one end of a length of wire. Then, do the same thing with the other armature terminal and the other end of the wire. Next, solder one of the field terminals to one end of another length of wire. Then, do the same thing with the other field terminal and the other end of the wire.
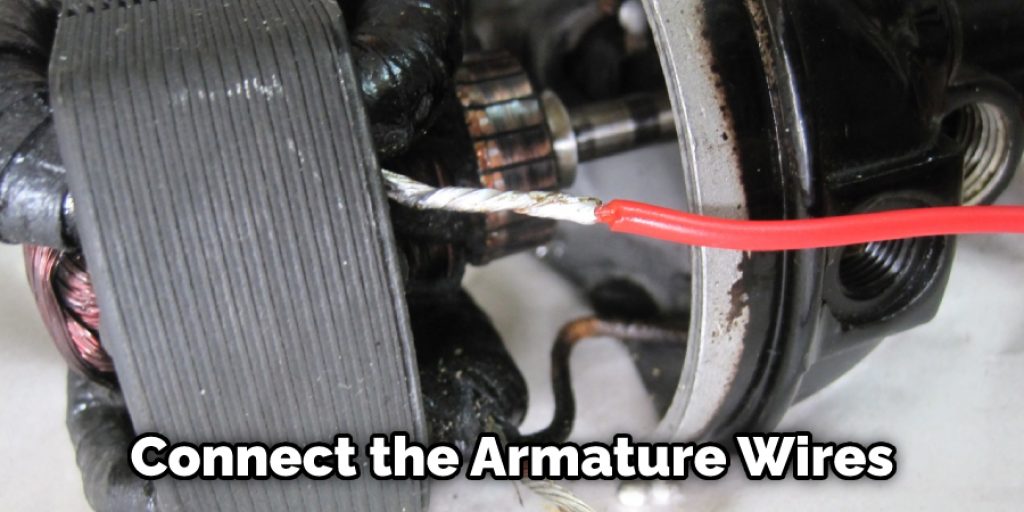
Now, all that’s left to do is connect the armature wires to the field wires. Twist the two wires together and solder them in place to do this. Once you’ve done that, slide some heat shrink tubing over the connection and use a heat gun to shrink it down. This will insulate the connection and keep it from shorting out.
Now that you know how to rewire a sewing machine motor, with this simple modification, you can now use your sewing machine with any AC power source, including a generator or an inverter. This will come in handy if you ever lose power or need to sew in an emergency.
Frequently Asked Question
Is a Sewing Machine Motor Ac or Dc?
Most sewing machine motors are DC or direct current. AC, or alternating current, is less common in sewing machine motors. That being said, it is still possible to find an AC motor in a sewing machine. Most newer sewing machines use DC motors, though.
If you’re not sure whether your motor is AC or DC, you can check the voltage rating. AC motors will have a 110 or 120-volt rating, while DC motors will be rated 12 volts.
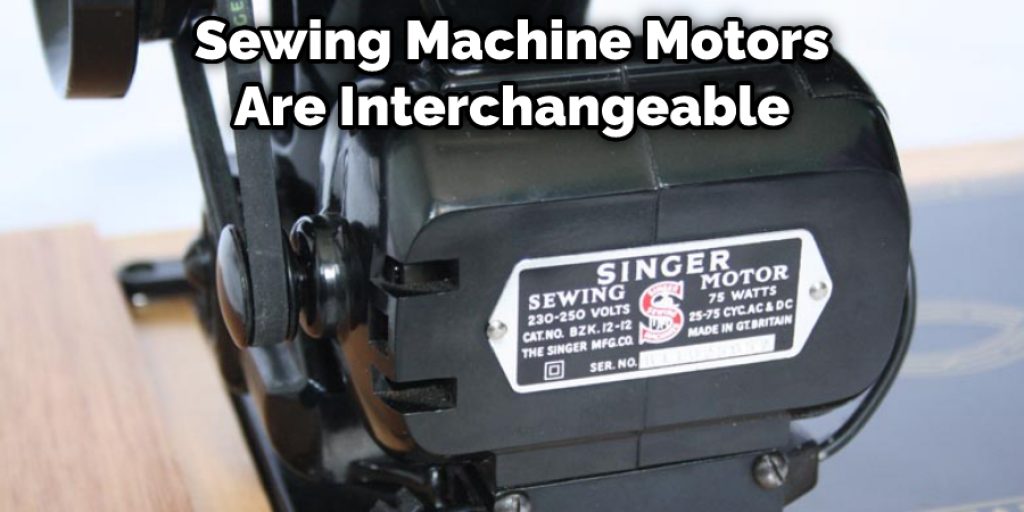
Are Sewing Machine Motors Interchangeable?
Yes, sewing machine motors are interchangeable. Motors can be switched out by matching the voltage (110 or 220), amps, and wattage. However, it is very important to make sure that the replacement motor also has a capacitor. If it doesn’t, the new motor will not run properly.
Is It Worth Repairing a Sewing Machine?
It depends. If the sewing machine is less than ten years old, has been well-maintained, and is in good working order, it’s’ probably worth repairing. On the other hand, if it’s’ older than ten years or has been poorly maintained, it may be more cost-effective to replace it.
Conclusion
If you have a sewing machine that isn’t’ working like it used to, or if you want to be able to do your repairs, this post is for you. We’ve’ walked through how to rewire a sewing machine motor, and while it may seem daunting at first, you can do it yourself with a little patience and some common tools.
Have you ever repaired a sewing machine? What was the most challenging part for you? Let us know in the comments below!


