How to Run Wire Through First Floor Ceiling
Are you curious about how to run wire through your first-floor ceiling? Running wire can be daunting for some, but with the right tools and information in hand, it’s a relatively straightforward process. In this blog post, we’ll walk you through the steps on how to run wire through first floor ceiling to safely get your wires from one end of the house to another without damaging walls or ceilings.
From determining where the wires go to avoiding potential pitfalls along the way, we’ve got everything you need to know right here! So stay tuned for all our expert tips on how to run wire through your first-floor ceiling like a pro and get started on your project today!
11 Step-by-step Guidelines on How to Run Wire Through First Floor Ceiling
Step 1: Plan and Prepare
Before you begin running wires through your first-floor ceiling, it’s essential to have a detailed plan in place. Take some time to determine where the wire needs to go and how many wires will be needed. Additionally, make sure to gather all necessary tools and materials before starting the project. It’s always better to be prepared before starting any project.
Step 2: Turn Off the Power
Safety should always be your top priority. Before beginning any work, make sure to turn off the power in the area where you’ll be running wires through the ceiling. This will prevent any potential electrical accidents and ensure your safety. This is especially crucial if you’re working with live wires. This step cannot be stressed enough.
Step 3: Identify the Joists
Before cutting any holes in your ceiling, you need to identify the location of the joists. This will help ensure that you have a sturdy surface to attach your wires to. You can use a stud finder or visually inspect the area for any support beams. It’s also a good idea to mark the joist locations with a pencil for reference. It’s always better to be safe than sorry!

Step 4: Measure and Mark Cutouts
Using your measurements from step one, mark the cutouts on your first-floor ceiling. Make sure to leave enough space between each hole for proper wire spacing. It’s also essential to have precise markings to avoid any mistakes during the cutting process. You can use a drywall saw or rotary tool to make the cutouts. This step requires patience and precision.
Step 5: Cut the Holes
Using a drywall saw, carefully cut out the marked holes in your ceiling. Make sure to follow the lines closely and avoid cutting through any pipes or wires that may be hidden in the ceiling. Otherwise, you may end up with a bigger problem on your hands. Once the holes are cut, use sandpaper to smooth out any rough edges.
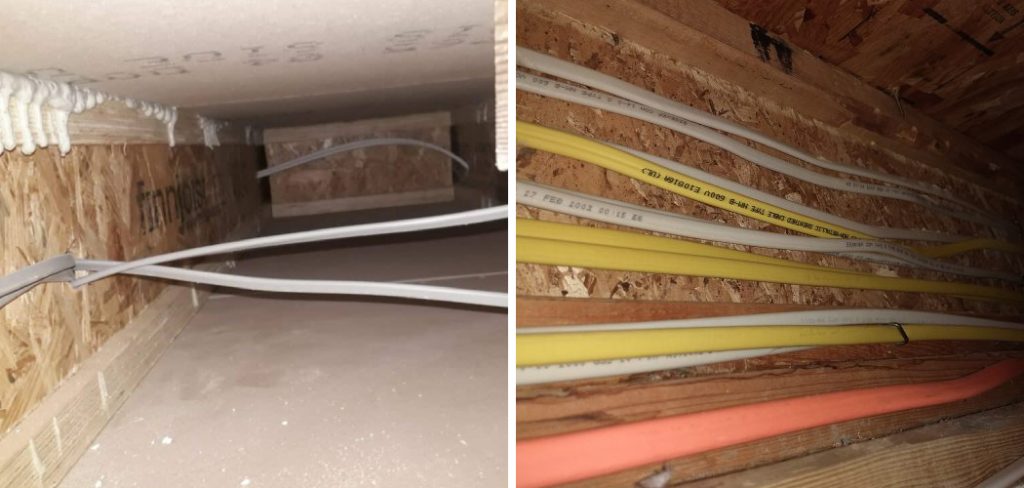
Step 6: Run the Wire
Now comes the exciting part – running the wire through the ceiling! Carefully thread the wire through one hole and pull it towards the other hole. This step can be tricky, so make sure to take your time and avoid any kinks or tangles in the wire. It’s also helpful to have a partner on hand to assist with pulling the wire through. It’s always better to have an extra set of hands!
Step 7: Secure the Wire
Once the wire is through, it’s time to secure it in place. Using cable staples or clips, attach the wire to the joists at regular intervals to prevent any sagging or drooping. It’s essential to avoid over-tightening and causing damage to the wires. This step is crucial for safety and to ensure the wires are in place before closing up the ceiling.
Step 8: Repeat for Additional Wires
If you need to run multiple wires through the ceiling, repeat steps six and seven for each one. Make sure to leave enough space between each wire to avoid interference or damage. It’s also a good idea to label each wire to make future identification easier. This step can be time-consuming, but it’s necessary for proper organization and functionality.
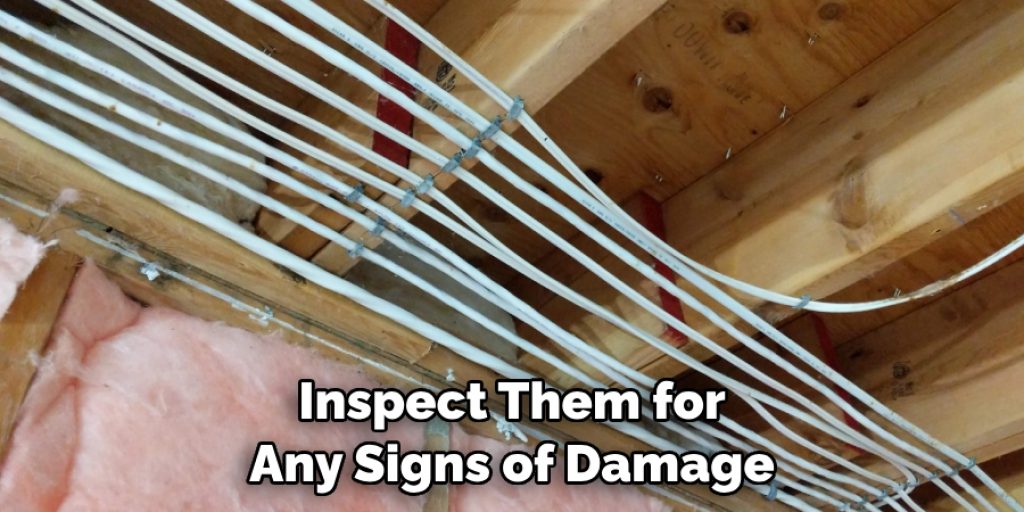
Step 9: Inspect and Test
Once all the wires are in place, inspect them for any signs of damage or interference. It’s always better to catch any issues now rather than later when the ceiling is closed up. Once you’re satisfied with the wires’ placement, it’s time to test them out. Turn the power back on and check that all outlets and switches are working correctly.
Step 10: Close Up the Ceiling
If everything looks good, it’s time to close up the ceiling. Use drywall screws to secure the cutouts back in place, making sure they’re flush against the ceiling. You may also need to use drywall tape and compound to smooth out any seams or gaps. Once everything is closed up, give it some time to dry before painting or finishing as desired. It’s always a satisfying feeling to see the finished product!
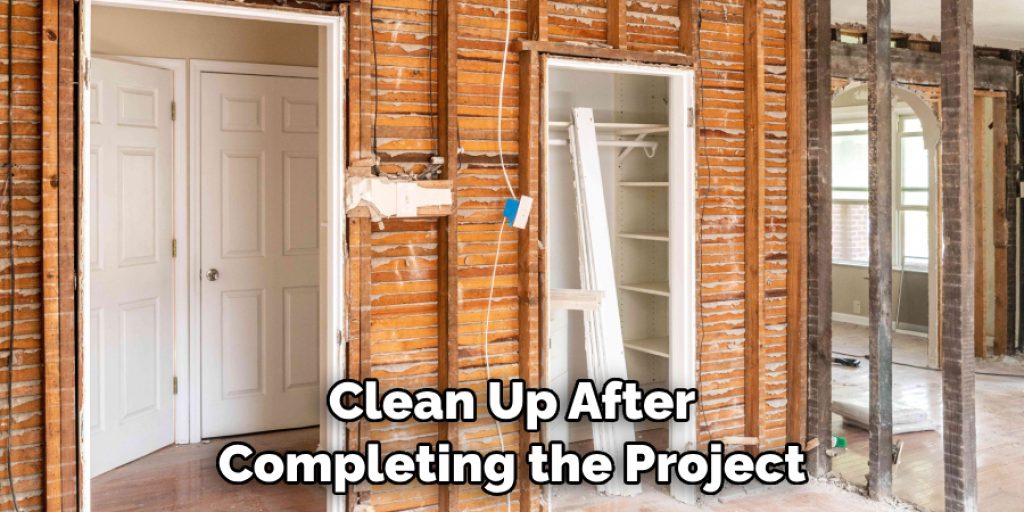
Step 11: Clean Up
Last but not least, don’t forget to clean up! Running wires through the first-floor ceiling can be a messy task, so make sure to clean up any debris or dust. Vacuum the area and wipe down any surfaces as needed. It’s always better to leave your workspace clean and tidy. Always remember to dispose of any materials or tools safely.
Now that you know how to run wire through first floor ceiling, you can confidently tackle this project on your own. Remember to plan and prepare, turn off the power, identify joists and measure carefully before cutting holes. Take your time running the wire and securing it in place, and don’t forget to inspect and test it before closing up the ceiling. With these step-by-step guidelines, you’ll have your wires safely and neatly installed in no time! Happy wiring!
Tips
- Always Double-check Measurements and Markings Before Cutting Holes in the Ceiling.
- Use Caution When Working Around Live Wires, and Always Turn Off the Power Before Starting Any Work.
- If Unsure or Uncomfortable With Running Wires Through the Ceiling, It’s Best to Consult a Professional Electrician for Assistance. Safety Should Always Come First.
- Labeling Wires During Installation Will Make Future Identification and Troubleshooting Much Easier.
- Don’t Forget to Clean Up After Completing the Project for a Tidy and Safe Workspace!
Frequently Asked Questions
Q1: What is the Best Type of Wire to Use for Running Through First-floor Ceilings?
A: It’s recommended to use a non-metallic sheathed cable (NM) or armored cable (AC) for running wires through first-floor ceilings. Always make sure to check local building codes and regulations before choosing a specific type of wire.
Q2: Can I Run Wires Through My First-floor Ceiling Without Cutting Holes?
A: While it’s possible to run wires through the ceiling without cutting holes, it’s not recommended. Cutting holes allows for proper wire spacing and avoids damage or interference with other wires or pipes in the ceiling. It also makes inspecting and testing the wires easier.
Q3: Do I Need a Permit for Running Wires Through My First-floor Ceiling?
A: It’s always best to check with your local building department to determine if a permit is required for running wires through your first-floor ceiling. Depending on the extent of the project and your location, you may need a permit before starting any work. Overall, it’s better to be safe and obtain the necessary permits before beginning any electrical work.
Q4: Can I Run Audio or Video Cables Through My First-floor Ceiling?
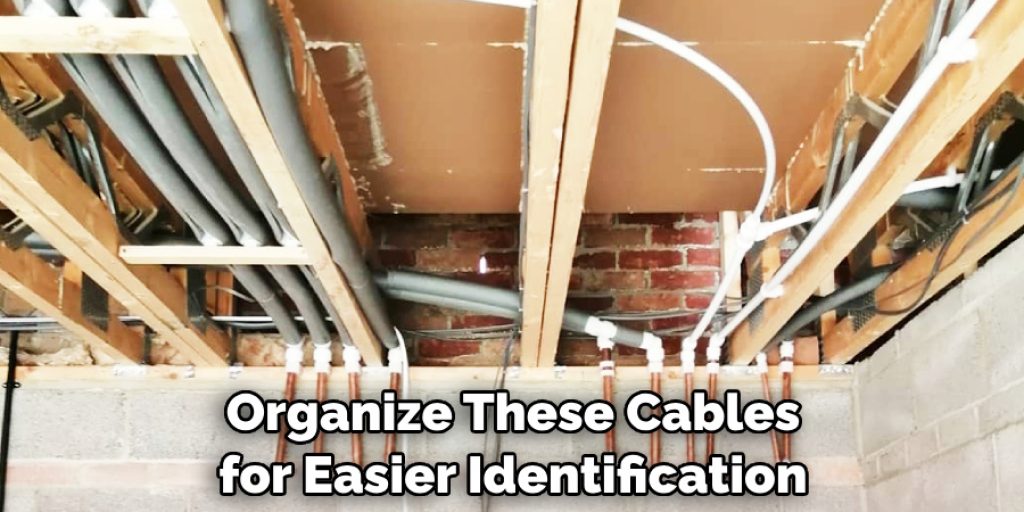
A: Yes, you can run audio or video cables through your first-floor ceiling using the same steps as running regular electrical wires. Just make sure to use appropriate wires for these types of signals and avoid interference with other electrical wires.
It’s also recommended to label and organize these cables for easier identification in the future. Overall, running audio or video cables through first-floor ceilings can help create a cleaner and more organized entertainment setup.
Conclusion
As we have explored, it is essential to take connected wiring seriously as it helps provide secure power distribution and enhanced cable protection. Ensuring correctly placed wires in the ceiling is made simple with the right precautions and knowledge. It can help make the entire process efficient and straightforward. A good idea would be to plan ahead, do research, and call a few professionals if stuck on a seemingly insurmountable task.
In time, you will have an organized and aesthetically pleasing layout that meets safety standards! So, don’t hesitate on getting started today – disconnect the power supply, start running your wire through the first-floor ceiling, and make sure you correct the environment for further convenience and low maintenance costs! Thanks for reading this article on how to run wire through first floor ceiling.
Angela Ervin
Angela is the executive editor of DIY quickly. She began her career as an interior designer before applying her strategic and creative passion to lifestyle and home. She has close to 15 years of experience in creative writing and online content strategy for housekeeping, home decorations as well as other niche efforts. She loves her job and has the privilege of working with an extraordinary team. She lives with her husband, two sons, and daughter in Petersburg. When she's not busy working she spent time with her family.