
How to Seal Acrylic Paint on Polymer Clay
When you’re ready to seal acrylic paint on polymer clay, the surface must be properly prepared. Follow these simple steps on how to seal acrylic paint on polymer clay, and your painting will last for years!
The first step in sealing an acrylic painting onto a piece of polymer clay is making sure the surface has been sanded down as smoothly as possible.
Next, use a tack cloth or paper towel with lacquer thinner to remove any dust from the surface before applying primer coatings or other finishes.
Finally, apply one or two coats of high-quality gloss finish spray over the entire area where you want to paint, then let dry overnight before starting work again. This should give you a glossy coating that will help protect your work from dirt and damage while also ensuring long-lasting, vibrant colors from your acrylic paint. Read on to know more!
Things You’ll Need:
Make sure you have the following materials before starting:
- Sandpaper (fine)
- Tack cloth or paper towels & lacquer thinner
- High-quality gloss finish spray
- Acrylic paints of different colors
- Lacquer or clear finish
Step by Step Guide to Seal Acrylic Paint on Polymer Clay
Step 1:
You should mix your colors in a disposable container, and only use that container for acrylic paint. It’s best to use primary colors, since they will create the most dynamic effects.
Step 2:
Apply the paint directly onto your polymer clay, or if you have already caked it, apply the color with either a palette knife or paintbrush. Apply several coats, allowing each to dry before adding the next one.
Step 3:
Once you are satisfied with the number of coats applied, let it dry for several hours or overnight to ensure no tackiness is left.
Step 4:
Apply a thin gel coat layer (like glue) over the paint using either an eyedropper or frosting technique. Let dry for several hours to ensure it is entirely tack-free; this step will make your piece waterproof and permanent!
Step 5:
Once the gel coat is dry, mix a drop of colorant (any color, but make sure to use one that matches your paint) with modeling wax and apply this as a thin layer over the entire piece. Let it dry for an hour, then buff lightly with a small amount of extra-fine steel wool.
Step 6:
After the buffing is done, you might need to apply a coat or two of clear coats to protect the surface; this will also pop your colors even more.
Step 7:
Let your piece dry for several days, and you’re finished! It will now be water-resistant. If you find that the paint has not been completely sealed or the colorant discolors the clear coat, give your piece a light buffing with excellent steel wool. If desired, apply a coat or two of clear to protect it.
Tips & Tricks to Seal Acrylic Paint on Polymer Clay:
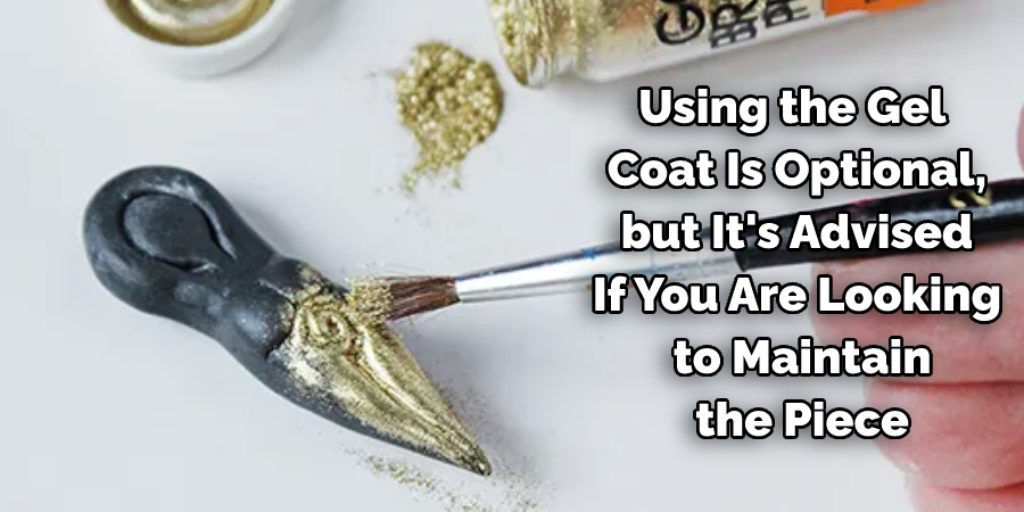
1. Using the gel coat is optional, but it’s advised if you want to maintain the piece in its original form for years to come. The gel will harden the paint, making it more durable and protective. If you are looking for a quick fix, you can use clear nail polish/lacquer to seal your design. However, this will not be as durable.
2. This should only be done to dry clay, so if you’ve just finished an item, allow it time to air dry before coating with acrylic paint.
3. Before baking or handling, allow the paint to dry for a couple of hours (depending on how many layers you wish to add).
4. Always use multiple thin coats rather than one thick coat. Thin coats ensure your design doesn’t crack or flake off during baking.
5. Spraying with an acrylic sealer is also an option, but this can become quite expensive.
6. Do not expect any paints to have a glossy finish, as all acrylics are dry matte.
7. You may want to seal both sides of your clay if you want to preserve your design long-term, but be sure that they are completely dry before sealing the second side.
8. You can rebake your clay as often as you wish, but the paint may crack and flake with each additional baking process.
Alternative Methods on How to Seal Acrylic Paint on Polymer Clay:
1. Future Floor Polish:
Future is a brand name for a product typically used in households as a floor finish. It is essentially a mix of water, acrylic resins, and other ingredients. Homemade Future Floor Polish has been known to work well in sealing acrylic paint on polymer clay if no commercial sealer is available.
The downside to this approach is that Future contains a small amount of silicone, which can interfere with glazes or other coatings applied over the acrylic.
2. Clear Nail Polish:
A clear coat of nail polish can be used as a sealer for acrylic paint on polymer clay. This approach is helpful if Future isn’t available. Gel-type clear nail polishes work best due to their increased thickness, which helps reduce the chance of cracking compared to traditional clear nail polish. However, with this method, applying too many layers of clear nail polish can warp the clay.
3. Acrylic Varnish:
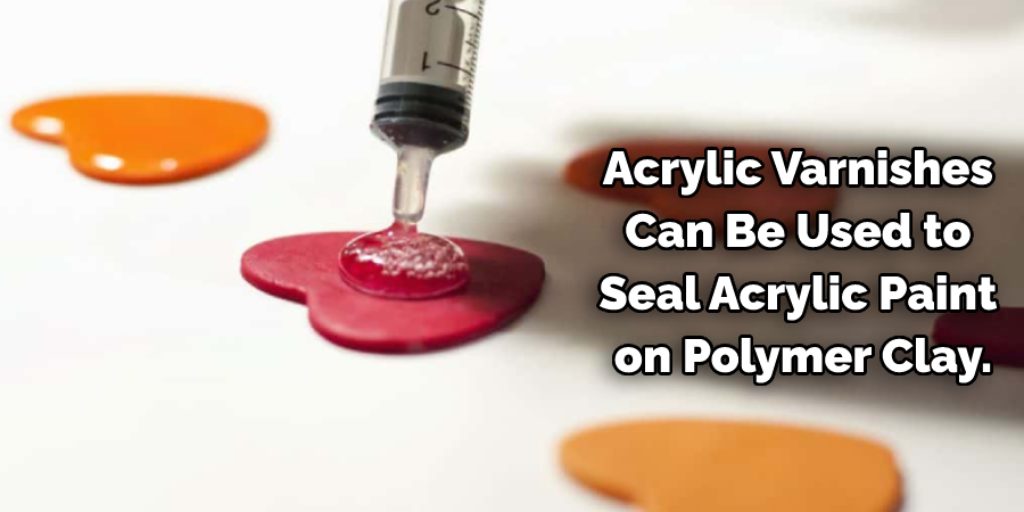
Acrylic varnishes can be used to seal acrylic paint on polymer clay. However, this approach may not suit all types of surfaces, especially if the surface is very absorbent or soft.
It should also be noted that some brands of acrylic varnish are only partially acrylic resins, meaning these products will have a different drying time than pure acrylic varnishes.
4. Glazing Medium:
Glazing medium is used with watercolor paint to increase watercolor’s transparency or luminosity, ultimately making the colors appear more vibrant on the work surface. It can also be mixed with acrylic paints for similar purposes.
However, it should be noted that the glazing medium is not a reliable sealer for acrylic paint on polymer clay. This approach will work in some cases, but if it fails to provide sufficient sealing effects, there’s no guarantee that this method will work at all.
5. Polyurethane Spray Sealer:
Polyurethane spray sealer is often used to protect products made of plastic or wood. However, it’s important to note that polyurethane spray sealer may also contain harmful chemicals to the respiratory system, so it should be handled with care if inhaled.
For this reason, it’s advisable to use protective equipment when applying this product. If any is ingested, contact a poison control center immediately for more information on the incident.
Can I Use Mod Podge to Seal Acrylic Paint on Clay?
Mod Podge is a water-based sealer; most acrylic paint requires a solvent-based sealer. Solvent-based sealers dry faster than water-based ones, so you have less time to work with them before it starts to set up. Water-based sealers take longer to dry but give you more open time, which is helpful when you want to return and touch up a mistake.
If the paint is still wet when you apply your sealer, it will dissolve the ink in the paint so that there is no color left when it dries. Also, if you use Mod Podge or any other kind of decoupage medium, then you would have to let it sit and dry for at least a week before you could bake the clay in your oven.
Finally, if some of the sealers dry on your tile, it will keep your item from getting hot enough to fire in the kiln properly.
Conclusion:
This paint can seal your polymer clay or make a glossy finish. If you want to add some color, mix the acrylic with water-based dye and get creative! Remember that you should always work in thin layers when painting on polymer clay because it’s a porous material that will take more time to dry completely.
Paints also come in many different textures, from matte to metallic finishes. Choose one according to what look you’re going for. Ensure you follow these instructions carefully on how to seal acrylic paint on polymer clay, and your finished product will last long without cracking or tearing!
If you get stuck during the process, email us your questions, and we will do our best to answer!
Elizabeth Davis
Elizabeth is a creative writer and digital editor based in the United States. She has a passion for the arts and crafts, which she developed from a young age. Elizabeth has always loved experimenting with new mediums and sharing her work with others. When she started blogging, she knew that DIYquickly would be the perfect platform to share her tutorials and tips. She's been writing for the blog from the beginning, and her readers love her helpful advice and easy-to-follow instructions. When she's not writing or editing, Elizabeth enjoys spending time with her family and friends.


