
How to Smooth Out Paper Mache
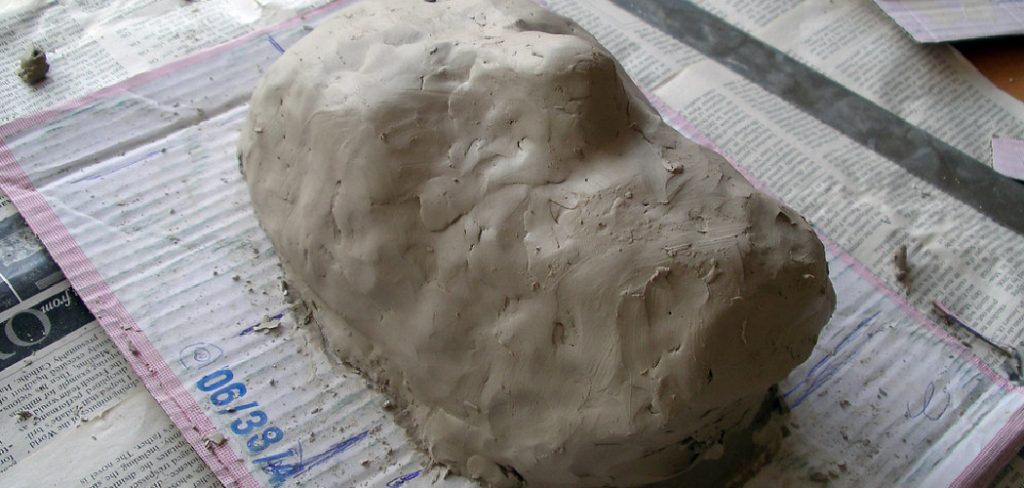
Ever wondered how to smooth out paper mache? There are many ways to do so. One of the most common ways to smooth out paper mache is by using a sponge. This can be done before or after the mixture dries, but it’s best to do it before. The drying process will make it more difficult for you to smooth out any bumps or imperfections in your paper mache project.
It’s also important to use the right type of sponge for this task that is not too hard and will not scratch up your paper mache surface. A household dish scrubber may work well as an alternative if you don’t have a traditional sponge on hand. Read this full blog post to know tips and techniques to smooth out paper mache.
Summary: There are a few ways to smooth out rough paper mache. One is to use a cloth or paper towel to rub the surface. Another is to mix plaster of Paris, water, and sand together until the desired consistency is achieved, then use this mixture to smooth the surface.
10 Ways on How to Smooth Out Paper Mache:
1. Use a DAMP Sponge to Smooth Out Paper Mache
One way to get a smooth finish for your paper mache project is to use a damp sponge. If your project dries too quickly, it might develop bumps or ridges. This is not harmful to your project, but it can be unsightly. By running a damp sponge over the problem area, you can flatten out the ridges. Repeat this process several times if necessary to get a completely smooth finish.
2. Use Drying Paper Mache
Sometimes dried paper mache projects have bumps or ridges in them. If you carefully wet the bumps and ridges, they may flatten out. If you want a really smooth finish, repeat this process several times. Another method to avoid bumps in paper mache is to add some aluminum dump in your mixture when making it from the newspaper. This will help to prevent the paper from being too absorbent, which causes bumps.
3. Use White Glue
Use white glue on any bumps or ridges in your paper mache project to get a completely smooth finish. Simply use a brush that has been dipped (not too much) into the glue and then apply it to that area of the project. As the glue dries, you should be able to rub it with your fingers, and the bumps should disappear.
4. Get Smooth Paper Mache with Aluminium Foil
Another method is to use aluminum foil. Aluminum smoothes out bumpy paper mache surfaces. Cut a piece of aluminum foil the same size as the bumpy area of your project. Place it on top of the bump, paint over it with white glue, and let dry completely before removing the aluminum foil.
5. Fix Uneven Paper Mache with Mod Podge
Mod Podge is a great way to smooth out uneven paper mache surfaces. Apply it directly over the bumpy area of your project, let dry completely and then buff off any excess with a soft cloth. This will leave you with a perfectly smooth finish.
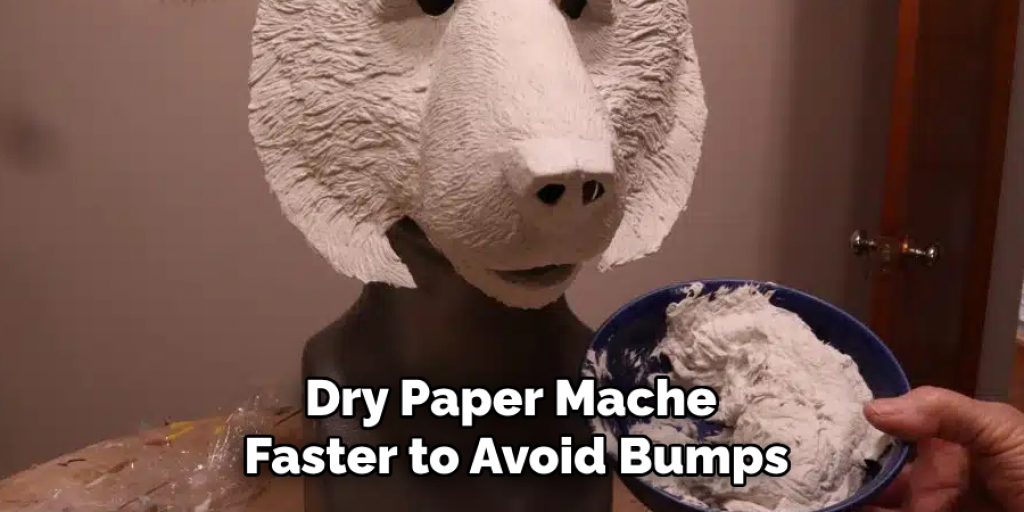
6. Dry Paper Mache Faster to Avoid Bumps
One potential reason for bumpy paper mache surfaces is that your project dried too fast before you got a chance to smooth it out. Use a drying rack instead of hanging your projects to avoid this problem. Also, if you work in small batches and cover each one with a plastic bag as you finish it, that will keep the air around it moist and help to prevent bumps.
7. Use Soapy Water to Smooth Paper Mache
If the paper mache is still wet, dampen a cotton ball with some soapy water and rub it on the bumpy areas of your project. If they are already dry, use any of the above mentioned methods. To keep your fingers clean, dip the cotton ball in the soapy water before rubbing it on the paper mache.
8. Get an Even Smooth Finish with Wax Paper
Wax paper will leave you with a smooth finish if you apply it to any bumps or ridges in your paper mache project. Any method that worked for smoothing out dryer lint can also work here. Simply rub the wax paper across that area of your project, let dry and then polish it with a soft cloth to remove any residue.
9. Fix Bumps with a Heat Gun
If you have bumps that won’t smooth, finish your project as usual, and then once it is dry, use a heat gun. This will remove those unsightly bumps from the paper mache surface. Just be careful not to burn the paper or create hot spots in the project where it might start to smoke.
10. Smooth Out Paper Mache with Petroleum Jelly
The last resort if the other methods mentioned don’t work is to use petroleum jelly. Use one or more cotton balls to apply directly over the bumpy area of your project. Let it sit for about twenty minutes, and then buff off any excess with a soft cloth. This will leave you with a perfectly smooth finish.
How Do You Smooth Paper Mache Without Sanding?
If you want your paper mache project to be smooth, you should wait for it to dry completely before doing anything else to it. This usually takes at least 24 hours. Once it’s dry, the bumps from the paper layers should be much less noticeable. You can also try taking a damp rag to the area to smooth it out.
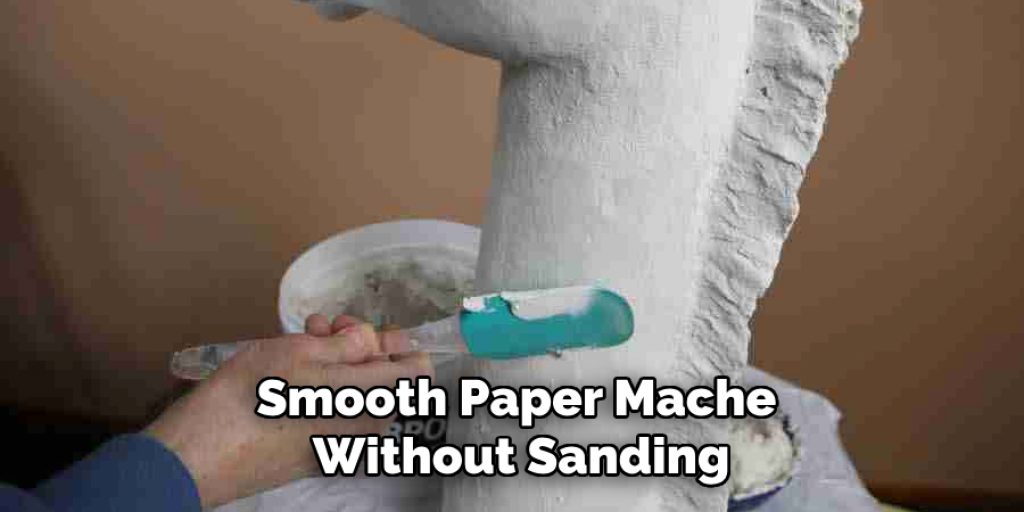
The paper mache will absorb the moisture and smooth itself down much more easily. Careful, though, not to soak it! Just take a dry rag if you’ve added too much water. You probably want to do sanding if your project requires making it completely smooth. If your project isn’t paper mache or is for a younger child who will be touching it often, you can simply use your fingers to smooth out the bumps.
Conclusion:
If you have been struggling or don’t have enough information on how to smooth out paper mache, we hope this article has helped. A few things can help make the process easier and more successful, so be sure to try them before giving up! Also, have any other tips or tricks for smoothing out paper mache? Let us know in the comments section below. And don’t forget to share with friends too who might need some help!
Check out our article How to Dry Paper Mache Quickly
Elizabeth Davis
Elizabeth is a creative writer and digital editor based in the United States. She has a passion for the arts and crafts, which she developed from a young age. Elizabeth has always loved experimenting with new mediums and sharing her work with others. When she started blogging, she knew that DIYquickly would be the perfect platform to share her tutorials and tips. She's been writing for the blog from the beginning, and her readers love her helpful advice and easy-to-follow instructions. When she's not writing or editing, Elizabeth enjoys spending time with her family and friends.


