
How to Square Up a Quilt Top
After placing your beloved cloth blocks with each other in a pretty quilt cover, it’s time to continue the task given for the overall sewing like long arms or free movement. That is to say, squared a cloth base, build a quilt sandwich, believe you strap and put on stuff. Use your stitch of choice to attach all the squares together. The best part about having a stitched quilt top is that you can easily remove and replace any squares as you desire.
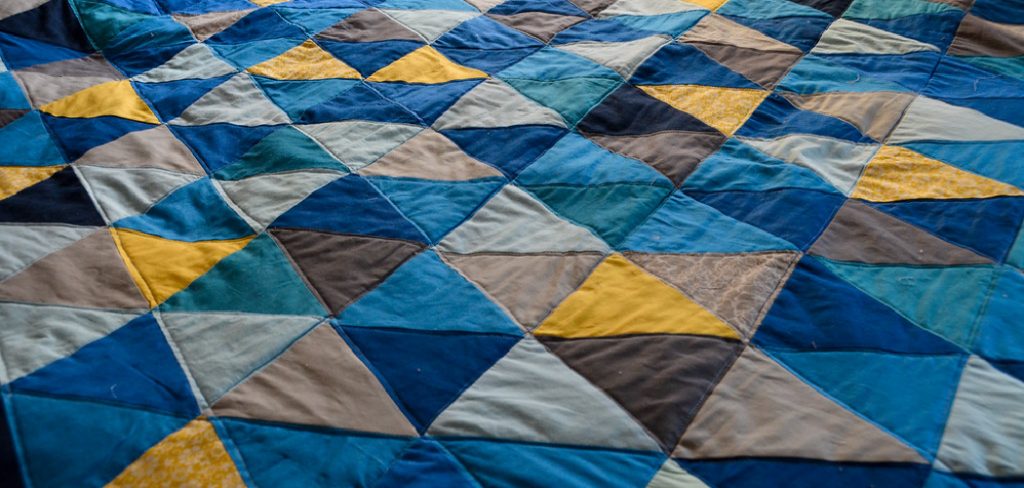
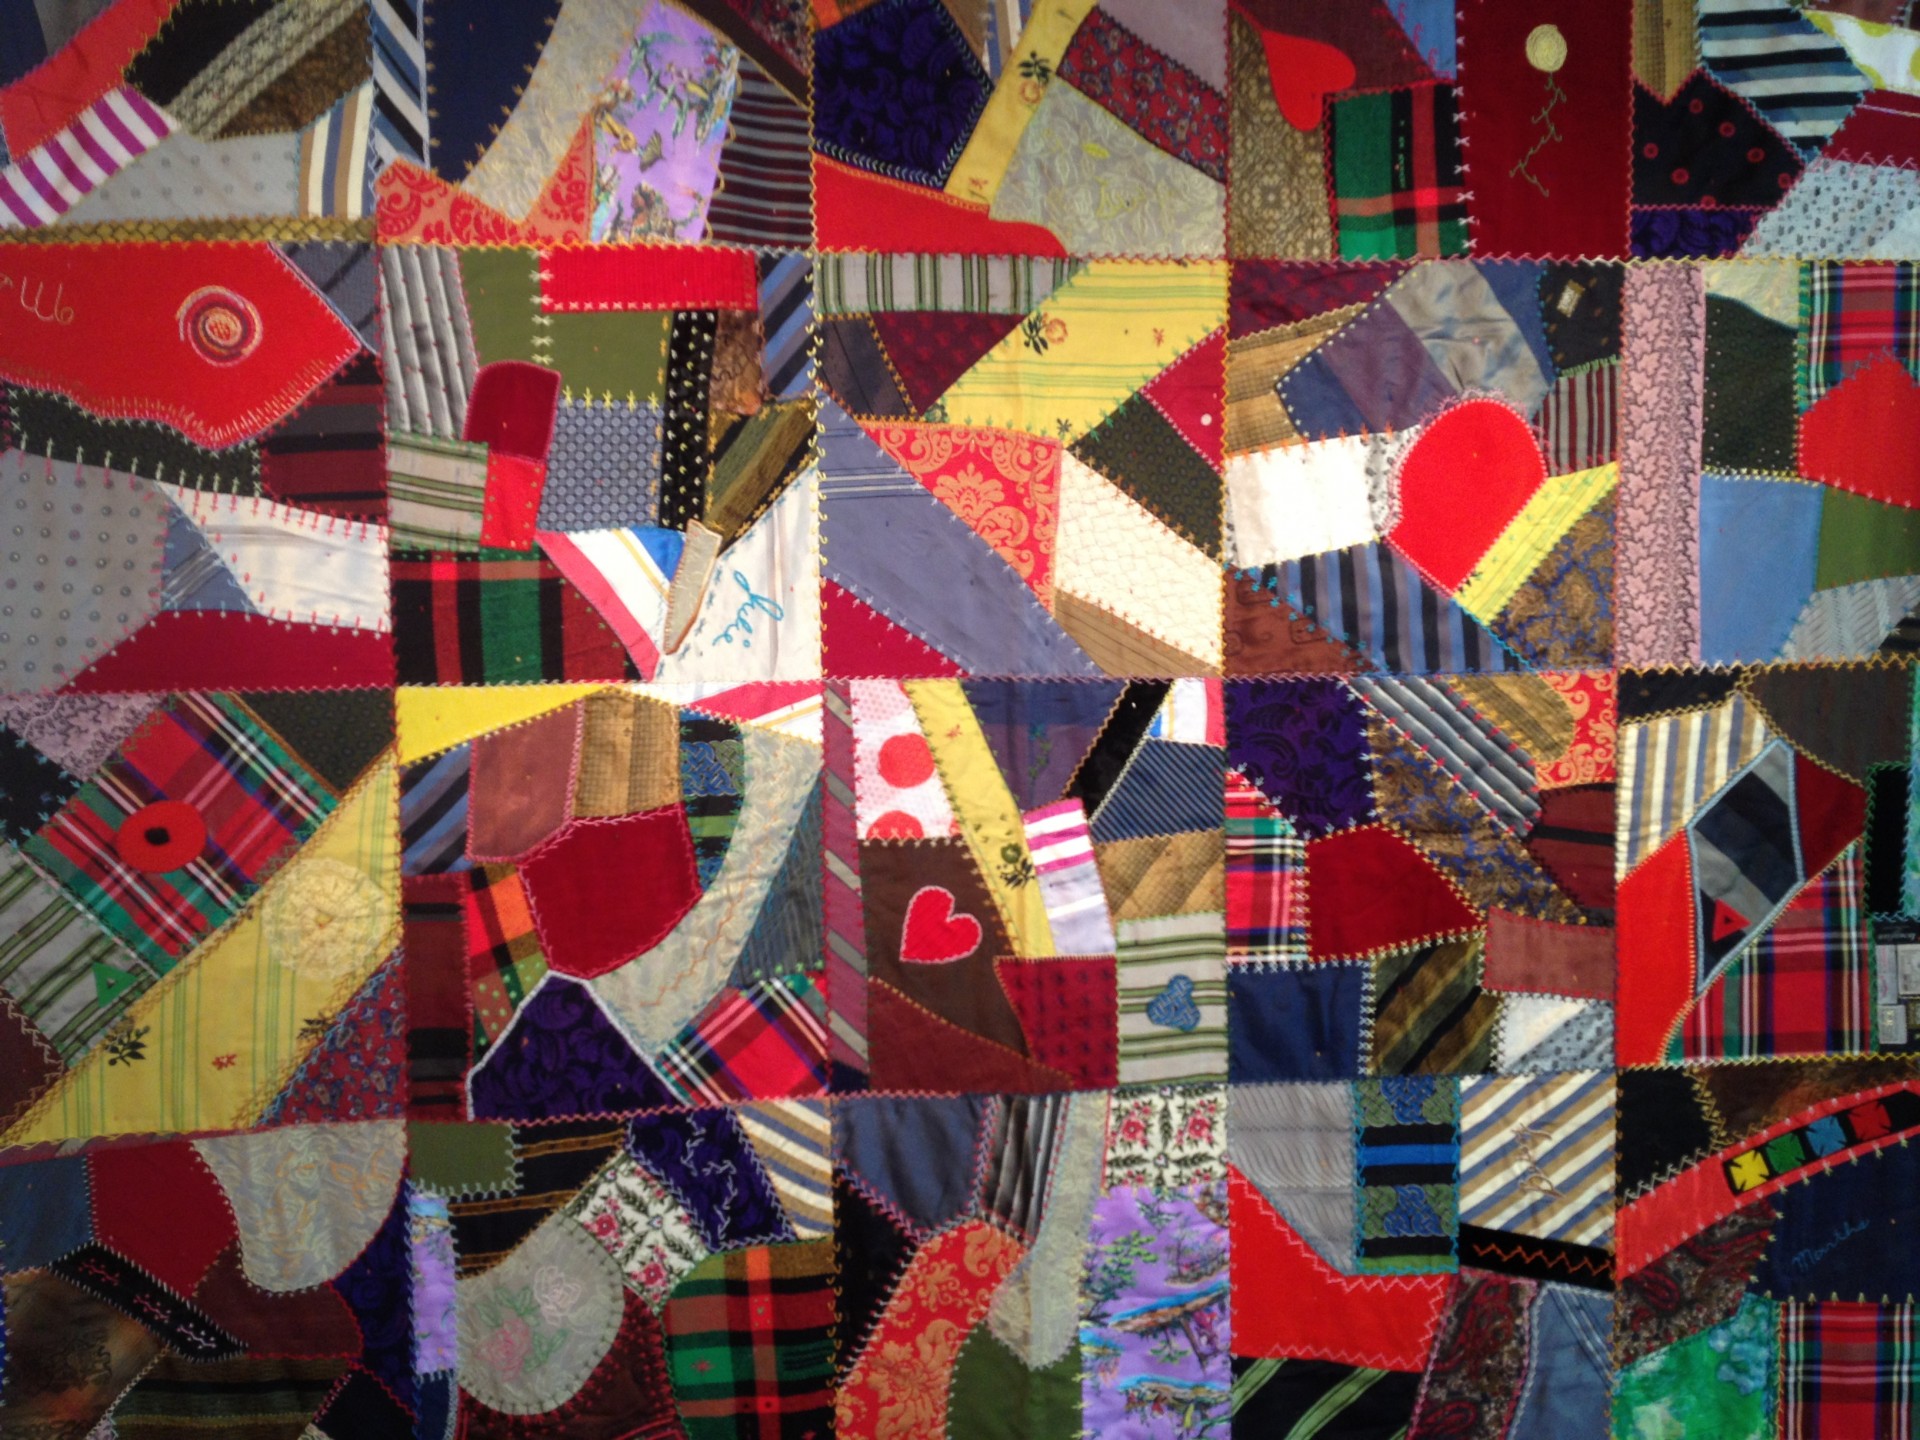
Taking some time to do all this previous research will turn your quilt into a hold-out, skilled job from a home-made “good task” Among the most critical measures is to finish the quilt in the real, or square up, manner. So if you stitch a quilt’s sections around each other, you eventually end up with edges which weren’t great-after all, you’re a living thing, not a device! Therefore, you’ll have to square up your quilt or ‘quilt blocks’ before sewing the last edge.
Although all those small flaws in the fabric measurements will add, and by the moment the quilt surface is completed, it may have a touch of unevenness around the sides. The process of creating a quilt right will settle the question, then let’s begin! To do this, the first thing you will need is a quilt top. The most common choice for this project is a quilt block. You may have made some for other projects and are wondering how to transform them into a quilt that you can use.
Components Require:
- Quilt ruler squares (any type but usually the more significant, the higher)
- Right you are cutting edge measuring tape.
- Rotating cutter
- Rotating cutting pads
- Elements of quilt sandwich-roof, covering, backup.
Instructions
Stage 1:
A Quilt upper square: To create the quilt surface, you’ll be sure sides are at 90-degree inclined, and all sides are smooth, even columns. And here’s how to: Place the quilt top onto a full board or cutting board, so it’s appropriately balanced, so one hand doesn’t drag it away from the edge. Start with one end of the quilt, and fold it over to create a triangle.
Organize it, so that quilt tops at the lower right-hand bottom are on the cut board, with space along the sides. Tip: The remainder of the quilt edge could be folded or bunched to maintain it on the table at the moment, just ensure you have a vast, flat finish to operate within that edge.
Stage-2:
Place your sharp object cut measure on the top of the quilt upper edge, line it up such that the ruler’s exterior part is in a place to allow you a bright side over the quilt edge. Position your squared cutting measuring tape straight on the upper part of your flat-edge scale to quickly reach a tidy and straight clear point. For more effective cutting, mark the quilt top edge to obtain an even measurement. Repeat this process on both sides of the quilt top.
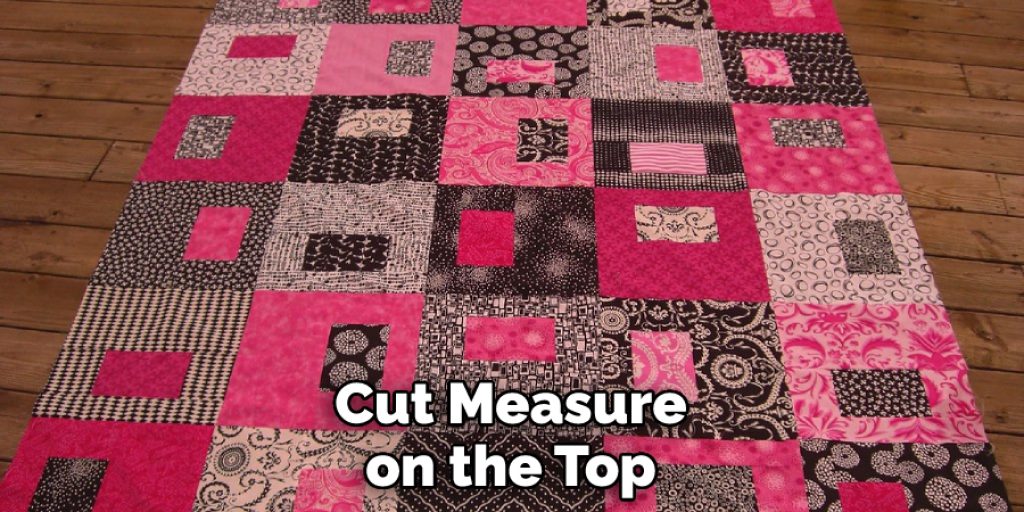
Set all rulers as required to locate the correct position in the side – you’ll use that as your cutting reference, and the scale’s boundaries could become the new borders of the quilt base. Suggestion: ensure your quilt top’s cloth borders match with or stretch over your ruler’s edges – you do not even would like them to slide under there, and your freshly cut outlines usually can’t be straight.
Stage-3:
You are using your rotating scissors to remove your rulers from the right side, as far as the ruler requires you to move. Shift your quilt top until the upper right edge on the cutting pad is in place, then follow actions 2-4 to cut a smooth, clean edge in this place.
Transfer your quilt top appropriately, and you can use your clear-edge ruler and rotating cutter to start cutting the perfect line here between the lower and upper right sides. Shift the quilt surface as you proceed, following the line through one side to another, till there is a smooth outline on the entire right-hand side of the quilt.
Complete such measures with back and left edges at the base and back. The aim was also to buddy up to my quilt scraps. After putting the pieces, the borders were not straight, so I thought if I began poking at the edge of the quilt stuff could go poor. So I wanted to quilt it and was then done with it.
Stage-4:
Set the upper and bottom sides of your quilt clear, as in the previous stage. You could now attach your padding and support to your quilt rim and quilt it as you usually. Ensure the covering is marginally more extensive than that of the quilt’s surface, so the lining is more significant than batting.
You would like to ensure that it is all smooth and the sum of squares-up at the edges and sides until applying the stitching to the quilt. This should provide you with a clean, flat base to put on the joining. The quilting method often draws in at the corners of the quilt, and this step lets flat it out.
The very first phase is to push the completed quilt sandwich; certain people also prefer blocking the quilt (moist it, spread it out into form and let it dry naturally) or drying it and drying it before using it. All of those choices are good and are up to the discretion of the particular quilter.
Stage-5:
To make the quilt sandwiches real, you will follow all the measures described in Phase 1; only this period will you have a full quilt sandwich to squared up and cut into. The method is just the same; you’ll only have to move about for a bit more size. Line up the quilt sandwiches and afterward tie the completed quilt.
Check it out to learn to square a quilt top before adding borders.


