How to Take Apart an Oil Lamp
The oil lamp is a fixture of ancient history. From the time they were first used, they served as an invaluable source of light and warmth to homes worldwide.
Nowadays, oil lamps are mainly seen as decoration pieces but do collect dust over time. In this blog post, we’ll go through how to take apart an oil lamp to clean it properly so you can enjoy it for many years to come!
Summary: If you are looking to take apart an oil lamp, there are several steps you will need to follow. The first is to unscrew the base. Next, remove the wick holder and the chimney. Finally, remove the oil lamp assembly from the base.
7 Reasons Why You Should Take Apart an Oil Lamp
1. Preventing Crude Oil from Getting into Your Pores:
When oil lamps are left in poor conditions for long periods, they can become crud-packed with residue built up over the years. This residue is composed of crude oil and carbon deposits that build up on the inside of your lamp. If it’s not removed, they can cause several health problems that will be hard to spot.
2. You Can Learn More about Oil Lamps:
Taking apart an oil lamp isn’t as easy as it may look and is recommended only to take place after gaining some experience working on the glassware of your antique lamps. For this reason, if you’ve never attempted to take apart an oil lamp before, it’s a good idea to start with something small, so you can get the hang of how to separate the pieces.
3. A Fresh Coat of Paint:
After years of exposure to heat and other harmful elements, oil lamps tend to lose their original color. However, by cleaning them properly, you can give these old pieces a new look you want!
4. Breathe New Life into Your Old Oil Lamps:
If your favorite antique oil lamp is material, it can leak all over your table and cause accidents like broken glass and fire hazards. If you can’t find the reason for its demise, it’s best to take apart the lamp and fix whatever is causing your glassware to become crud-packed.
5. Find Out What’s Going on Inside Your Lamp:
One of the greatest benefits of taking apart an oil lamp is that you can see what’s causing your antique glassware to become damaged. By examining its insides, you may be able to recognize what needs fixing before any damage occurs.

6. Maintain the Beauty of Your Antique Oil Lamps:
While cleaning your oil lamp can be a difficult task, it’s still an important step to take if you want your lamps to last for many years. By following the steps in this article, you’ll be able to find out how to clean an antique oil lamp so that the struts and glass are both properly maintained!
7. Clean the Inside of Your Lamp:
When you take apart your lamp, always make sure that the glass is first cleaned. Then, make sure to use a soft cloth or even a lightly-oiled chamois to wipe all of the grime off its surface and base before attempting to remove any pieces from inside it.
Step-by-Step Guide on How to Take Apart an Oil Lamp
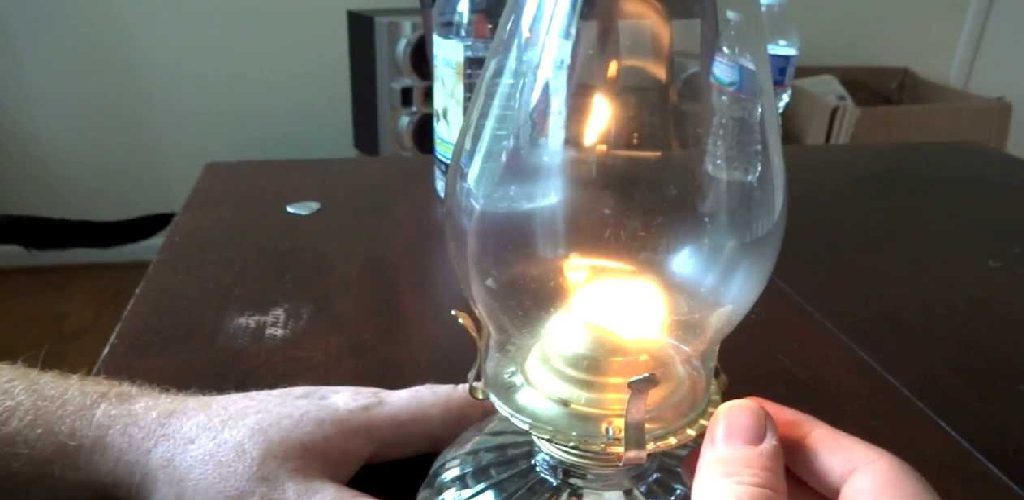
Step 1: Find Dowel Pins and Remove Glass Jar from Wick
The dowel pins are long rods that have been inserted into the glass jar of a wick oil lamp so that it can easily be screwed into the wick oil lamp body. To remove the glass jar from a wick oil lamp, first, locate and gently pull on any of the dowel pins. Then place your fingers underneath the jar’s glass jar and pull it straight up. Be careful not to touch the wick with your fingers so that it does not get damaged.
Step 2: Remove Wick and Clean Wick Oil Lamp Body
Once you have removed the glass jar from a wick oil lamp, gently remove the old wick from the inside of the wick oil lamp body. Sometimes, the wick can be difficult to remove because of its flammability. You can do this step more easily by submerging your oil lamp in warm soapy water for a thorough cleaning.
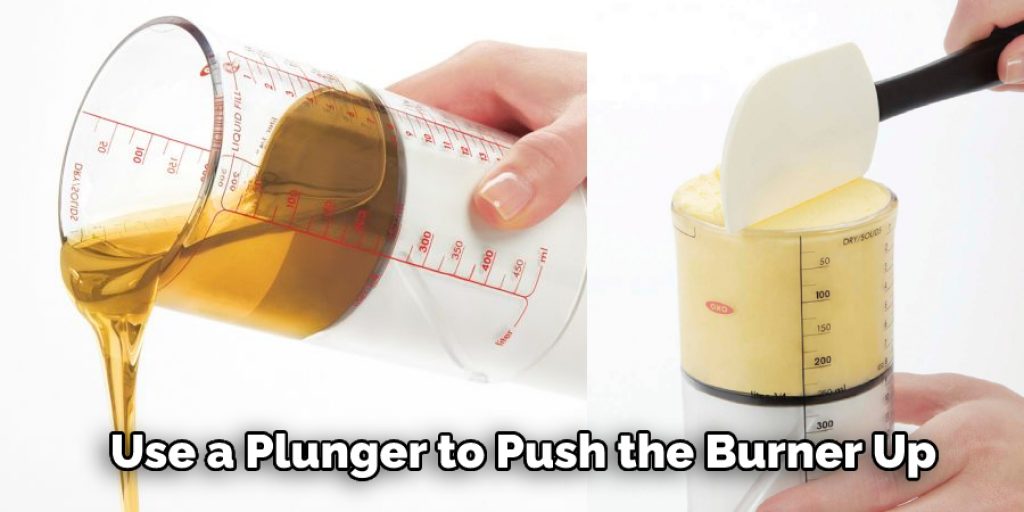
Step 3: Use a Plunger to Push the Burner up the Wick
After you have removed your old wick, you will need to push a new one up the center of your oil lamp body for it to work properly. First, drill a hole into the top of a block of wood. After this, unscrew the burner from your oil lamp body and hold it above the hole on your block of wood. Hammer the plunger into the hole while holding down the burner with one hand to force it up the wick oil lamp body.
Step 4: Cut New Wick and Insert into Wick Oil Lamp Body
Cut your new wick to a height that is approximately two inches above your wooden block, as you want it to be able to fit inside the top of your wick oil lamp body. Next, push the wooden block into the hole at the top of your wick oil lamp body, as this will help to keep your new wick in place while you insert it.
Step 5: Apply Brasso to the Wick of Your Oil Lamp and Wicks Screws
Brasso is a metal polish that can be purchased at hardware stores. Use this to polish your new wick, as it will help give it a shiny glow. Now screw the burner back into your oil lamp body and put the rubber gasket around the top part of the wick oil lamp body.
Step 6: Screw Glass Jar Back onto Wick Oil Lamp Body
To finish, screw your glass jar back on top of the rubber gasket that you put on top of your wick oil lamp body. Be careful not to let any of your fingers touch the wick while doing this. As long as you have remembered these steps correctly, you will have successfully taken apart a wick oil lamp and reassembled it.
Conclusion
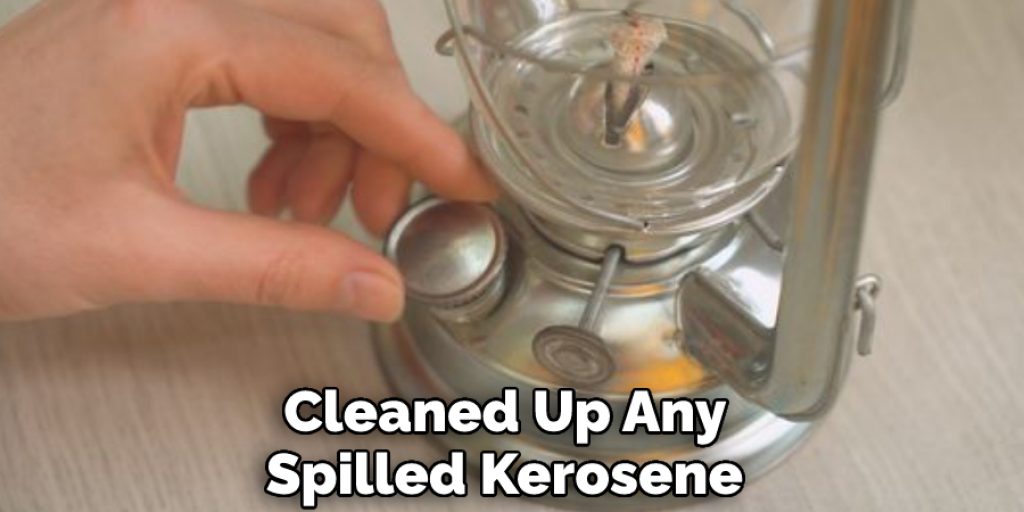
The steps on how to take apart an oil lamp can differ from one type of lamp to the next. If you don’t know what kind of oil lamp you have, there are some general instructions that may help. Once you’ve removed all three pieces and cleaned up any spilled kerosene or other liquid, it’s time to put your new light back together with a little elbow grease.
Make sure everything is tightly screwed into place and test out the functionality before replacing the chimney cap for safe storage! We hope this article has served as an informative guide to taking apart an oil lamp. Now have fun taking apart lamps!
You may read also – How to Remove Candle Wax From Glass Table