
Remove Front Cover LG Air Conditioner
Have you ever wondered about removing the front cover LG air conditioner? Several different ways can be done. The original front cover on most LG air conditioners is designed to be easily removed and replaced with ease.
This blog post will show how simple it is to remove and replace the old one with a new one. We will give you step-by-step instructions on how to do so.
Summary: LG Air Conditioner is a big and bulky piece of equipment that takes up a lot of floor space. It’s time to get rid of it and install a new one. First, we need to remove the front cover. There are several screws that hold it in place, so we just need to take care not to lose them. Once the cover is off, we can see the internal workings of the unit. We’ll need to disconnect some wires and cables before we can replace the unit. When everything is ready, we can replace the old unit with the new one and put the cover back on.
Steps To Remove Front Cover LG Air Conditioner
1) Turn off The Power Supply:
To avoid getting shocked, you first want to turn off the power supply to your LG air conditioning unit. This will give us a little bit of time to remove and replace the front piece. To remove it, there are 6 screws on each side that need to be unscrewed.
2) Unscrewing Screws:
Turn off the power supply and remove the paneling that covers the outside of your LG unit. You will then need to remove all the screws on each side to remove the front piece. While working on it, it is good to ensure you have a container or place to put the screws in.
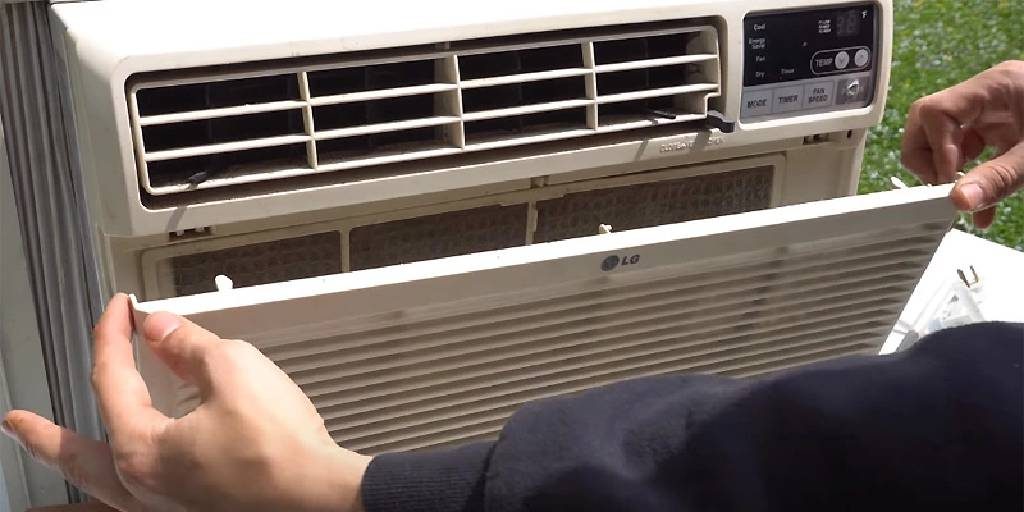
3) Remove The Old One:
Once you have all of the screws removed, take out the old front cover by sliding it off from right to left. It is a good idea to hold onto the rest of your unit because some pieces need to stay in place. In addition, there is another piece surrounding the front cover that will need to stay as well.
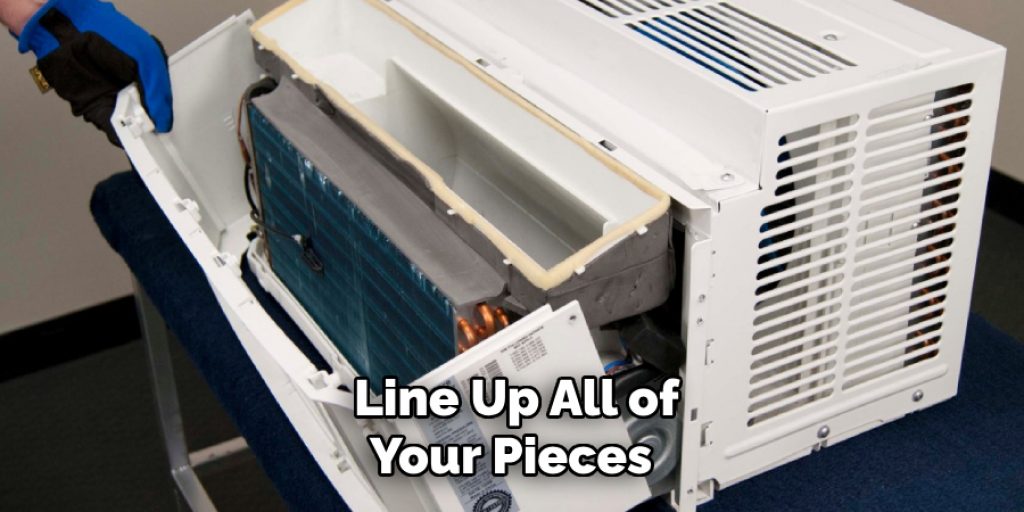
4) Clean Up:
It is time to clean up everything and wipe off your air conditioning unit so you can replace the new one. After removing all the old pieces, now is the time to wipe down your unit and replace the new front piece. Line up all of your pieces and make sure they aren’t going to move out of place while putting them together.
5) Put Everything Back:
It is time to put everything back where we found it before starting this project. You will want to line everything up and start with the two screws on each side. Make sure they are lined up properly when you place them back in their original spots. Once you have those two in place, place the rest of your screws back where they belong.
6) Replace The Front Piece:
Now it is time to replace the front piece of your LG air conditioning unit. Slide it off from left to right and ensure that everything else is lined up properly on the inside. Smaller pieces may need to be replaced immediately, but we suggest waiting until you have the rest of your unit back in place.
7) Replace The Screws:
Once your front piece is lined up, replace all the screws taken out earlier to remove it. If you put them in order, you won’t have any trouble with them not being in the right spot. After replacing all the screws, you must reattach your front paneling.
8) Test The Conditioner:
Now that everything is back together correctly, it is time to turn on the power supply again and see if your LG air conditioning unit works. If everything is working properly, you can replace the paneling outside your unit, and you are good to go.
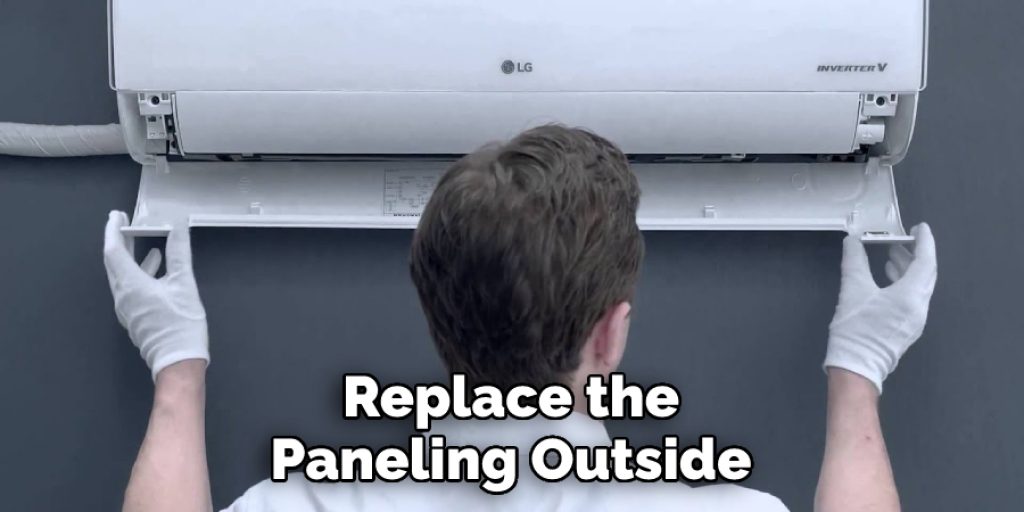
9) Replace Paneling:
If everything is working correctly, you can replace the paneling we removed at the beginning of this project. It is important to ensure that your panels aren’t touching any of the inner workings and wares of the unit. If they are, you will need to readjust them or remove an extra screw to don’t touch them.
10) Turn On Power:
Now you can turn on the power supply and ensure your air conditioner is working properly. It is good to check it for about 10 minutes to see if anything needs to be adjusted or fixed. Once everything is working correctly, then you are finished with this project.
Some Tips and Advice To Maintain LG Air Conditioner
- Don’t park in hot or cold places. Dew may appear on the surface of the air conditioner with high temperatures and humidity.
- Before unplugging your device, be sure to press the power button to turn it off. This will help prevent any damage caused by pulling the cable plug out of the socket.
- Don’t touch the surface of the indoor unit when it is working. Its surface is hot.
- After using it for a long period, please clean the surface of the indoor unit with a soft cloth to remove dust on it.
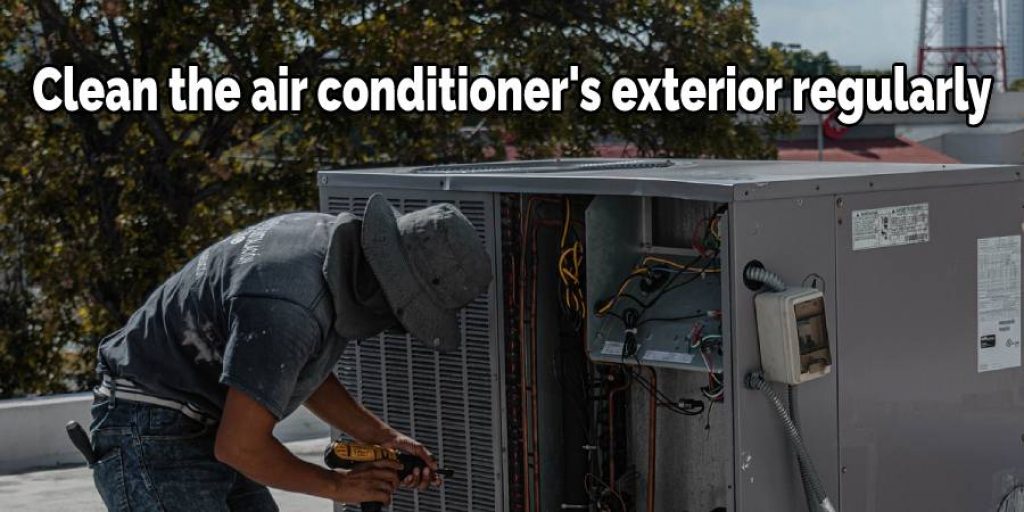
- Clean the air conditioner’s exterior regularly, and the air conditioning effect will improve.
- Don’t store heavy objects in front of or under an air conditioner.
- Clean the air conditioner regularly should turn off the circuit breaker to avoid electric shock.
- Please do not put wet rubbish into the indoor unit, and a sump pump must be placed under the outdoor unit to prevent water from leaking into it.
- Don’t put hot water or substance with high temperatures into an outdoor unit.
- When the air conditioner is turned on, make sure that there are no flammable, explosive, or corrosive substances and inflammable stored nearby.
Conclusion
If you need to remove a front cover on an LG air conditioner, the process is straightforward. We have given step-by-step guidelines to remove the front cover LG air conditioner in this article. The first thing that you need to do before removing the cover is unplugging it from your electrical outlet and then moving it as far away from anything else in the room as possible so that there’s plenty of space for you when working with this appliance.
Next, detach wires or cables connected to the AC unit by cutting them off at their connection points using wire cutters or pliers. Now, turn off any switches near where you are standing and use a screwdriver to loosen up all screws holding down panels on top of the central body of your AC system until they come loose enough for removal. We hope this blog post will be beneficial to you. If you like this post, please share it with your friends and social media using the links below.
You May Visit Also- How to Build an Air Conditioner Platform


