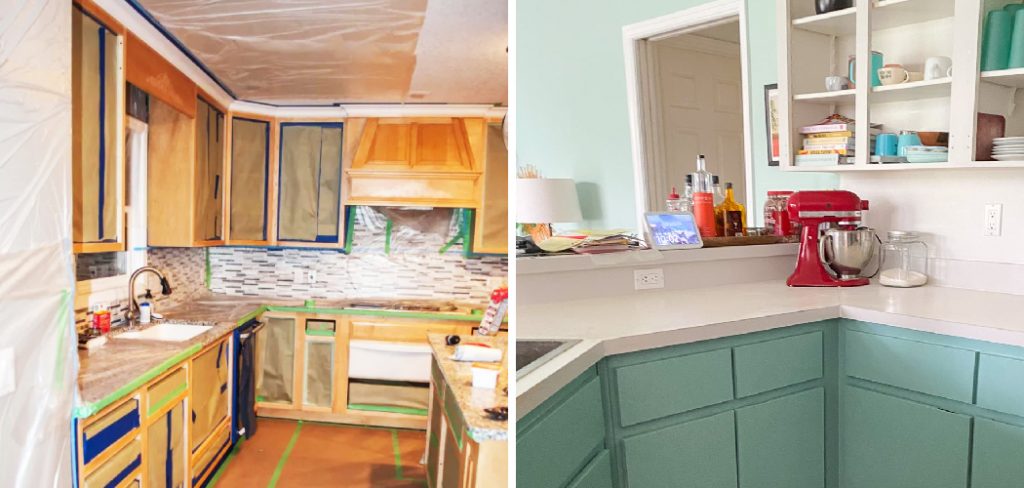
How to Tape Kitchen Cabinets for Painting
Painting your kitchen cabinets can be a cost-effective and easy way to give your kitchen a makeover. However, before you start painting, you must ensure your cabinets are properly prepped. One crucial step in the preparation process is taping your cabinets to avoid getting paint on surfaces you don’t want. In this blog post, we will provide a step-by-step guide on how to tape kitchen cabinets for painting.
Can You Tape Kitchen Cabinets for Painting?
Are you looking to give your kitchen a new look without breaking the bank? Painting your cabinets is a great way to refresh the room and add color. But before you start, you may wonder if it’s possible to tape the cabinets for painting.
The answer is – yes, you can! However, there are some important steps you’ll need to follow to ensure the tape doesn’t damage the cabinets or leave behind a sticky residue. With the right tape and technique, you can achieve a professional-looking finish and enjoy a fresh, updated kitchen in no time. So, roll up your sleeves, grab your tools, and paint those cabinets!
Why Should You Tape Kitchen Cabinets for Painting?
Are you considering giving your kitchen a fresh look with a new coat of paint? If you’re taking on this project yourself, it’s important to know that taping your kitchen cabinets can make a big difference in the outcome. Not only will taping ensure clean lines and prevent paint from getting on your cabinets, but it also allows you to work more quickly and efficiently without worrying about making mistakes.
Plus, the added protection will help keep your cabinets looking like new. So, if you want to give your kitchen a professional-looking makeover, take the time to tape your cabinets before you start painting properly.
A Step-by-Step Guide on How to Tape Kitchen Cabinets for Painting
Step One: Prepare Your Supplies
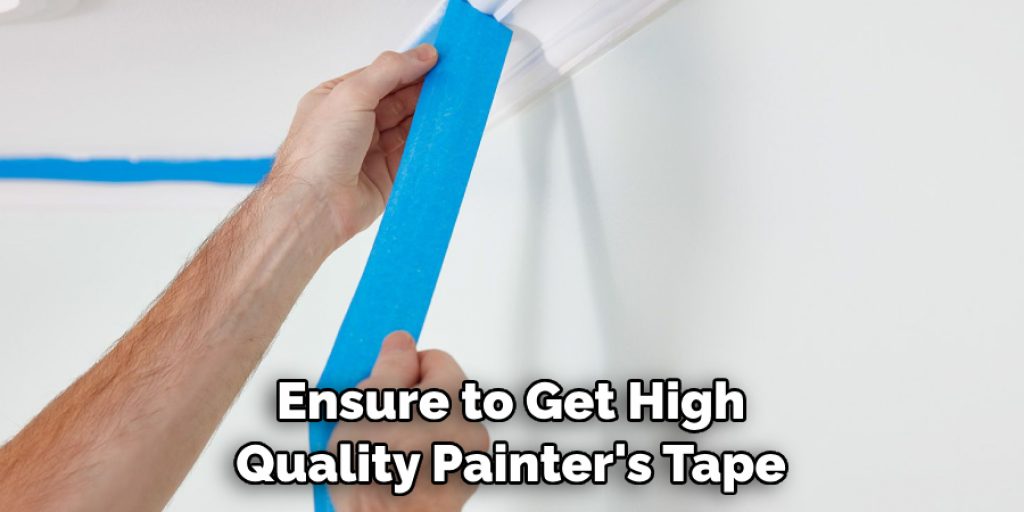
Before starting the taping process, you must gather all the necessary supplies. You will need painter’s tape, a plastic sheet or drop cloth, a ladder or step stool, and a pencil or marker. Ensure to get high quality painter’s tape to ensure it sticks properly and the lines are crisp.
Step Two: Remove Hardware and Clean Cabinets
Remove all hardware from your kitchen cabinets, such as knobs, handles, and hinges. This will ensure that you get a clean paint job around them. Next, thoroughly clean your cabinets with a cleaning solution to remove grease or dirt buildup. Finally, dry off your cabinets completely with a clean cloth.
Step Three: Cover Surfaces with a Plastic Sheet or Drop Cloth
Cover all surfaces near your cabinets with a plastic sheet or drop cloth. This includes your countertops, flooring, and appliances. This will protect your surfaces from accidentally getting paint on them and make for quicker cleanup.
Step Four: Apply Painter’s Tape
Start by applying the painter’s tape to the edges of your cabinets near the walls. Use a pencil or marker to mark your tape lines to ensure that they are straight. Press the tape down firmly, ensuring it is sticking tight to the cabinet surface. Remember to tape off any areas around hardware or bolts. Finally, double-check your tape lines to ensure all areas you don’t want to paint are covered.
Step Five: Finishing Touches
After taping off your cabinets, you can use a plastic smoothing tool or a credit card to smooth out any bumps or air pockets in the tape. This will ensure that your tape lines are smooth and even. Additionally, you can use a paper towel to cover any areas of the tape that might stick out more than others. The idea is to ensure that all the surfaces are covered by tape uniformly.
Step Six: Paint Your Cabinets
Once your cabinets are prepped correctly, you can begin to paint. Use a paintbrush or roller designed for kitchen cabinets, and follow the instructions on the can. Ensure that all your tape lines are still in place before starting to paint.
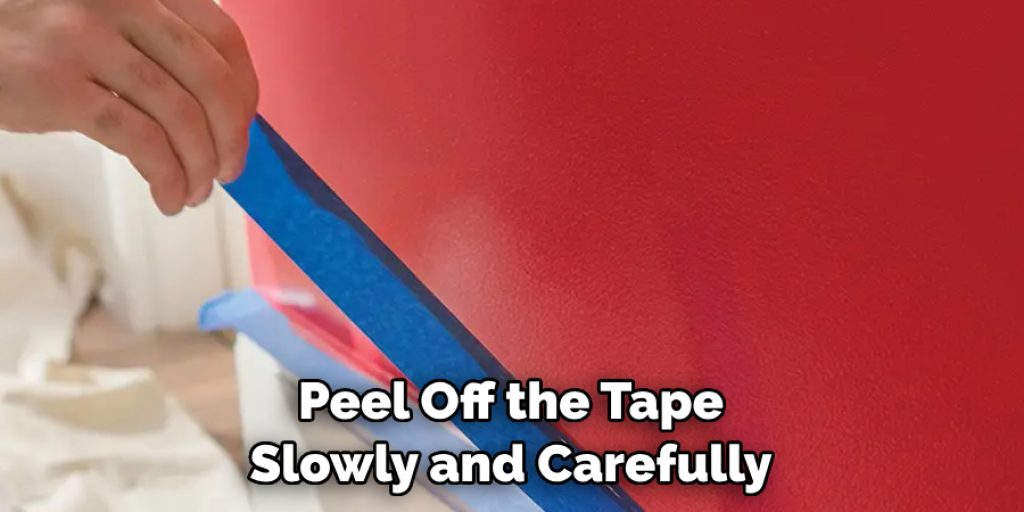
Step Seven: Remove Tape and Clean Up
Once your cabinets are dry, you can begin to remove the tape. Peel off the tape slowly and carefully to ensure that none of the paint peels away with it. Finally, clean up any mess made from painting and taping. Dispose of your plastic sheet or drop cloths in a safe place and put all hardware back on your cabinets.
And there you have it, a complete guide on how to tape kitchen cabinets for painting! With the right tools and patience, you can give your kitchen cabinets an updated look quickly.
5 Considerations Things When You Need to Tape Kitchen Cabinets for Painting
1. Preparing the Cabinets
Before you tap your kitchen cabinets for painting, it is important to prepare them properly. Ensure all the hardware and hinges are removed and all surfaces are clean and free from dust and dirt. If the cabinets are unfinished, fill holes or cracks with wood putty before taping. This will ensure that you get a smooth finish when painting.
2. Choosing the Right Tape
The next step is choosing the type of tape for your project. Use painter’s tape specifically designed for kitchen cabinets for best results. This type of tape is specially formulated to resist peeling, curling, or tearing during painting and removal. It also has a low-tack adhesive that won’t damage surfaces when removed.
3. Applying the Tape
Once you have chosen the right tape for your project, it’s time to apply it to your cabinets. Start by running a strip of tape along each edge of each cabinet door or drawer front, pressing down firmly so that it adheres well to the surface. You can also use shorter strips of tape to cover intricate details or hard-to-reach areas more easily.
4. Removing Excess Paint
When you’re finished painting, carefully remove any excess paint from around the edges of your taped areas using a razor blade or scraper tool. This will help ensure no visible lines when you remove the tape after drying time has elapsed. Be careful not to scratch or damage any surfaces while removing excess paint!
5. Removing Tape After Painting
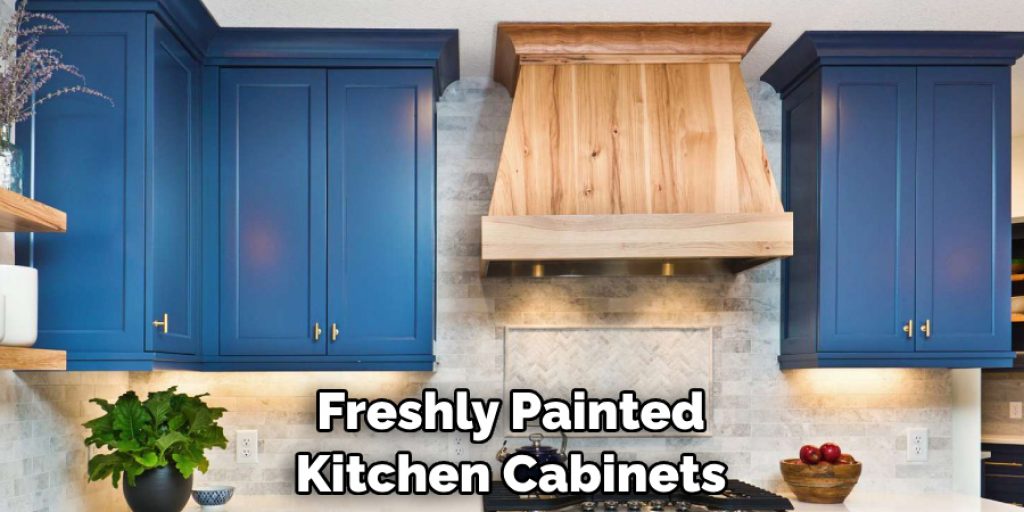
Finally, once everything has dried completely, carefully peel each piece of tape at a 45-degree angle away from the painted surface to avoid damaging it during removal. Once all pieces have been removed, check over your work before reinstalling any hardware or hinges back onto your freshly painted kitchen cabinets!
Benefits of Tape Kitchen Cabinets for Painting
Painting your kitchen cabinets can give your kitchen a new look without spending a fortune on a full renovation. However, to ensure a professional-looking finish, it’s crucial to prepare your cabinets properly. One way to do this is using tape to protect the areas you don’t want to paint.
Aside from minimizing the mess, using tape when painting your kitchen cabinets has several other benefits. It can prevent streaks and drips on the surrounding walls and floors, resulting in a cleaner and more precise finish.
Additionally, tape can help you save time and effort by reducing the need for touch-ups or corrections. Using tape is a smart investment that can make your cabinet-painting project easier and more successful.
Some Common Mistakes People Make When Trying to Tape Kitchen Cabinets for Painting
When painting kitchen cabinets, one of the most challenging tasks is taping the cabinets correctly. Many make mistakes during this process, leading to less than satisfactory results. One mistake people often make is using the wrong type of tape.
They mistakenly use masking tape, which is not strong enough and falls off, leaving an uneven paint line. Making sure to use the right type of tape is crucial. Another mistake people frequently make is not cleaning the cabinets before taping them. Failing to remove dust and grease from cabinets can cause the paint to peel off.
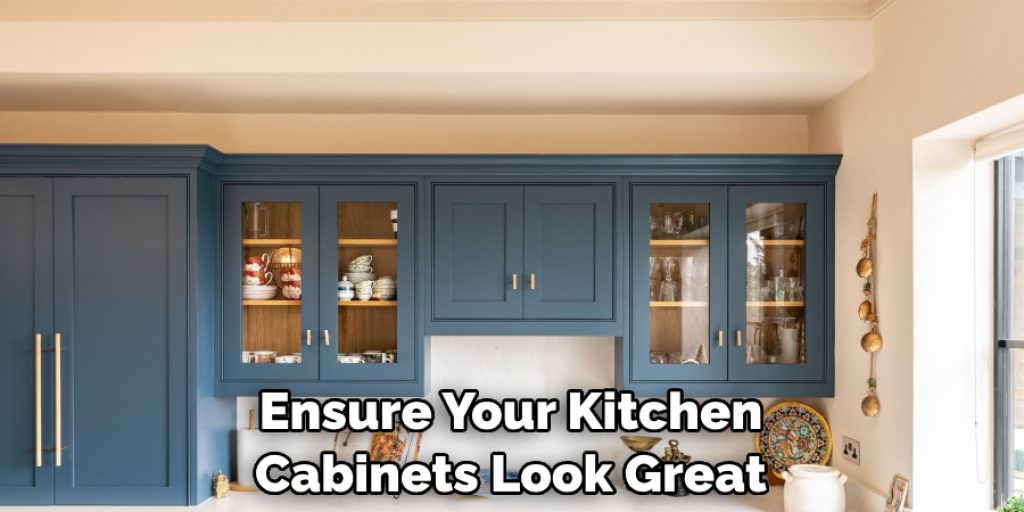
Finally, people often leave the tape on for too long, which can also cause the paint to peel. Avoiding these common mistakes can help ensure your kitchen cabinets look great when painted.
Conclusion
Taping your kitchen cabinets may seem tedious, but it is essential in achieving a clean and professional-looking paint job. With the above guide, you can ensure that your taping process is thorough and you will achieve excellent results. Always ensure that your cabinets are clean and dry before applying the tape to improve the tape’s sticking ability.
The next time you decide to paint your kitchen cabinets, remember to follow these steps to tape them properly and make your painting project less daunting. Thanks for reading our post about how to tape kitchen cabinets for painting.
Angela Ervin
Angela is the executive editor of DIY quickly. She began her career as an interior designer before applying her strategic and creative passion to lifestyle and home. She has close to 15 years of experience in creative writing and online content strategy for housekeeping, home decorations as well as other niche efforts. She loves her job and has the privilege of working with an extraordinary team. She lives with her husband, two sons, and daughter in Petersburg. When she's not busy working she spent time with her family.