How to Remove Paint From Rattan Furniture
Introduction:
Rattan is a natural material from the vine of a plant. It can come in different forms, such as flat strands or round balls, and be made into furniture. Rattan furniture tends to have a more decorative look than other types because it has more detail and texture due to its woven appearance. Most rattan items are easily identified by their unique curved shape and long-lasting durability.

Rattan has been used since ancient times, but it became popular in Europe and North America during the 19th century. It was often used for outdoor garden furnishing because of its resistance to heat, cold, moisture, insects, and mold. In this article, I will discuss how to remove paint from rattan furniture. So, let us get started.
What is Rattan Furniture?
Rattan furniture is made from the rattan plant, which is a type of climbing palm found in tropical regions. It is a popular material used to make various types of furniture, such as chairs, tables, and sofas. The process of making rattan furniture involves cutting and drying the vines, which are then woven into different shapes and designs.
Rattan furniture is generally lightweight, making it easy to move and transport. Its natural look adds a touch of warmth and texture to any room or outdoor space. Additionally, rattan furniture is environmentally friendly as it is sustainable and biodegradable.
Why Remove Paint from Rattan Furniture?
Rattan furniture can last for years with proper care and maintenance. However, over time, the paint on rattan furniture can become faded or chipped due to exposure to outdoor elements or regular use indoors. Removing old layers of paint can restore the natural beauty and charm of your rattan furniture, making it look new again.
Moreover, some people may want to change the color of their rattan furniture by repainting it. In such cases, it is essential to remove the old paint before applying a new one. This will ensure that the new paint adheres properly and provides a smooth finish.
Necessary Materials:
Before you begin the paint removal process, make sure you have all the necessary materials. Here is a list of items that will help you effectively remove paint from rattan furniture:
Paint Stripper or Chemical Solvent:
You can purchase a specific paint stripper or chemical solvent from a local hardware store. Make sure to choose one that is safe to use on rattan furniture and follow the instructions carefully.
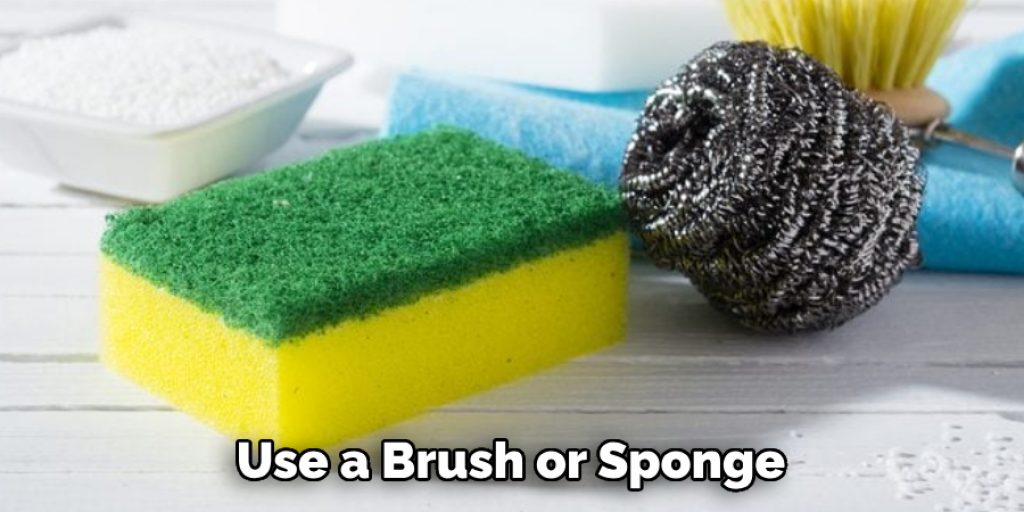
Soft Bristle Brush:
A soft-bristled brush will help you gently remove the paint without harming the rattan material. Avoid using harsh scrub brushes as they can cause damage to the furniture.
Plastic Wrap or Aluminum Foil:
Covering the treated area with plastic wrap or aluminum foil will prevent the paint stripper from drying out too quickly and give it more time to work on the paint.
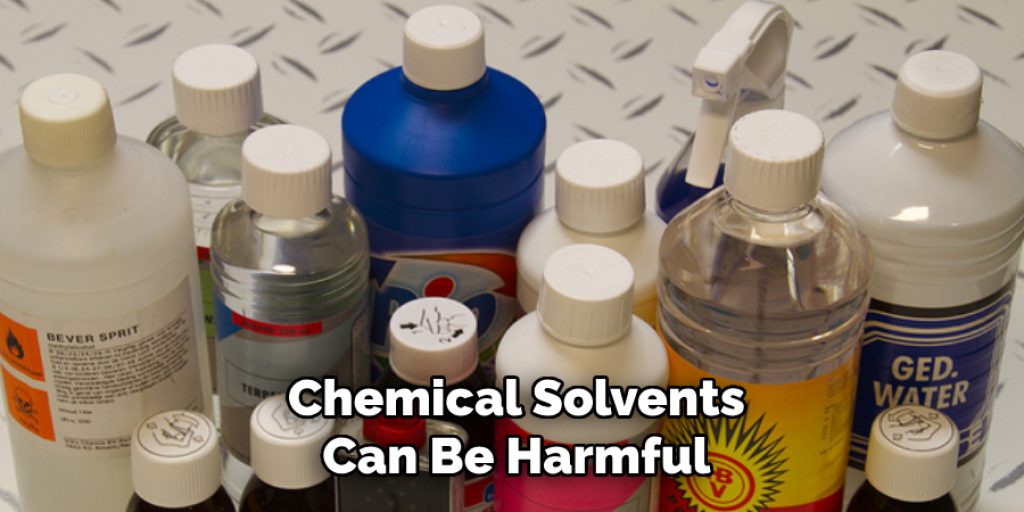
Gloves and Eye Protection:
Paint strippers or chemical solvents can be harmful if they come in contact with your skin or eyes. Therefore, it is essential to wear gloves and eye protection while handling these substances.
12 Step-by-step Guidelines on How to Remove Paint From Rattan Furniture:
Step 1: Choose the Right Location
It is best to do this task in an open and well-ventilated area, such as a garage or patio. This will prevent any fumes from the paint stripper from building up in a confined space. You can also place a tarp or old cloth under the furniture to protect the surface from any spills or drips. It is crucial to work on a flat surface to prevent the furniture from toppling over. The ideal temperature for paint stripping is between 65-85 degrees Fahrenheit.
Step 2: Prepare the Furniture
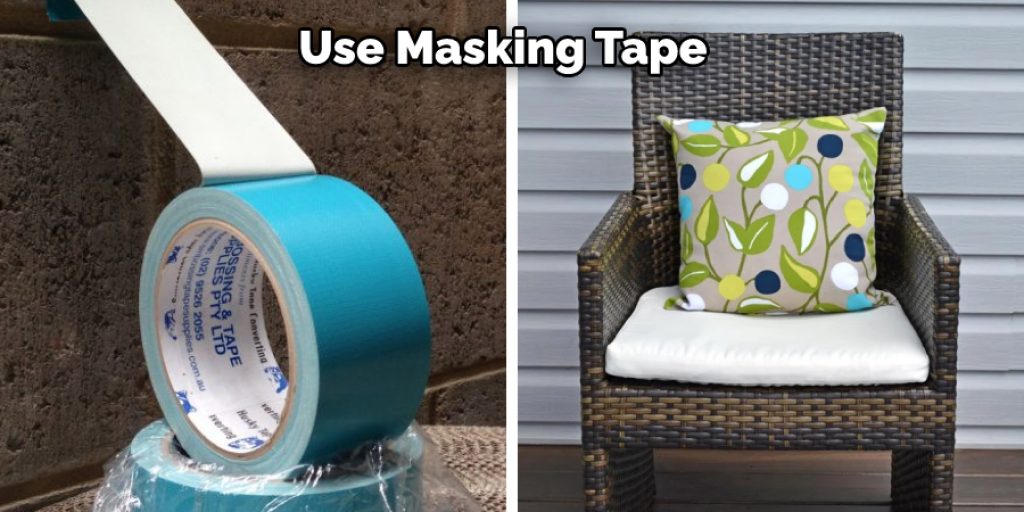
Remove any cushions or fabric coverings from the rattan furniture. Then, use a soft-bristled brush to remove any loose dirt or debris from the surface. This will help the paint stripper to penetrate better and remove multiple layers of paint more effectively. You can also use a vacuum cleaner to remove any dust or particles. It is advisable to cover the areas of the furniture that you do not want to strip with plastic wrap or aluminum foil. The stripper may cause discoloration or damage to unprotected areas.
Step 3: Wear Protective Gear
Put on gloves and eye protection before handling the paint stripper. Make sure to read and follow all safety instructions provided on the product label. Otherwise, you can also consult a professional for assistance. It is also advisable to wear long sleeves and pants to prevent any skin exposure. We recommend using a chemical-resistant apron as an added precaution. You can also cover your shoes with shoe covers to keep them clean. Most importantly, we should make sure to keep children and pets away from the work area.
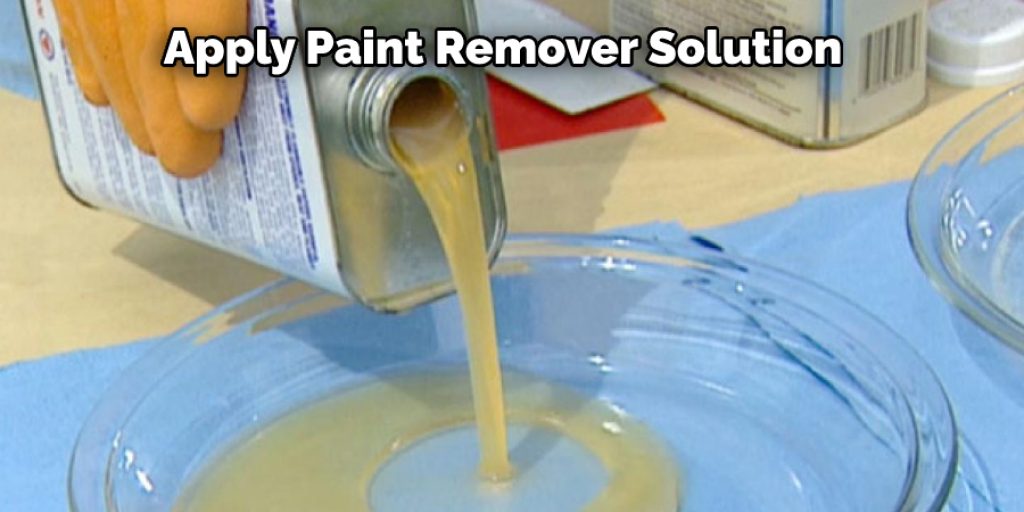
Step 4: Apply the Paint Stripper
Use a brush or sponge to apply the paint stripper onto the rattan furniture. Make sure to follow the directions on the product label and apply an even coat. The chemical stripper will react with the paint, causing it to bubble and loosen its bond with the rattan material. But, do not let the stripper sit for too long as it can damage the furniture. It is best to work in small sections at a time. It may also be helpful to have a timer to keep track of how long the stripper has been on the furniture. The average time is about 15 minutes, but it may vary depending on the type of paint and thickness.
Step 5: Wait for the Paint Stripper to Work
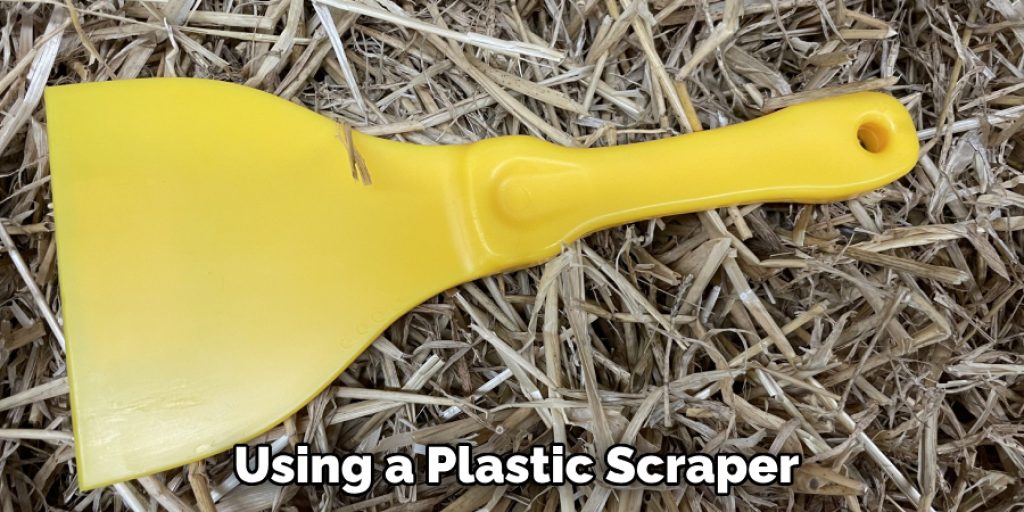
After applying the stripper, wait for about 15-20 minutes or as instructed on the product label. This will give enough time for the paint stripper to penetrate and loosen multiple layers of paint. You can check if it is working by scraping off a small section with a plastic scraper. If the paint comes off easily, you can proceed to the next step. It is best to avoid using metal scrapers or tools as they can scratch the rattan material. The stripper may also need more time to work if the paint layers are thick.
Step 6: Remove the Paint
Using a plastic scraper, carefully scrape off the loosened paint from the rattan furniture. You can also use an old toothbrush or soft-bristled brush to remove any remaining bits of paint. Be gentle and do not apply too much pressure as it can damage the furniture. If the paint does not come off easily, you can apply another coat of paint stripper and wait for a few more minutes. You can also use a rag to wipe off any excess stripper or paint. Dispose of the rags properly according to the instructions on the product label.
Step 7: Wipe Down the Furniture
After removing all the paint, wipe down the furniture with a clean cloth soaked in water. This will help neutralize any remaining traces of paint stripper on the surface. Make sure to dry the furniture with a clean cloth. You can also use a fan or leave it outside in the sun to speed up the drying process. But, avoid exposing the furniture to direct sunlight for an extended period, as it can cause the rattan material to fade. You can also use a vacuum cleaner to remove any remaining dust or debris.
Step 8: Sand the Furniture (Optional)
If you notice any rough spots or areas where paint is still sticking, you can gently sand them with fine-grit sandpaper once the furniture is completely dry. This will help smooth out the surface and prepare it for a new coat of paint. The amount of sanding required will depend on the condition of the furniture. It is essential to be gentle and not over-sand as it can damage the rattan material. It is best to sand in the direction of the rattan weave.
Step 9: Apply a Primer (Optional)
If you plan to repaint the rattan furniture, it is advisable to apply a primer before painting. This will help the new paint adhere better and provide a more even finish. Follow the instructions on the primer label and make sure to choose one that is suitable for use on rattan furniture. You can use a brush or spray the primer onto the furniture, depending on your preference. It is best to apply multiple thin coats rather than one thick coat.
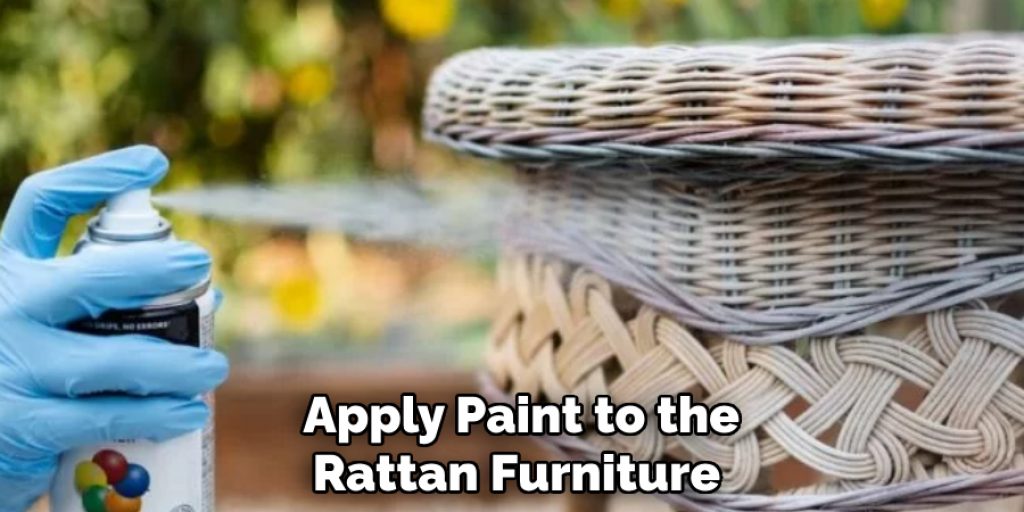
Step 10: Apply Paint
Once the primer is fully dry, you can apply paint to the rattan furniture. Choose a high-quality paint that is suitable for use on rattan material. You can use a brush or spray paint, depending on your preference. Make sure to apply thin and even coats, allowing each coat to dry completely before applying the next one. You may need to apply multiple coats for an even finish. It is best to paint in the same direction as the rattan weave. Although optional, applying a protective finish such as varnish can help prolong the life of the paint and provide added durability to the furniture.
Step 11: Seal the Paint (Optional)
Once the paint is fully dry, you can choose to seal it with a clear coat for added protection. This will also help preserve the color and finish of the paint for a longer time. Make sure to read the directions on the product label and choose one that is suitable for use on painted rattan furniture. You can apply multiple coats of the sealer, allowing each coat to dry completely before applying the next one. You can also lightly sand the furniture and apply an additional coat of sealer for added durability. Once done, allow the furniture to dry completely before using it again.
Step 12: Reassemble the Furniture
After everything is dry, you can reassemble the rattan furniture by placing any cushions or fabric coverings back. You can also add new cushion covers or pillows to give your furniture a fresh look. Make sure to let the furniture air out for a few hours before using it. This will help dissipate any fumes from the paint stripper or other chemicals used in the process. And just like that, your old rattan furniture will look brand new again!
Following these steps, you can easily remove paint from your rattan furniture and give it a fresh new look. It is essential to follow all safety precautions and use the appropriate tools and products for the best results. With proper care and maintenance, your rattan furniture can last for many years to come. So go ahead and give it a makeover!
Precautions While Removing Paint From Rattan Furniture:
Paint hurts rattan furniture. Due to its toxic chemical nature, it can cause serious health problems if handled carelessly. The toxicity of the paint may affect human life and kill living things in and around your house. So, before you remove paint from rattan furniture, be sure to take the following precautions:
1. Put on gloves to avoid skin contact with paint
2. Cover your eyes with goggles or put on a mask so that no paint particles go into the eyes accidentally
3. Ensure that there is proper ventilation in the room you are working in – paint fumes are highly toxic
4. Remember to ventilate the room again after half an hour of work for your own safety and comfort as well as for those around you! Remember, it’s not just about getting rid of the paint from rattan furniture but also ensuring your health and safety!
Frequently Asked Questions:
Q: Can I Use Heat to Remove Paint From Rattan Furniture?
A: Heat can be used as a last resort, but it is not recommended for inexperienced individuals. It can cause the rattan to combust and should only be done with approved heat sources. The safest way to remove paint is by using chemical solutions and sanding. You can also try using a heat gun, but be cautious and follow all safety precautions. It is better to be safe than sorry!
Q: Is It Necessary to Sand the Furniture After Removing Paint?
A: Yes, it is necessary to sand the furniture after removing the paint. This helps smooth out any rough patches and prepares the surface for a new coat of primer and paint. Sanding also helps remove any residual chemicals from the paint remover solution, ensuring that your newly restored rattan furniture is clean and safe to use.
Q: What Type of Paint Should I Use for My Rattan Furniture?
A: It is recommended to use oil-based paints for exterior surfaces and acrylics for interiors. These types of paint are water-resistant, durable, and provide a smooth finish. However, always check with the manufacturer’s instructions before applying any type of paint to your rattan furniture. It is also recommended to use a lacquer sealer for added protection against outdoor elements.
Q: Can I Use the Same Process for Removing Stains from Rattan Furniture?
A: Yes, you can use a similar process for removing stains from rattan furniture. However, be sure to test any chemical solutions on a small, inconspicuous area first to avoid damaging the rattan. Also, use a light hand when scrubbing and wiping off any stains to avoid causing permanent damage to the furniture. If in doubt, it is best to seek professional help to remove tough stains from rattan furniture.
Q: How Often Should I Refinish My Rattan Furniture?
A: It is recommended to refinish your rattan furniture every 2-3 years to keep it looking new and protect it from outdoor elements. However, this timeline may vary depending on the location of your furniture, weather conditions, and how often it is used. With proper care and maintenance, your rattan furniture can last for many years to come. So, don’t wait until your rattan furniture looks worn out – regular refinishing can help extend its lifespan and keep it looking beautiful.
Q: Why is It Important to Use Mineral Spirits and Paper Towels During the Paint Removal Process?
A: Mineral spirits are used to remove any residual chemicals from the paint remover solution, ensuring that your rattan furniture is clean and safe to use. Paper towels are helpful for wiping off excess chemicals and avoiding any potential smudges on the newly bare rattan. It is essential to pay close attention when using these materials to ensure the best possible outcome for your furniture. It’s always better to be safe than sorry!
Conclusion:
In conclusion, I hope this article has been beneficial for learning how to remove paint from rattan furniture. Ensure all the necessary precautions while performing the process. Thank you and have a nice day! If you follow these steps carefully and take the necessary precautions, you will be able to successfully restore your rattan furniture to its former glory. Be patient and don’t rush the process, as it may take some time to remove all the paint. But with determination and proper technique, you will have a beautiful piece of furniture that looks brand new. Happy restoring!
Check out our article How to Remove Paint From Window Frame