How to Use Printable Heat Transfer Vinyl
Have you ever wanted to be able to customize clothing, accessories, and home decor items to your liking? With printable heat transfer vinyl (HTV), it is now possible! This type of customizable material allows you to easily make all sorts of apparel items.
Not only will this guide show how easy it is to use HTV for customizing everything from shirts and hats to bags and banners, but helpful tips on choosing the right kind for different projects as well.
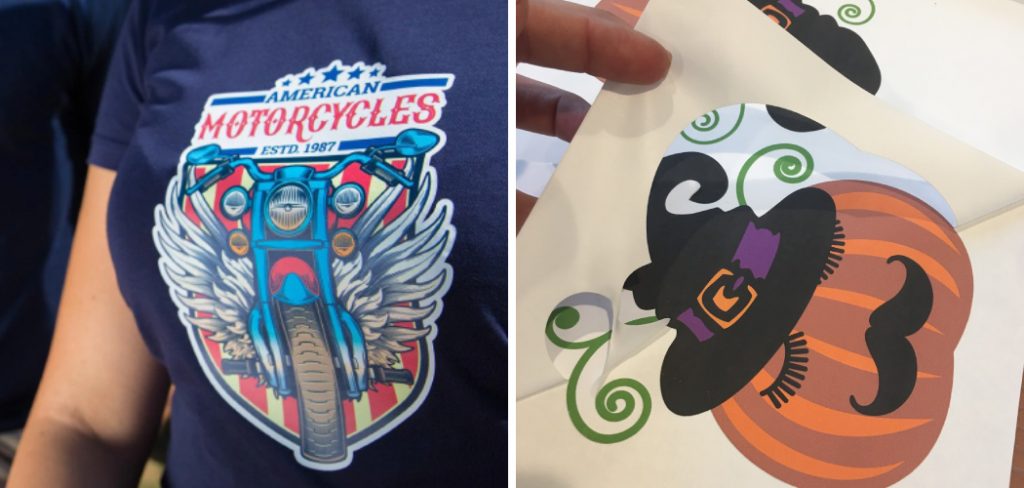
Printable heat transfer vinyl is a perfect choice if you are looking for a way to customize fabric easily and effectively. This kind of vinyl allows you to create intricate designs or simple patterns on nearly any type of fabric with just an inkjet printer and a home iron, meaning that even complete beginners can make amazing custom garments without having to invest in expensive equipment.
In this post, we’ll go through all the steps on how to use printable heat transfer vinyl: from choosing the best material to setting up your design—so no matter what look you’re going for, you’ll have everything you need to get it done!
Benefits of Using Printable Heat Transfer Vinyl
1. Fast and Easy
Printable heat transfer vinyl is a great choice for anyone who needs to quickly and easily customize garments. With just a few simple steps, you can create professional-looking designs that will last through multiple washes.
2. Budget Friendly
Printable heat transfer vinyl is much more cost-effective than buying transfers from a store. You can often find great deals online or in stores, making it an inexpensive way to customize your clothes.
3. Durable
Printable heat transfer vinyl is designed to hold up in the wash and wear well over time. This makes it a great choice for items that will be worn frequently or put through tough conditions.
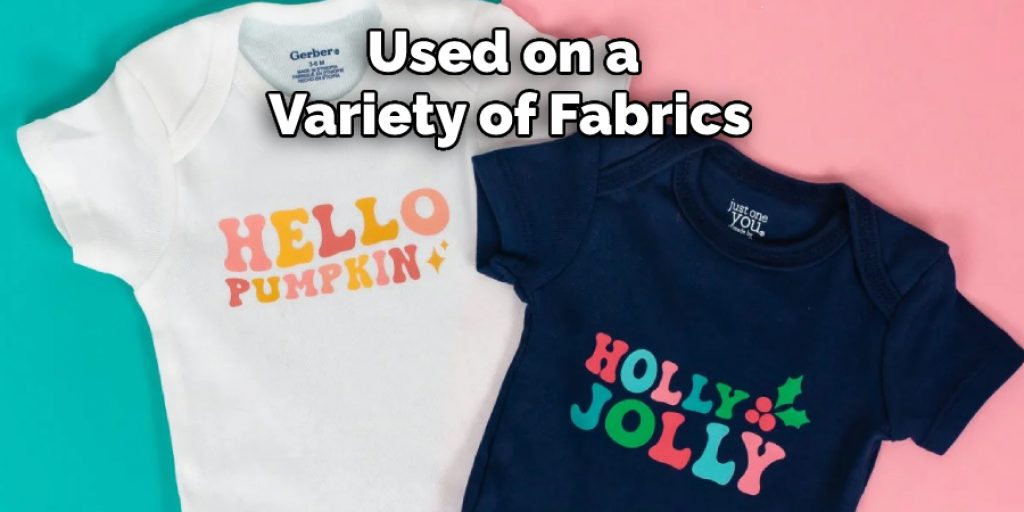
4. Versatile
Printable heat transfer vinyl can be used on a variety of fabrics and surfaces. You can use it to customize t-shirts, hats, bags, jackets, and other apparel items. It’s also great for creating custom mugs, tiles, glassware, and more.
5. Fun
Using printable heat transfer vinyl opens up a world of possibilities for creativity. You can create intricate designs, add text, or even use photos to make unique custom items. It’s a great way to express your personality and show off your creative side.
Printable heat transfer vinyl is a great choice for anyone looking to customize their wardrobe or create unique gifts. With its durability, versatility, and affordability, it’s no wonder why this type of vinyl has become increasingly popular. With just a few simple steps and some creativity, you can make professional-looking designs that will stand the test of time. So what are you waiting for? Get started today and let your imagination run wild!
How to Use Printable Heat Transfer Vinyl in 6 Easy Steps
Step 1: Get the Right Equipment
The first step is to ensure you have the right equipment to print and apply your heat transfer vinyl. You will need a computer, a color printer that can print on transfer paper, and an iron or heat press machine.
Step 2: Prepare Your Design
Once you have all of the necessary equipment, you’ll need to prepare your design for printing. Start by designing your design in a vector editing program or using a pre-made template. Make sure the colors are vibrant and clear before sending it to print.
Step 3: Print Your Design
Once you have your design ready, you can now print it on transfer paper using your printer. Make sure you check that the image has been printed correctly before continuing.
Step 4: Cut Out Your Design
After the design has been printed, you can then cut out the design using a craft knife or scissors. Always be careful when handling sharp tools! Also, make sure you cut as close to the design as possible without cutting off any of the details.
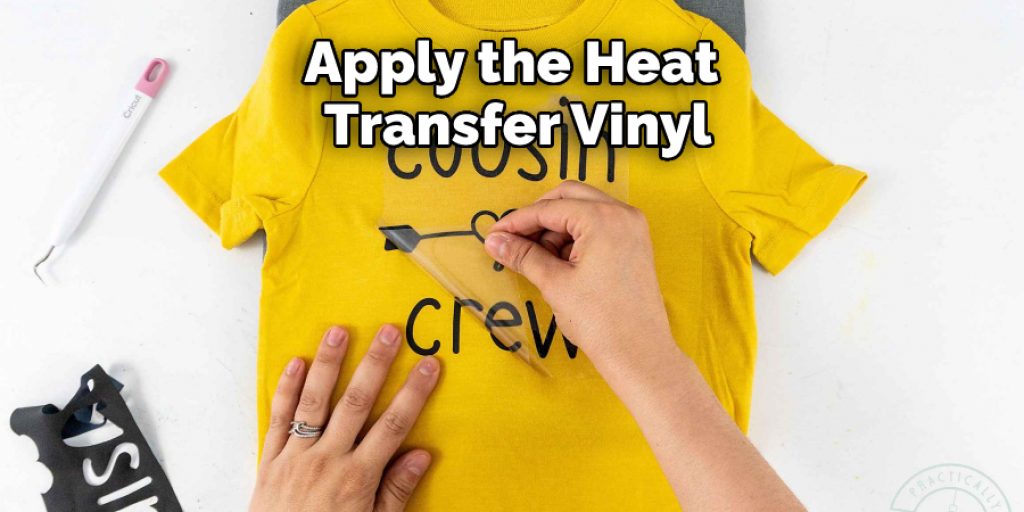
Step 5: Apply Heat Transfer Vinyl
Now that your design is cut out, it’s time to apply the heat transfer vinyl. Place your design onto a piece of fabric and place a piece of parchment paper over it. Then press down with an iron or heat press machine for 20 to 30 seconds.
Step 6: Peel Away Transfer Paper
After 20 to 30 seconds of pressing, you can then carefully peel away the transfer paper from the fabric. Make sure to peel very slowly so that all of the details remain intact.
And that’s it! You have now successfully used printable heat transfer vinyl to create a unique design. Experiment with different colors and prints to create your own custom designs!
Some Additional Tips to Use Printable Heat Transfer Vinyl
1. Do Not Over-Expose the Heat Transfer Vinyl
This is the most important rule when it comes to using printable heat transfer vinyl. Too much exposure to the heat press can cause the vinyl to become brittle and curl up. Make sure you use an appropriate temperature setting on your heat press and do not exceed the recommended time for each application or your design will be ruined.
2. Clean Your Fabric Before Applying
Make sure the fabric is free from dust, dirt, and lint before applying your printable heat transfer vinyl. Any foreign particles can prevent the adhesive from firmly bonding to your chosen fabric.
3. Use a Weeding Tool To Remove Excess Vinyl
A weeding tool will help you remove any excess vinyl pieces that are not a part of your design. This will help create a more precise and professional looking design.
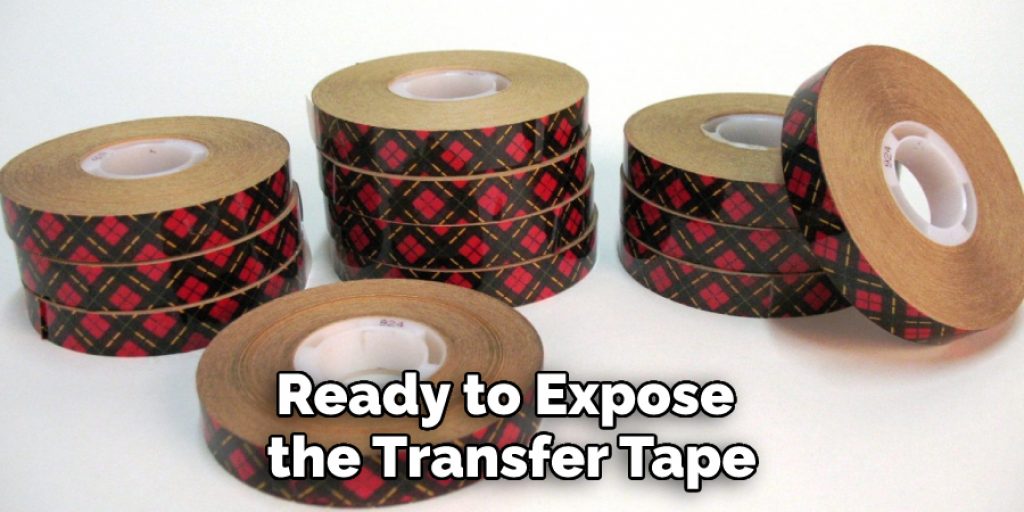
4. Peel Away The Transfer Tape Slowly
When you are ready to expose the transfer tape, make sure you remove it slowly and gradually. If you pull off too quickly, part of the vinyl may come away with the transfer tape which could ruin your design.
5. Use a Heat Press or Iron
When it comes to applying printable heat transfer vinyl, you will need either a heat press or iron. A heat press is preferred as it can evenly distribute the heat required to activate the adhesive and properly adhere the design to your chosen fabric.
6. Let The Vinyl Cool Before Peeling
Once you have applied the heat, allow the vinyl to cool before peeling off the transfer tape. If you peel too quickly, it can cause the design to deform or come away with the transfer tape.
Frequently Asked Questions
What Precautions Should I Take When Working with Printable Heat Transfer Vinyl?
Always read the instructions provided with your vinyl to ensure that it is compatible with your printer and heat press. Never leave a heat press unattended, as leaving it on for too long can cause scorching or discoloration of the fabric you are working with, and may also damage the vinyl.
Additionally, always keep the area you are working in well-ventilated, as the heat can create strong fumes. Wear protective gloves when handling the vinyl and pressing it to ensure that you don’t burn yourself on the hot surface of the press.
What Fabrics Can I Use with Printable Heat Transfer Vinyl?
Printable heat transfer vinyl is designed to work on most fabrics, including cotton, polyester, and canvas. It works best on smooth and even fabrics, as this allows for a smoother application. You should also ensure that the fabric you’re using is freshly laundered before applying the vinyl.
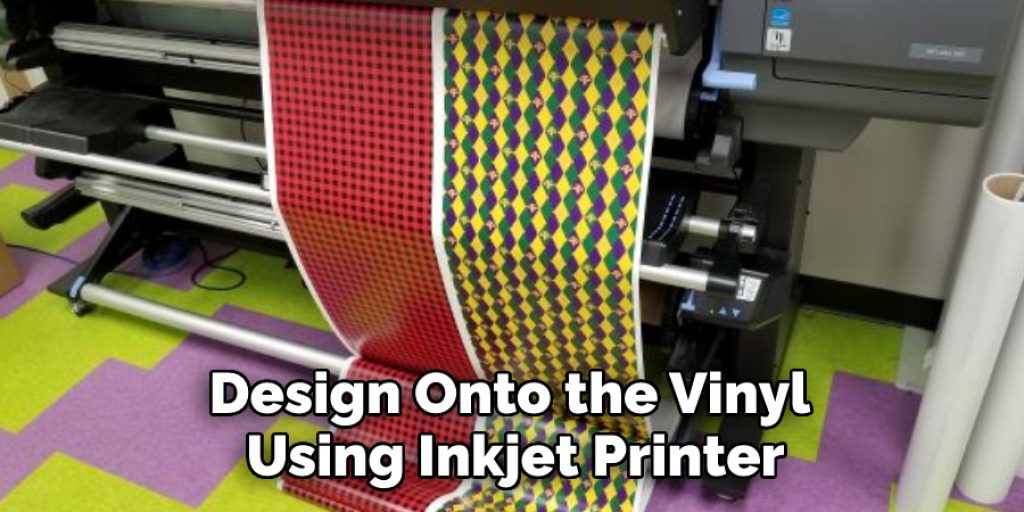
Can I Use Any Inkjet Printer with Printable Heat Transfer Vinyl?
You’ll need to check the specific instructions for your heat transfer vinyl to make sure that it is compatible with your printer. Most printable heat transfer vinyls require an inkjet printer, and you’ll need to ensure that you have the right type of ink cartridges installed for it to work correctly.
How Do I Apply Printable Heat Transfer Vinyl?
First, you’ll need to print your design onto the vinyl using your inkjet printer. Once the design is printed, use a craft knife or scissors to cut out the shape of the design and then peel away any excess vinyl.
Place the vinyl with your printed design facing down onto the fabric to which you want to apply it, and cover it with a protective sheet. Finally, press the vinyl onto the fabric using your heat press and follow the instructions provided by the manufacturer for best results.
Conclusion
Now you know how to use printable heat transfer vinyl! You can easily transfer your designs onto any fabric with a few simple steps. Printable heat transfer vinyl is an easy and cost-effective way to add personalized designs to a variety of fabrics, so get creative and have fun!
Ensure you always follow the instructions provided with your vinyl for best results and safety precautions. Make sure that you wear protective gloves and keep your work area well-ventilated when working with printable heat transfer vinyl. With the right materials, a bit of creativity, and these simple steps, you’ll be able to apply beautiful designs to any fabric in no time!
Jane Hubbard
Jane has always been passionate about hair and beauty. After many years of working as a hairdresser specialist, she decided to start her own consultancy business. She is an experienced haircare and beauty consultant, and she loves helping others find the perfect look for them. She has been writing articles for DIY quickly for over 3 years. In her free time she enjoys keeping up with the latest news in the industry, practicing yoga, and spending time with her friends and family.