How to Use Silicone Basket in Air Fryer
Silicone baskets are a convenient and versatile accessory to use in your air fryer for cooking a variety of foods. Made from food-grade silicone, these baskets are heat-resistant, non-stick, and easy to clean, making them an excellent option for air frying.
Whether you’re a seasoned air fryer user or a beginner, using a silicone basket can simplify the cooking process and help you achieve delicious results. In this intro paragraph, we will explore how to use silicone basket in air fryer to make your cooking experience more enjoyable and hassle-free.
From frying crispy fries to baking tender chicken, the silicone basket can be a game-changer in your air frying adventures. Read on to learn more about the benefits and techniques of using a silicone basket in your air fryer for a variety of tasty meals.
Are Silicone Baskets Good for Air Fryers?
The answer to this question is a resounding “Yes!” Silicone baskets are perfect for air frying, as they don’t require the use of oil. This makes them healthier and more eco-friendly than traditional frying methods. Additionally, silicone baskets are super easy to clean and maintain because of their non-stick surface.
When using a silicone basket in an air fryer, it’s important to remember to preheat the appliance before adding your food. This will help ensure even cooking and optimal flavor. It’s also important that you don’t overcrowd the basket – be sure to leave some space between each piece of food for air circulation. This will help make sure everything cooks evenly.
After your food is cooked, you can use tongs or a silicone-friendly tool like a spatula to remove the food from the basket. Be sure not to use metal utensils as this could damage the non-stick surface of your basket and cause it to wear down over time.
Overall, silicone baskets are a great way to enjoy the healthy benefits of air frying without sacrificing flavor or ease of use. So, next time you’re in the market for an air fryer accessory, be sure to consider adding a silicone basket to your collection. It could make all the difference in your cooking experience!
10 Methods How to Use Silicone Basket in Air Fryer
1. Frying:
Place your food items, such as chicken wings, fries, or onion rings, in the silicone basket and air fry them until they are crispy and golden brown. The silicone basket allows the hot air to circulate around the food, providing even cooking and crispy results.

The basket is also non-stick, so you won’t have to worry about food sticking or burning. However, for a crispier result, lightly spray the basket with oil before cooking.
2. Baking:
Use the silicone basket for baking small items like cupcakes, muffins, or mini pies in your air fryer. Simply place the silicone basket with the batter in the air fryer and cook according to the recipe instructions. While the baking time may be slightly shorter than in an oven, the air fryer easily produces delicious baked goods.
Too often, air fryers get a bad rap for not being able to make food as delicious as an oven does. Fortunately, with the silicone basket, that is no longer the case. The silicone basket helps to distribute heat evenly, resulting in baked goods that are just as delicious and moist as those made in a conventional oven. Plus, you don’t have to wait around for the oven to preheat!
3. Roasting:
Roast vegetables, like broccoli, cauliflower, or carrots, in the silicone basket by tossing them in oil and seasoning, then placing them in the air fryer. The silicone basket helps to prevent the vegetables from sticking to the air fryer basket and makes for easy cleanup. Roast for 8-10 minutes, stirring halfway through, until the vegetables are cooked to your desired tenderness.
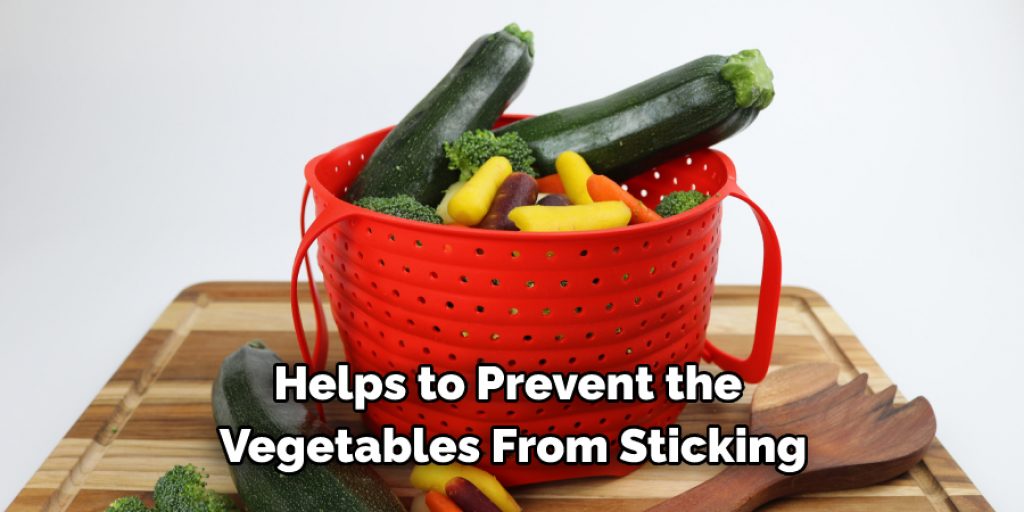
While roasting, the air fryer will circulate hot air around the food for an even cook. Although the cooking time will vary depending on the thickness of your vegetables, check periodically to make sure they don’t burn. Once cooked, enjoy it as a healthy side dish, or add it to your favorite pasta, rice, or grain bowls.
4. Grilling:
Marinate meat, such as chicken breasts or fish fillets, and place them in the silicone basket for grilling in the air fryer. The silicone basket helps to keep the meat moist and prevents it from falling apart or sticking to the air fryer basket.
The air fryer basket also helps to avoid flare-ups. For best results, turn the meat halfway through cooking, and be sure to check for doneness with a thermometer. Make sure the meat reaches an internal temperature of 165°F or higher before consuming.
5. Reheating:
Use the silicone basket to reheat leftovers, such as pizza, fries, or nuggets, in the air fryer. The silicone basket helps to revive the crispy texture of the food and prevents it from getting soggy.
Put the food into the silicone basket and set the air fryer to the desired temperature, usually between 350-400°F. Cook for 3-5 minutes until the food is heated through. Remove the basket from the air fryer and serve. To avoid burning, check the food every few minutes and adjust the cooking time accordingly.
6. Dehydrating:
If your air fryer has a dehydrating function, you can use the silicone basket to dehydrate fruits, vegetables, or even herbs. Simply spread out the items in the silicone basket and set the air fryer to the appropriate temperature and time for dehydrating.
Then, enjoy the results of your hard work! You can also use a silicone basket to make jerky out of meats. Simply season the meat to your preference, cut it into strips, and spread them out in the basket. Again, set the air fryer to a dehydrating temperature and time, and enjoy the delicious results.
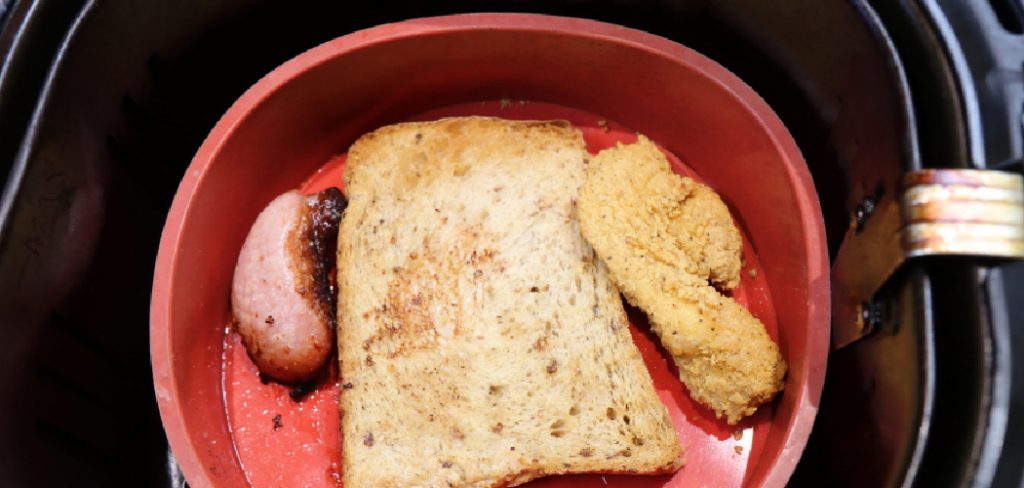
7. Toasting:
Toast bread, bagels, or English muffins in the silicone basket in the air fryer for a quick and easy breakfast or snack. The silicone basket prevents the bread from getting overly crispy and falling apart. For thicker slices, adjust the temperature and cook time accordingly. If desired, spray the bread with a little oil before toasting for extra crunch and flavor.
However, be sure to keep an eye on the bread as it cooks in the air fryer so that it doesn’t burn. Toast can also be made in a silicone basket with a sandwich maker attachment. This is ideal for toasting paninis, quesadillas, and other stuffed sandwiches.

8. Cooking Delicate Items:
Use the silicone basket for cooking delicate items like fish fillets, shrimp, or scallops in the air fryer. The silicone basket provides a gentle and non-stick surface for cooking delicate items without them falling apart.
It also ensures that the items are not over-cooked or burnt. Additionally, silicone baskets can be easily removed from the air fryer to serve food. To cook delicate items in the air fryer, lay the ingredients flat on the bottom of the silicone basket. For example, if you’re cooking fish fillets, lay them in one layer in the bottom of the basket.
Place the silicone basket in the air fryer and set the timer for 3-5 minutes. Check the fillets after 3 minutes and remove them when they are done. Serve the food hot with your favorite dipping sauce.
9. Making Snacks:
Make homemade snacks like kale chips, zucchini chips, or crispy chickpeas in the silicone basket in the air fryer. The silicone basket helps to achieve a crispy texture without the need for excess oil. Simply prepare the snack ingredients, place them in the basket, adjust the temperature and cooking time, and enjoy delicious snacks without any guilt. Additionally, the silicone basket is safe for the oven as well, so it can be used to make air-fried snacks that are both crispy and healthy.
10. Steaming:
Steam vegetables, dumplings, or other small items in the silicone basket in the air fryer by adding a little water to the bottom of the air fryer and placing the silicone basket with the items on top. The hot air will circulate and steam the items to perfection. Be sure to check the items periodically to ensure they are cooked through. Once finished, simply remove the silicone basket from the air fryer and enjoy your steamed items.

Conclusion
To sum up, using a silicone basket in an air fryer can be a simple and efficient way to make delicious meals that are not overloaded with unhealthy fats. The best part about using the silicone basket is the minimal cleanup involved and how quickly foods can be cooked.
While thermodynamics might play a role in cooking times, it’s important to remember to keep your air fryer clean, use pre-heated food items, and adjust power levels or temperature settings if necessary.
We hope this guide on how to use silicone basket in air fryer was helpful. Please share it with your friends on social media if you find it useful. And be sure to check back here soon for more informative guides like this one.
Angela Ervin
Angela is the executive editor of DIY quickly. She began her career as an interior designer before applying her strategic and creative passion to lifestyle and home. She has close to 15 years of experience in creative writing and online content strategy for housekeeping, home decorations as well as other niche efforts. She loves her job and has the privilege of working with an extraordinary team. She lives with her husband, two sons, and daughter in Petersburg. When she's not busy working she spent time with her family.