
How to Waterproof Outdoor Lights
Outdoor lightings are one of the wonderful things that can enhance the look of the house. Most of us have some of these lightings that provides us with more benefits rather than just lighting the darker part. Maybe you are also one of them and added a touch of class around your home. But now, you are worried about the rain. Honestly, a little amount of rain can ruin the entire set up, and you aren’t the only one struggling to save their lighting from rain. Every house owner is doing their best to get through this problem. Don’t worry; I have got your back. In this article, I am going to show you how to waterproof outdoor lights? So, let’s dive in!
One of the untold truths about lighting is that none of them are waterproof. Sooner or later, they will obviously become damage because of water even though the suppliers have confirmed to you that their electrical equipment is completely waterproof. This is what has made the electrical connection to keep outside. But that doesn’t mean you can’t light up the surroundings of your house during the rainy season. Below you will get some simple steps with which you can keep the outside lighting risk-free all the time. So, let’s dive in!
Things You Will Need
- Water-resistant silicone caulk
- Damp cloth
- Step ladder
- Dropcloth or old blanket
- Paper towels
- Bowl of water
- Utility knife
How to Waterproof Outdoor Lights
Step 1 – Clean
Just like the coatings and paints, caulk has a similar effect on the surface when you use it for cleaning. In fact, the effect of caulk for this particular work is greater than other materials. So, it will be better if you apply a thick coating of caulk on your outdoor lighting. For this, you have to use a damp cloth and then wipe the entire light properly. Make sure to pay proper attention to the places where you are going to apply the caulk.
Check it out to learn to clean outdoor brass light fixtures.
Step 2 – Prepare Everything
In this step, you need to get everything ready. So, gather the equipment discussed above and let’s get started. Spread out the drop cloth to catch any spillages. By the way, you’ll need a ladder to reach the lighting fixtures since they are usually positioned at the ceiling.
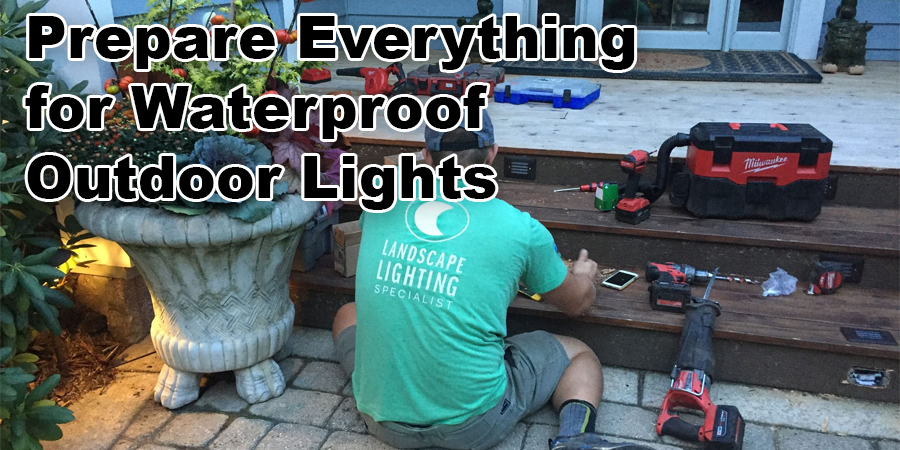
Nothing will be as ideal as the paper towels to remove the unsightly caulk blobs. So, you can also use them for this task. To steer the residual caulk, you will need the utility knife, so make sure to keep that near you too.
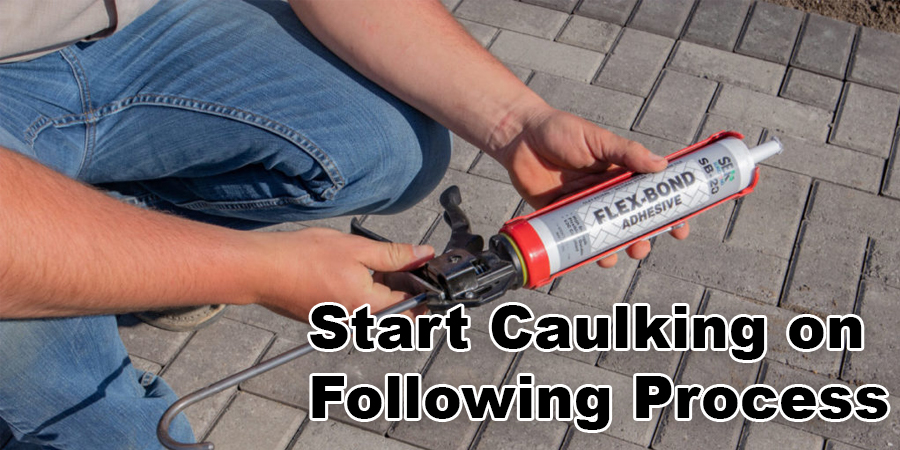
Step 3 – Start Caulking
The caulk is needed to be opened first. Once you have done that, follow this process carefully. You have first to identify the place where you are going to caulk. It is recommended not to hurry during this application because it can ruin all things.
Make sure to pay proper attention to the gaps where the backplate and the mounting boards usually meet. Water can go through this gap and damage your electrical connection. So, you have to pay special attention to this point.
It will be better to apply the chalk in a steady stream. If you have applied more than the required amount, use the utility knife to remove them. Continue the process from top to bottom and make sure to follow this technique with every lighting fixture.
Step 4 – Smoothing Out
Once you have set the caulk perfectly, you have to perform something interesting now. Take your fingers from there and press them down inside the bowl of water that I suggested keeping near you earlier. After that, move your finger smoothly around the area where you have applied caulk.
I know this might sound a bit crazy, but trust me, this process will help you identify any leakage along the applied area, and the caulk dries in a watertight way. It will also help you to acquire a smooth look too.
Step 5 – Clean Up
If there is any spilled caulk or any caulk residue, clean it up with damp cloths or anything you prefer. Do it gently so that the newly applied do not get damaged.
Conclusion
How to waterproof outdoor lights? Is it clear to you now? Hopefully, I have made the thing clear. If you follow the above steps properly, you won’t have to worry about any type of water caused by damages to electrical equipment anymore.


