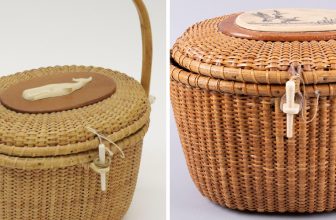
How to Weave a Basket out Of Grass
Grass basket weaving is an ancient craft that has been practiced across cultures for centuries, dating back to indigenous communities who relied on natural materials for everyday needs. These baskets served functional purposes, such as storage and transportation, and played a vital role in cultural rituals and traditions. The art of weaving reinforces the importance of preserving traditional crafts, serving as a link between generations, and fostering a sense of identity.
In this article, readers will discover how to weave a basket out of grass, starting from selecting appropriate materials to advanced techniques that enhance functionality and aesthetics. By the end, you will have a comprehensive understanding of this enduring craft and the skills needed to create your own beautiful grass baskets.
Materials and Tools Needed
When embarking on the journey of crafting a grass basket, selecting the right materials is crucial. Grass types such as sweetgrass and ryegrass are highly regarded for their flexibility and durability, making them ideal for weaving. In addition to grass, basic tools such as scissors, a needle, thread, and an awl are essential for construction.
Optional decorative materials can elevate your basket’s design; consider incorporating beads for embellishment or natural dyes to add vibrant colors. Having these materials and tools at your disposal will ensure a smooth and enjoyable weaving experience.
Harvesting and Preparing the Grass
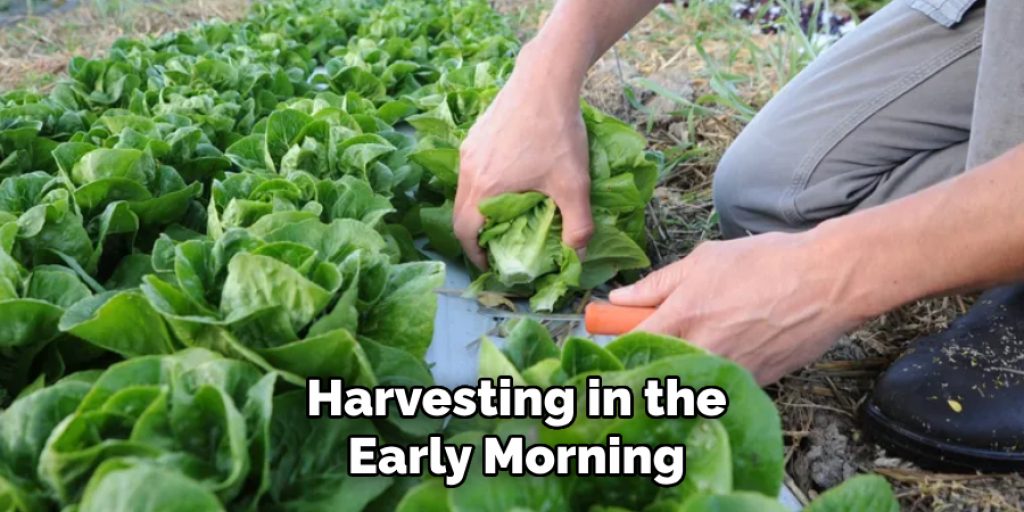
To start weaving a basket out of grass, it’s essential to identify and select the right type of grass. Ideal grasses for basket weaving, such as sweetgrass and ryegrass, should be healthy, vibrant, and disease-free. The best time to harvest these grasses is during their peak growth, typically in late spring to early summer when they are pliable and moist. Harvesting in the early morning or late afternoon ensures the grass retains flexibility, allowing for easier weaving.
Once harvested, clean the grass by removing any dirt, debris, or seed heads. Proper drying of the grass prevents mold and degradation. Lay the grass in a shaded, well-ventilated area to dry, ensuring it retains its colour and strength. After the grass is completely dry, soak the strands in water for several hours or overnight. This process makes the grass pliable and ready for weaving and aids in creating durable and well-formed baskets.
How to Weave a Basket out Of Grass: Basic Weaving Techniques
1.Creating the Base
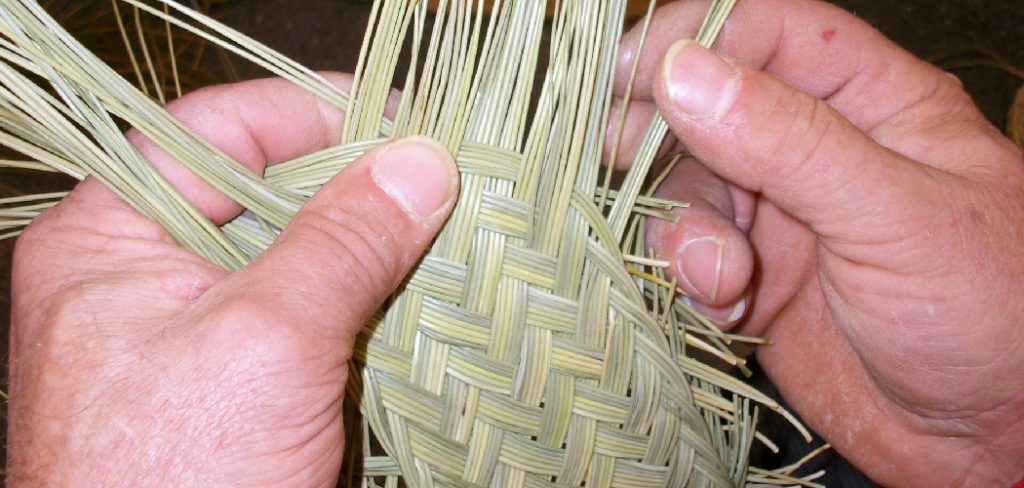
To initiate your basket weaving project, craft a simple spiral base. Select a few strands of your soaked grass and lay them parallel, then twist them into a tight core. This core acts as the foundation of your basket, providing the necessary support for the entire structure. Once the core is established, wrap additional strands of grass around it, securing them tightly as you go.
It’s important to maintain consistent tension; if it is too loose, your base may unravel, it may be too tight, and it could distort its shape. As you wrap, it can be helpful to rotate the base in your hand, keeping the work surface efficient and ensuring that the grass is positioned evenly for a sturdy start.
2.Forming the Sides
With your base securely formed, the next step is to build the sides of your basket. Begin by adding a new strand of grass to the existing base, overlapping it slightly to ensure stability. As you progress upwards, continue wrapping additional strands around, always ensuring that each new strand overlaps the last. This overlapping technique is vital, as it not only strengthens the basket but also creates a visually appealing pattern as the strands integrate together.
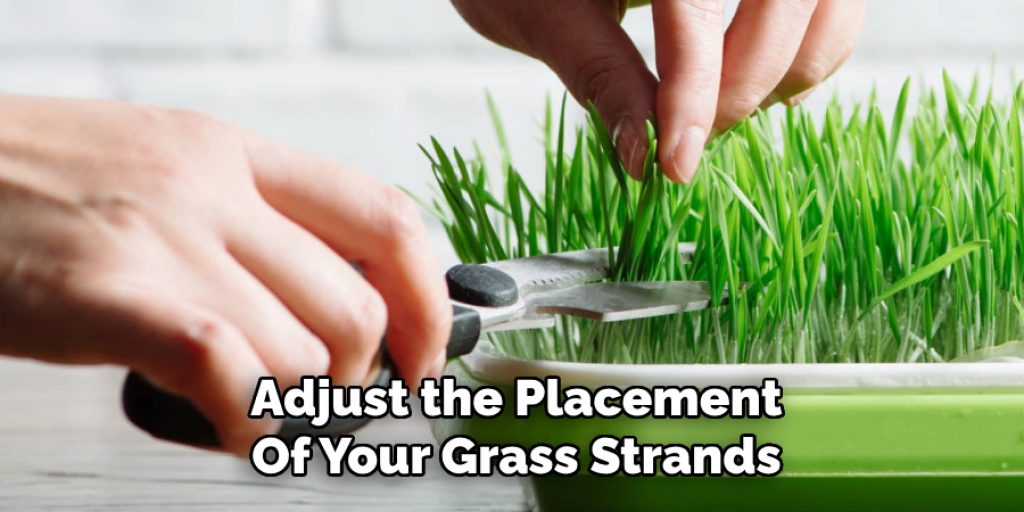
To achieve a consistent shape and size, frequently check the circumference and height of your basket. If you notice any unevenness, adjust the placement of your grass strands as needed. An effective method is periodically pressing down gently on the sides to maintain an even contour.
Additionally, consider alternating the direction of your wrapping; this will provide additional security and enhance the aesthetic of your finished piece. Keep weaving until you reach the desired height, ensuring that the structure remains stable and well-formed throughout the process. With practice, your ability to control the shape and transition between the base and sides will improve, culminating in a beautiful, handmade grass basket.
How to Weave a Basket out Of Grass: Advanced Weaving Patterns
Once you have mastered the basic techniques of grass basket weaving, you can elevate your creations by incorporating advanced weaving patterns. Techniques such as twining and coiling can add intricate designs to your baskets, giving them a unique character. In twining, two or more strands are used to create a twisted effect, enhancing the visual appeal and adding structural strength. This method involves alternating the strands in a figure-eight motion around the base, producing a textured surface that is both beautiful and functional.
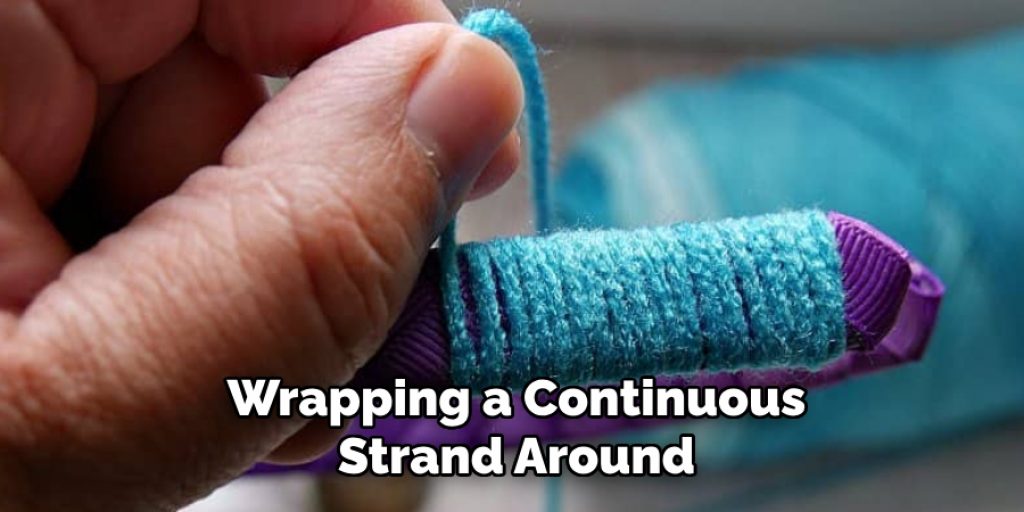
Another technique, coiling, involves wrapping a continuous strand around a spiral core, allowing for more creativity in shape and pattern. This method permits using different types and colors of grass, providing opportunities for striking contrast and design variation. Mixing various types of grass can also yield new textures and visual interest; for example, a combination of soft sweetgrass and sturdy ryegrass can create an appealing dynamic.
Consider adding decorative elements like beads or dyed strands to further embellish your baskets. Beads can be integrated into the weaving process by threading them onto the grass before weaving them into your basket, creating focal points and eye-catching highlights. Alternatively, you can dye portions of your grass with natural dyes to introduce vibrant splashes of color.
This personalizes your basket and allows for the expression of individual creativity and style. By experimenting with these advanced techniques, your grass baskets can transform into stunning art pieces, reflecting both tradition and innovation.
Finishing the Basket
Once you have reached the desired height for your basket, it’s time to finish the weaving process. To secure the final strands, carefully weave your last few pieces into the structure, ensuring they overlap with the existing strands to maintain stability. It’s important to tie off the ends securely; you can do this by creating small knots or tucking the ends under previous rows to conceal them and prevent unraveling.
After tying off, trim any excess grass from the rim or sides for a neat and polished appearance. Use sharp scissors to make clean cuts, ensuring that the edges are even and tidy. This not only enhances the visual appeal but also helps to prevent any sharp ends from catching on clothing or other materials.
To prolong the life of your basket, consider applying a natural finish, such as beeswax or a light coat of olive oil. This will help to preserve the grass, keeping it supple and preventing it from becoming brittle over time. Simply rub the oil or wax into the surface, allowing it to soak in and provide a subtle sheen. With these final touches, your grass basket will be complete, showcasing both your craftsmanship and creativity.
Maintenance and Care Tips
Proper storage is essential to ensure the longevity of your grass basket. Place the basket in a dry, cool area away from direct sunlight to maintain its shape and prevent fading. Avoid stacking items inside the basket, as this can lead to deformation. Additionally, keep the basket elevated off damp surfaces to discourage mold growth.
To clean, gently wipe the surface with a damp cloth to remove dust and dirt. If your basket requires deeper cleaning, use a mild soap solution and a soft brush, rinsing thoroughly and allowing it to air dry completely.
Should you encounter minor damages or loose strands, repair them promptly to maintain the basket’s integrity. For loose strands, simply reweave them into the existing structure and secure them tightly. In cases of more significant damage, you can add new strands in the same pattern to restore the basket’s appearance and functionality.
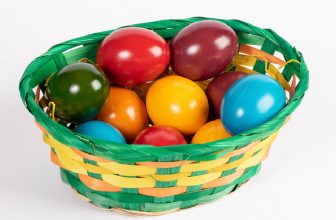
Creative Uses for Grass Baskets
Grass baskets are beautiful and incredibly versatile, making them valuable in daily life. They can serve as practical storage solutions, ideal for organizing items such as toys, blankets, or laundry. Their natural aesthetic adds warmth and charm to any room, making them excellent decorative elements when placed on shelves or tables. Additionally, these baskets can be used as planters for indoor plants, adding a touch of nature to your decor.

Handmade grass baskets make thoughtful and unique gifts. For a personal touch, you can fill them with items like gourmet treats, artisanal soaps, or even small potted plants.
Incorporating grass baskets into home decor can be done through creative displays, such as grouping different sizes together or using them to hold seasonal decorations. With their rustic appeal, these baskets can enhance entryways, living areas, and kitchens, providing both functionality and style.
Conclusion
In summary, learning how to weave a basket out of grass involves mastering basic techniques, exploring advanced patterns, and ensuring careful finishing and maintenance to enhance the basket’s lifespan. As you practice these skills, don’t hesitate to experiment with different materials and designs to develop your unique style. Each creation showcases your craftsmanship and brings a sense of joy and satisfaction in making something beautiful from nature. Embrace the journey of weaving, and let your creativity flourish as you continue to refine your skills and make stunning handmade grass baskets.
Elizabeth Davis
Elizabeth is a creative writer and digital editor based in the United States. She has a passion for the arts and crafts, which she developed from a young age. Elizabeth has always loved experimenting with new mediums and sharing her work with others. When she started blogging, she knew that DIYquickly would be the perfect platform to share her tutorials and tips. She's been writing for the blog from the beginning, and her readers love her helpful advice and easy-to-follow instructions. When she's not writing or editing, Elizabeth enjoys spending time with her family and friends.