How to Wet Mold Leather
Mold is a natural part of the environment, and it can grow on many different surfaces, including leather. In most cases, mold doesn’t pose a serious threat to people or property. However, in some instances, wet mold can cause damage to leather materials.
If you’re concerned about mold growth on your leather furniture or other belongings, this article will provide tips on how to wet mold leather safely and effectively. Keep reading for more information.
Can You Wet Mold Any Leather?
Certain types of leather are more susceptible to mold growth than others. For example, full-grain leather is less likely to develop mold than top-grain or corrected-grain leather. This is because full-grain leather has a more dense surface that is less porous. This makes it more difficult for mold spores to penetrate the surface of the leather.
On the other hand, top-grain and corrected-grain leather have been sanded down to remove imperfections. Unfortunately, this sanding process also opens up the pores of the leather, making it more susceptible to mold growth. If the leather is not properly treated, mold can quickly take hold and cause irreversible damage.
10 Effective Ways on How to Wet Mold Leather:
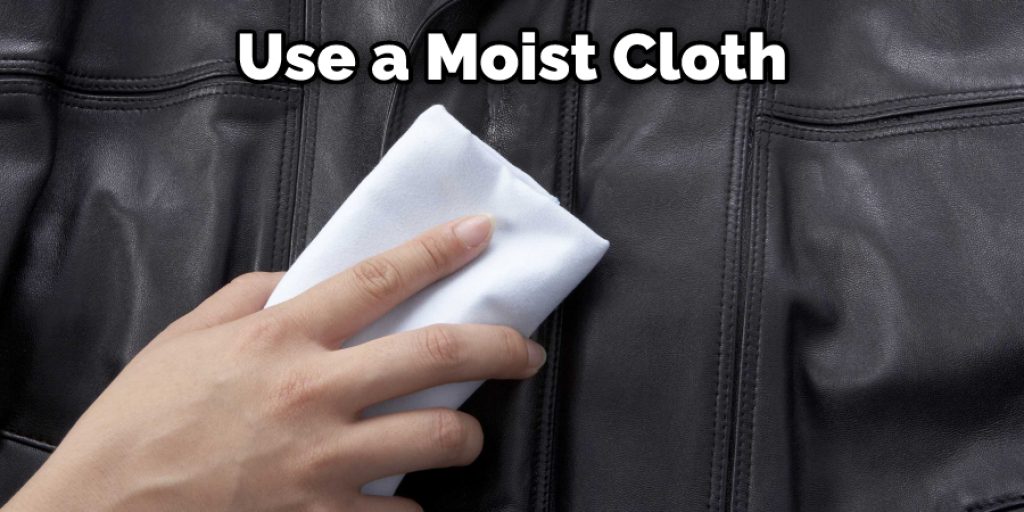
1. Use a Moist Cloth or Sponge:
Dampen a clean, soft cloth or sponge with water. Apply pressure to the moldy area for at least 30 seconds. Wipe the mold away with the dampened cloth or sponge. If the mold is still visible, repeat this process until the mold is gone.
2. Use White Vinegar:
Fill a clean spray bottle with equal parts water and white vinegar. Next, soak a clean cloth in the mixture and apply it to the moldy area of the leather. Allow the mixture to sit for at least 30 minutes before wiping it away with a damp cloth. When the mold is gone, dry the area with a clean towel.
3. Use Baking Soda:
Make a paste out of baking soda and water. Apply the paste to the moldy leather surface and allow it to sit for at least 30 minutes. Next, wipe away the paste with a damp cloth. When the mold is gone, dry the area completely. Follow up with a leather conditioner to keep your leather looking its best.
4. Use Hydrogen Peroxide:
Fill a clean spray bottle with 3% hydrogen peroxide. Next, soak a clean cloth in the mixture and apply it to the moldy area of the leather. Allow the mixture to sit for at least 30 minutes before wiping it away with a damp cloth. If you see mold spots reappearing, repeat the process.
5. Use Rubbing Alcohol:
If you want to remove excess oil from your leather, isopropyl alcohol is your best friend. It will also help to prep the surface of your leather for molding. Apply to rub alcohol to a clean cloth and rub it into the leather in a circular motion. Avoid saturating the leather; you want to lightly dampen it.
6. Apply the Molding Solution:
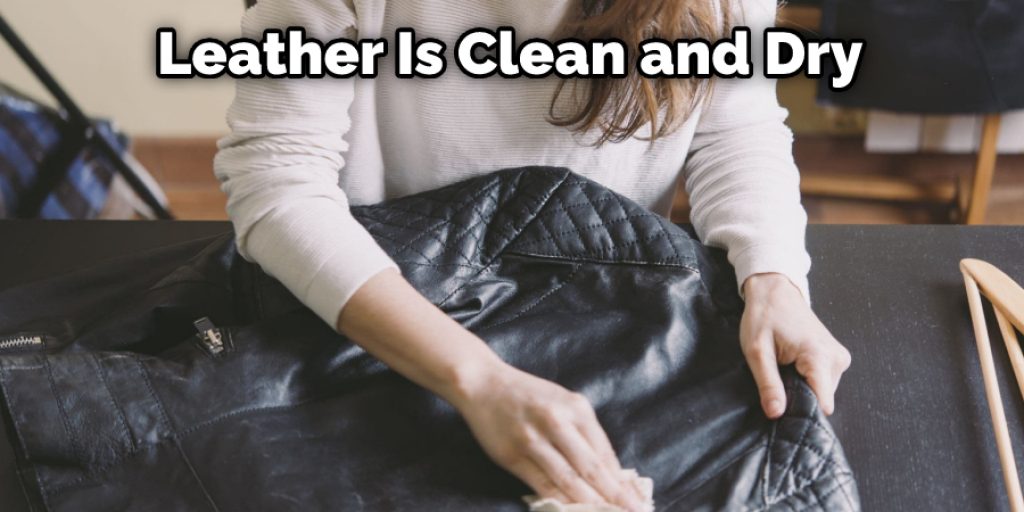
Once your leather is clean and dry, it’s time to apply the molding solution. You can purchase a pre-made leather molding solution from your local craft store, or you can make your own. To make your own, mix equal parts water and isopropyl alcohol.
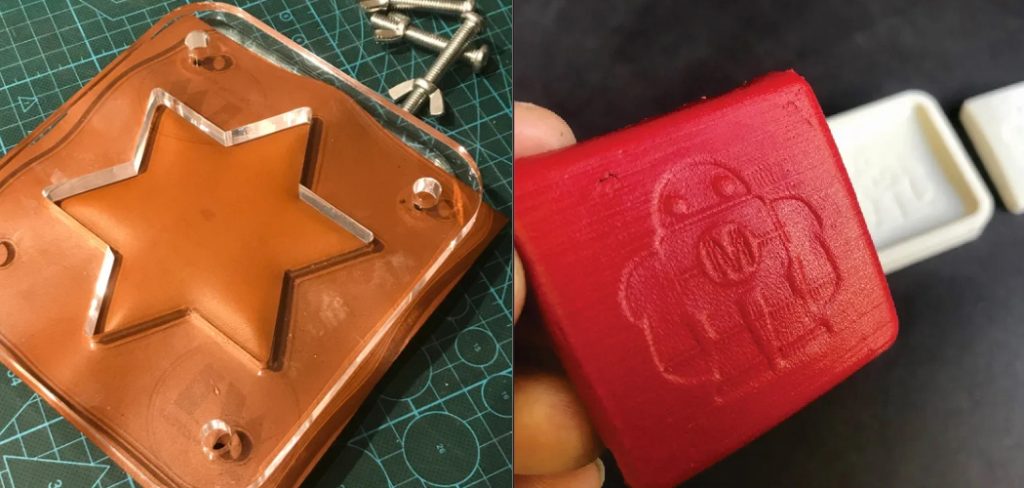
7. Place the Mold on the leather:
Make sure that the mold is placed firmly against the surface of the leather so that there are no air bubbles. If you’re using a pre-made mold, you may need to use a bit of water to help it adhere. When the mold is in place, use a spray bottle to mist the leather with water lightly.
8. Soak the Leather:
Place the leather in a sink or tub filled with warm water. Allow the leather to soak for at least 30 minutes. This will help to soften the leather and make it more pliable. If the leather is too stiff, you may need to soak it for longer. When the leather is finished soaking, wire it out so that it is damp but not dripping wet.
9. Using Nails or Staples:
If the mold you’re using doesn’t have a hole in the center, you’ll need to make one. This will allow you to attach the mold to the leather surface. Use nails or staples to attach the mold to the leather. Be sure to use care so that you don’t puncture the leather. If you think the leather is too thick, you can always use a thinner piece of leather underneath.
10. Apply Pressure & Heat:
You can apply pressure to the mold with your hands, a wooden dowel, or a mallet. If you’re using your hands, wear gloves to avoid getting the molding solution on your skin. You can also apply heat to the mold by using a hair dryer set on low. Apply heat for about 30 seconds, then remove and allow the leather to cool for a few minutes. Repeat this process until the leather is completely dry.
Some Helpful Tips and Suggestions:
Here we have given tips on how to wet mold leather
1. If you’re having trouble getting the mold to release from the leather, try placing the leather in the freezer for a few minutes. This will help to firm up the leather and make it easier to remove.
2. If you’re using a pre-made mold, follow the manufacturer’s instructions.
3. Be sure to work in a well-ventilated area when using these solutions.
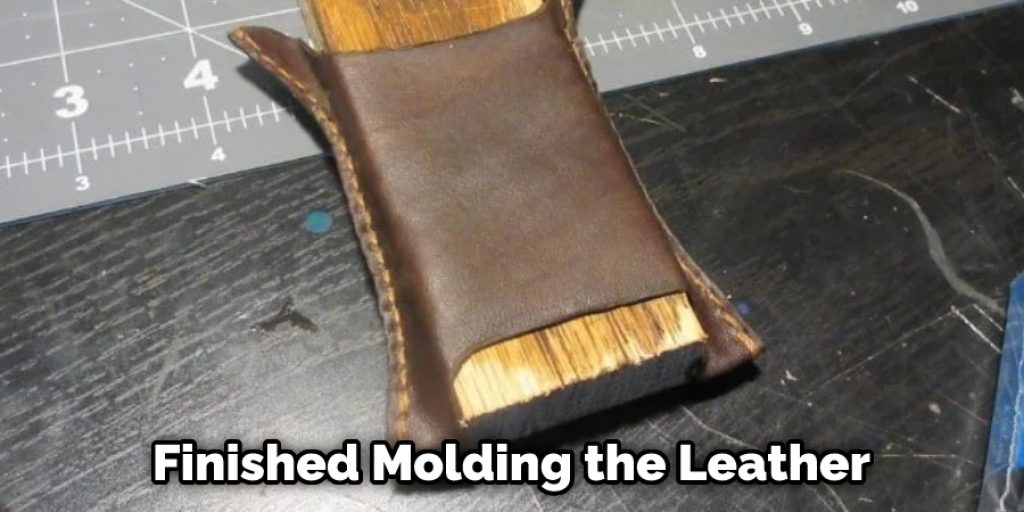
4. When you’re finished molding the leather, condition it with a quality leather conditioner. This will help to keep it soft and pliable.
5. If you’re unsure how your leather will react to any of these solutions, it’s always best to test in a small, inconspicuous area first.
6. If you’re using a homemade molding solution, store it in a sealed container when you’re finished. It can be reused again, but it will only last for months. After that, it will need to be replaced.
7. Always use gloves when working with these solutions to avoid skin irritation.
8. If you’re molding a large piece of leather, you may need to use more than one mold.
When Should You Wet Mold Leather?
Wet molding leather is a great way to shape and form it into different shapes. It’s perfect for creating custom holsters, cases, and other projects where you need the leather to be stiff and hold its shape. Wet molding leather is also a good option if you’re trying to avoid using any chemicals.
Keep in mind that wet molding leather will make the leather darker and change the color slightly. It’s best to test this out on a scrap piece of leather before molding your final piece. If the leather you’re molding is already dyed, it’s best to test an inconspicuous spot first to see how the color will change.
How Long Does It Take to Wet Mold Leather?
It can take anywhere from a few seconds to a few minutes to wet mold leather, depending on the thickness of the leather and the amount of water used. Thinner leather will generally take less time to mold than thicker leather.
More water will also speed up the process, but too much water can cause the leather to become soggy and difficult to work with. If the leather is too dry, it will be difficult to mold. If the leather is too wet, it will be difficult to work with and may shrink when it dries.
The ideal amount of moisture for molding leather is somewhere in the middle. To wet mold leather, start by dampening a cloth with water and wiping down the surface of the leather. If the leather is very dry, you may need to soak it in water for a few minutes before molding it.
How Do You Heat Up Mold on Leather?
You can apply heat to the mold by using a hair dryer set on high or by using a household iron set on low. Place a pressing cloth between the mold and the heat source to avoid scorching the leather.
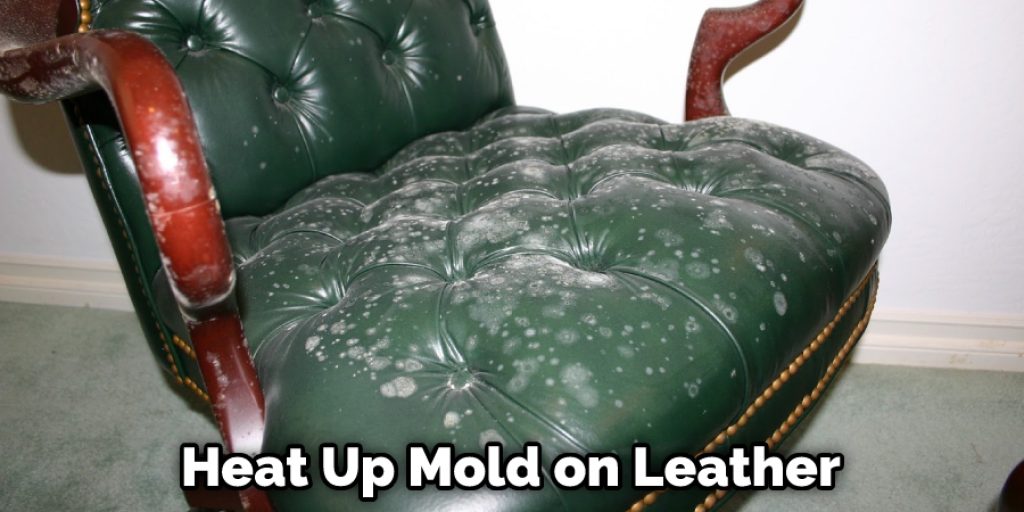
If using an iron, do not let the iron touch the mold directly, as this will damage it. Instead, apply heat for 30 seconds to 1 minute, or until the leather is pliable. When the heat has been applied, carefully remove the mold from the leather.
How Do You Wet Form Tooled Leather?
The first step is to make sure that the tooled leather is damp. This can be done by running it under water or spraying it with water. Once the leather is damp, place it on a firm surface. Next, use a rounded object to press down on the design.
For best results, use a ball-peen hammer. Start in the center of the design and work your way out. Be sure to apply even pressure. Once you have gone over the entire design, allow the leather to dry. If the leather is too wet, it will warp. If it is too dry, the design will not be visible.
Conclusion:
Leather is a popular material for furniture, car seats, and other items because it is durable and attractive. However, leather can also be damaged by water. When leather gets wet, the fibers swell, and the color changes. In some cases, the leather may even start to rot.
If you accidentally get your leather wet, you can do a few things to try to save it. First, remove any excess water with a towel or cloth. Then, use a hair dryer on low heat to help the leather dry faster. You can also place the item in direct sunlight to help it dry more quickly. However, be sure not to put too much heat on the leather, or it may crack or warp.
We hope this guide on how to wet mold leather has been helpful. Follow these steps to mold your leather and create a beautiful finished product. Have you ever tried wet molding leather? What tips would you add? Please share them in the comments below!