How to Wrap a Frying Pan
Wrapping a frying pan ensures that it will remain clean and safe from damage, preventing possible rusting or other problems. This can also be great for easy pan storage when not in use. With proper wrapping techniques, you can help ensure that your frying pan is protected while not in use and make cleanup much easier. Here are the steps to take when wrapping a frying pan.
Wrapping your frying pan is an excellent way to protect and extend the life of your kitchenware. It also provides a neat solution for storage, as it can be hung up in a cupboard or pantry to save counter space. Wrapping a frying pan is a simple process that requires just basic materials—all you need is some bubble wrap, tape, and a few pieces of string. In this blog article, you can find step-by-step instructions on how to wrap a frying pan.
Step-by-Step Instructions for How to Wrap a Frying Pan
Step 1: Inspect the Frying Pan
Before wrapping a frying pan, you will need to check the pan for any signs of wear or damage. If you notice any scratches or chips, you are not recommended to wrap the pan. Scrub off any dirt and grease from the surface of your frying pan with warm, soapy water. Dry the pan off with a clean microfiber cloth and ensure it is completely dry before wrapping.
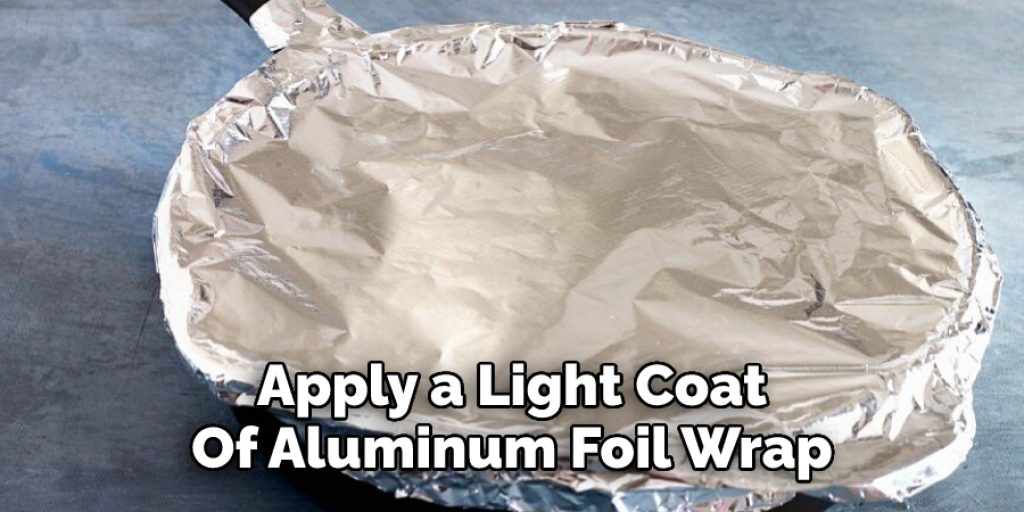
Step 2: Prep the Frying Pan
Once the frying pan is fully cleaned and dried, apply a light coat of aluminum foil wrap around the entire surface. This will create a protective barrier between the pan and any wrapping materials you may use in later steps. You can also cover any handles on your frying pan with aluminum foil to protect them from damage as well.
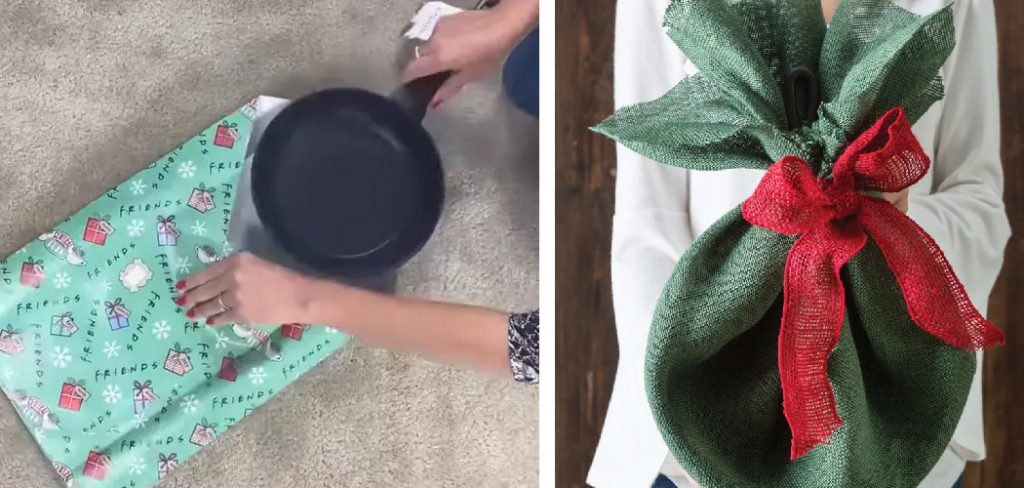
Step 3: Wrap the Frying Pan
Now that you have an aluminum foil barrier, it is time to wrap your frying pan. Choose a non-abrasive wrapping material such as bubble wrap or thick cotton fabric. Cut the material into slightly larger pieces than your frying pan’s size. Carefully wrap each piece around the frying pan, beginning at the base and moving toward the handles. Secure each layer with a few pieces of tape to hold it in place.
Step 4: Store the Frying Pan
Once you have finished wrapping your frying pan, it is ready to be stored away. Place it in a cool, dry place and stay out of direct sunlight. This will help ensure that your pan remains safe and protected while not using it. With proper storage, your frying pan should stay in great condition for years to come!
Following these steps, you can safely wrap your frying pan and store it safely. Wrapping frying pans will help prevent them from becoming damaged or scratched while not being used.
Tips for How to Wrap a Frying Pan
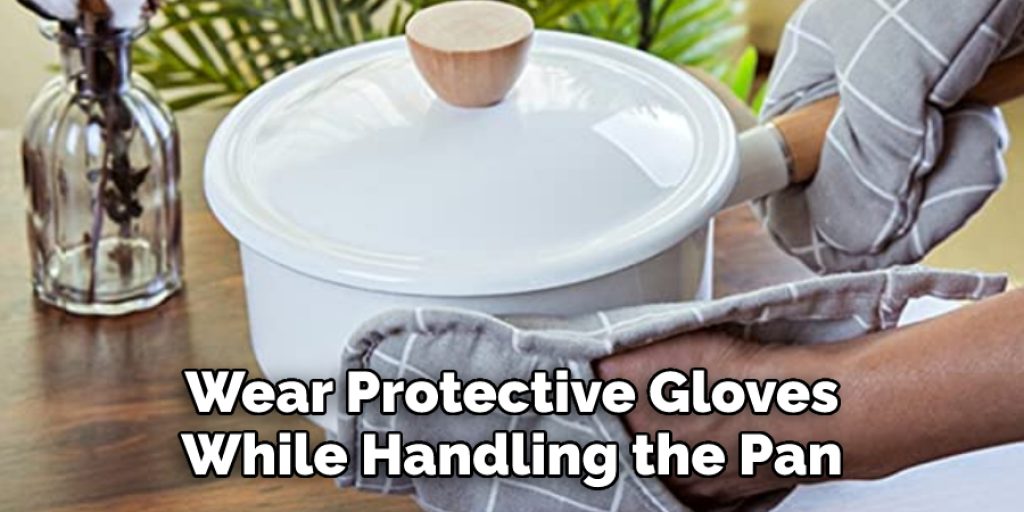
- Always wear protective gloves while handling the frying pan and wrapping material to avoid any heat or cut hazards.
- Pre-check the surface of the frying pan for any signs of damage before the process of wrapping begins.
- Ensure that the surface is free from dirt, grease, and moisture before wrapping it.
- Choose a material to wrap the frying pan that is heat resistant, such as aluminum foil or baking paper.
- Use a soft cloth to prevent any air bubbles while wrapping, and secure the corners with tape for a snug fit.
- Store the wrapped frying pan in a dry place and avoid exposing it to extreme temperatures.
Following these simple steps will help you wrap your frying pan correctly and safely, ensuring its longevity and functionality.
How Should You Store Your Wrapped Frying Pan to Keep It Clean and Safe During Transport?
- Place the wrapped frying pan inside a plastic storage box with a lid to keep out dust and debris.
- Line the bottom of the container with bubble wrap or other cushioning material to protect the cookware during transport.
- Put any small accessories, such as lids or handles, inside the container and the wrapped frying pan.
- Securely close the container lid and place it in a safe location, such as a cupboard or drawer, for transport.
- When you arrive at your destination, carefully unpack the stored items to ensure that your frying pan is still securely wrapped and that all accessories are present.
Following these steps will ensure that your frying pan is stored safely and securely for transport and can be used confidently when you arrive at your destination.
How Long Should You Expect the Wrapping Process to Take?
Wrapping a frying pan is a process that requires time and attention. How long it takes will depend on the pan’s size and the type of wrapping material you choose to use. Generally speaking, expect to spend at least 10 minutes on the task if you’re wrapping a large, commercial-grade pan. Smaller pans may take less time, while larger pans may take longer. No matter the size of your pan, it’s important to take the time to do a thorough job – this will ensure that your pan will be well-protected from dust, dirt, and other elements during storage.
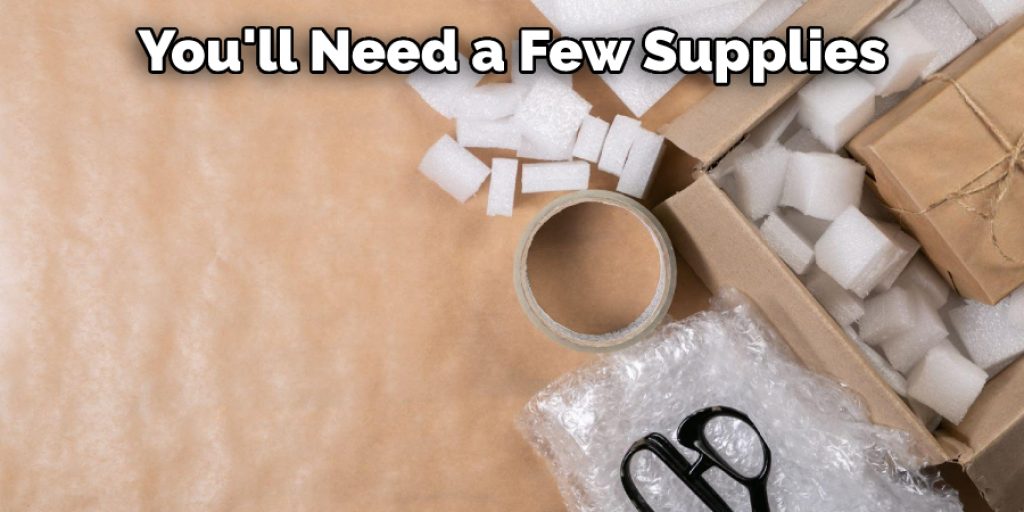
When wrapping a pan, you’ll need a few supplies on hand, including bubble wrap, packing tape, and scissors. Start by measuring the length and width of your pan so you can determine how much wrapping material to purchase. Once you have all the necessary supplies gathered, begin by cutting the bubble wrap into pieces that will fit around the circumference of your pan.
How Often Should You Replace Your Wraps and Check for Signs of Wear on Your Frying Pans?
You should periodically check your frying pans for signs of wear and tear, including any cracks or warping. Additionally, you should replace the wraps on them at least once every 6 to 12 months. Over time, the wraps can break down and lose their protective properties, damaging the pan if left unchecked. How often you need to replace your wraps will vary depending on how often you use the pan and how well-maintained it is.
When replacing or checking your wraps, be sure to pay attention to any cracks, warping, discoloration, or signs of wear. If any of these signs are present, you should immediately replace the wrap with a new one. Wraps can provide great protection for your pans, but like any protective material, they are only effective if kept in good condition.
How Can You Prevent Your Wrapped Frying Pan From Slipping During Transport?
- Start by selecting a wrapping material that will stay in place and not move around. Bubble wrap, packing paper, newspaper, or padded envelopes are all excellent options for keeping your frying pan securely wrapped during transport.
- Place the frying pan on top of the chosen wrapping material and carefully wrap it up with as many layers as necessary.
- Use packing tape to secure the package firmly. Make sure the tape is applied all around each edge of the frying pan and that it is strong enough to keep everything in place during transport.
- Place the wrapped frying pan inside a box or bag for extra protection and support.
- Securely close the box or bag using more packing tape and label it clearly, if desired.
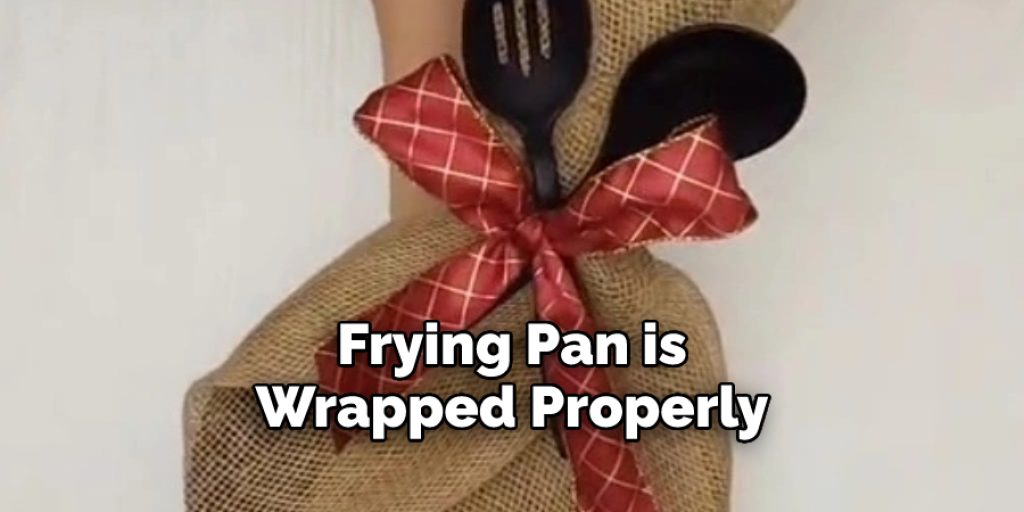
By following these steps, you can ensure that your frying pan is wrapped properly to prevent slipping and remain secure during transport. This will help keep your frying pan safe from bumps, scratches, and other damages that could occur during transit.
Conclusion
One disadvantage of wrapping a frying pan is that it may not be aesthetically pleasing. For example, if you’re wrapping an older, used, or rusty-looking frying pan and using it for decorative purposes, the exposed wrap won’t create a visually appealing display. Additionally, because some wraps are cloth or paper, they can easily be marked up with oil or food splatters. In this case, it would be better to store the frying pan in a box or a cabinet where it will stay clean and protected.
Wrapping a frying pan properly is important for keeping your cooking equipment in great condition. With the right materials and techniques, you can safely wrap your frying pans to prevent damage and keep them looking like new.
By starting with a clean and dry surface, using bubble wrap or packing paper to pad the pan, labeling the package clearly, and securing the wraps with tape, you can protect your pans and make sure they stay safe during any move. I hope reading this post has helped you learn how to wrap a frying pan. Make sure the safety precautions are carried out in the order listed.
Angela Ervin
Angela is the executive editor of DIY quickly. She began her career as an interior designer before applying her strategic and creative passion to lifestyle and home. She has close to 15 years of experience in creative writing and online content strategy for housekeeping, home decorations as well as other niche efforts. She loves her job and has the privilege of working with an extraordinary team. She lives with her husband, two sons, and daughter in Petersburg. When she's not busy working she spent time with her family.