
How to Clean Rv Air Conditioner Filter
Many people don’t know how to clean RV air conditioner filter. Unfortunately, this can lead to poor performance of the A/C system, decreased efficiency, and higher electricity bills. So let’s find out how you can do this yourself in just a few easy steps!
The first thing you’ll want to do is remove your filter from its holding place (usually on the wall or ceiling).
Next, pour some water into a bucket or container with suction cups on the bottom. Fill up about 1-2 inches of water, then submerge your filters in it for 30 minutes. Afterward, Use one hand with rubber gloves (or anything else when touching them) to squeeze all excess water out of the filters into the container you used.
8 Reasons Why You Should Clean Rv Air Conditioner Filter
A dirty air conditioner filter will cause numerous problems to your RV air conditioning system. Here are some reasons we have mentioned to know how to clean rv air conditioner filter.
1) Reduction of Airflow May Reduce Your Service Life
If your AC unit’s air intake is restricted or clogged, it will have to work harder to cool properly. This can damage the compressor and other expensive components, resulting in an early replacement of the entire AC system.
2) Decrease in Heating Effectiveness
Your AC unit is not just limited to cooling the air inside your RV. It also has heating elements that can heat the interior of your RV during chilly nights using the excess heat produced by the refrigerator compressor. If there is no clean air flow, this function will be severely compromised.
3) Efficiency May Also Take a Hit
If your AC unit is not cooled correctly or its heating elements cannot heat the interior compartment, you may end up using more power for the same amount of cooling/heating.
You should clean the RV air conditioner filter immediately and add the correct filter media to resolve the problems caused by the dirty air conditioner filter.
4) Extensive Damage May Occur
When your AC unit works extra hard to process the air flowing through it, the chances of corrosion and leakage of specific components increase significantly. If repairs are not carried out at regular intervals, you may have to completely replace the entire AC unit at a hefty cost.
5) Higher Energy Consumption
If you’re facing the problems of a decrease in cooling or heating efficiency mentioned above, it is a clear sign that your AC unit is using more power to perform its task. This excessive power consumption will cause a hike in your AC energy bills.
Cleaning the air filter can resolve this problem by helping you get optimum performance from your RV AC for longer.
6) Bad Smell in the Cabin
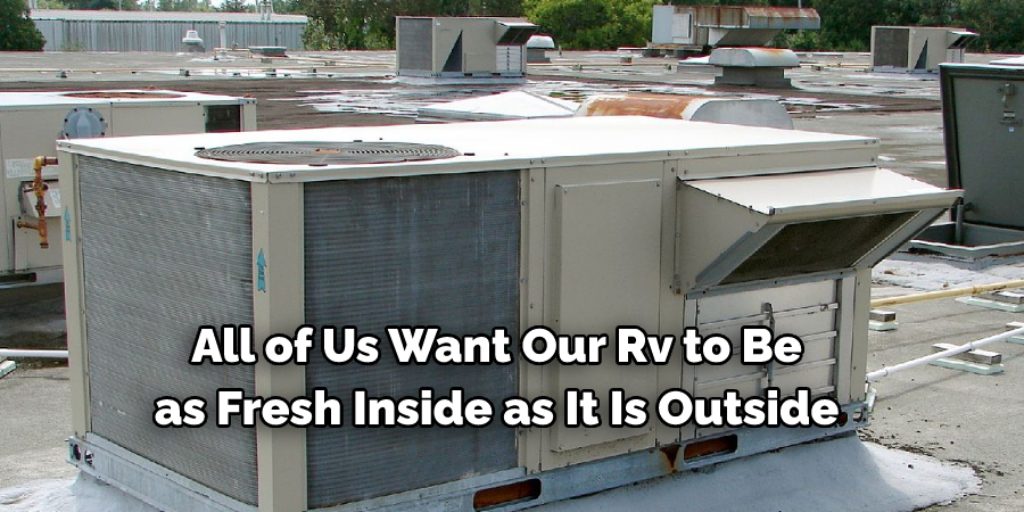
We all want our RV to be as fresh inside as it is outside. But if you face bad odors after turning on the AC unit, you should clean the RV air conditioner filter immediately. A dirty cabin air filter will result in unpleasant smells coming from the AC ducts and vents.
7) Outside Air May Enter the Cabin
Most of the RVs these days are air-conditioned units designed to be self-sufficient in terms of cooling and heating requirements.
If your AC unit gets too much outside air because of a dirty AC filter, you’re not getting a 100% AC environment inside your RV which defeats the purpose of buying a modern AC unit.
8) The Ducts May Get Clogged
If your AC filter is dirty, you will get more contaminated air inside the Cabin. This air gets sucked in by the cooling and heating elements of the AC unit.
As a result, ducts and vents may get clogged with dust particles, which can further lead to bad odors and affect the AC unit’s overall lifespan.
8 Steps to Follow: How to Clean Rv Air Conditioner Filter
Step 1: Take Apart the Filter
The first step is taking apart the filter entirely. There should be either a hexagonal nut or plastic screws holding it together. If there is not, then you will have to use something else to unscrew it.
If there is a hexagonal nut at the end of the filter, you will need to find something that fits into the holes to turn it, such as an adjustable wrench or socket wrench.
Step 2: Rinse It Out
After taking apart the filter and removing any dirt caught in between its folds, you can wash it out with a hose.
You might need to do this multiple times if the filter was completely dirty. In between washes, make sure you shake any excess water off the filter and let it dry before reassembling it on the RV air conditioner unit.
Step 3: Allow the Filter to Dry
After you have taken apart and washed your filter, it is time for it to dry. If you reassemble a wet filter on the RV air conditioner unit, mold will form within a day or two. Moldy air that blows into the RV with you will be one of the most unpleasant things ever!
To prevent this, dry the filter by hanging it upside down with its folds evenly distributed on a wire or hanger.
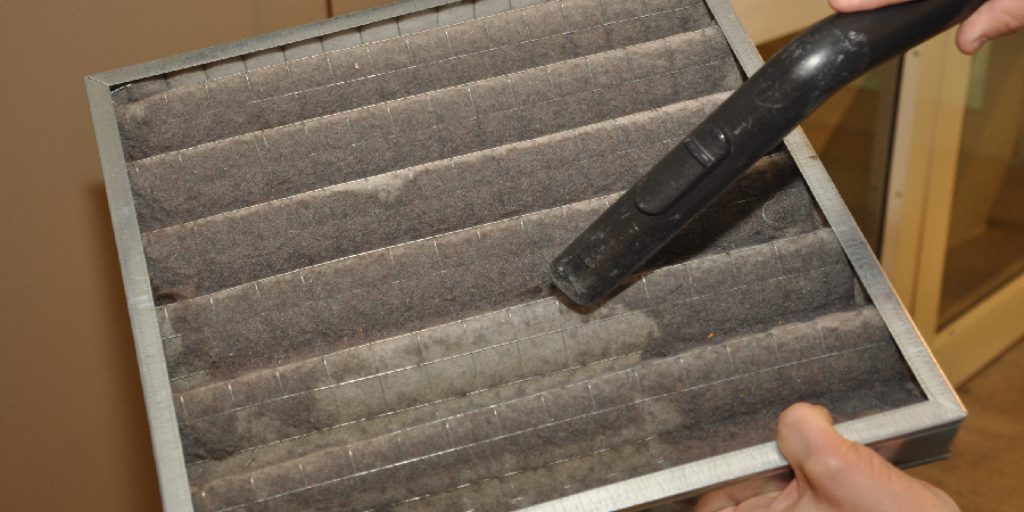
Step 4: Vacuum It Out
The next step is using a small vacuum to suck off any dirt, dust, or other foreign objects that recently accumulated on the filter. This should remove anything that was not caught in between folds.
If there are still particles that the vacuum missed, use a paintbrush to brush them out. Again, make sure you let it dry before reassembling the filter on your RV air conditioner unit.
Step 5: Reassemble the Filter
After you have washed and dried your air conditioner filter, you are ready to reassemble it. First, ensure that there are no more dirty spots inside the filter and then reinsert it into the housing that fits over the RV air conditioner unit.
Make sure you do all the creases and folds back together as before you took them apart. Also, ensure that no water is left on any part of the filter before trying to put it back together.
Step 6: Replace the Filter on Your RV
After everything has been fully reassembled, you can put the filter back into its housing and then screw it into place below your RV air conditioner unit. To work correctly, ensure the filter is securely placed before turning the entire thing back on again.
To do this, tighten the hexagonal nut or plastic screws that were initially holding it together.
Step 7: Turn the Air Conditioner Back on
Once the filter is back in place, you are ready to turn everything back on. First, see how many times it takes for your air conditioner to start blowing cold air again. If it does not work initially, try turning it off and then on again to reset whatever might be causing the problem.
Step 8: Test the Air
When you first turn your RV air conditioner unit back on, give it a few minutes to warm up before testing the air quality.
The filter you just cleaned should be trapping most of the dust and sediment within its folds, but there is no guarantee that this will be 100% effective. If you can still smell or taste any outside particles in the air, you will need to keep trying until everything smells and tastes clean again.
Tips to Maintain Rv Air Conditioner Filter:
1. To lose less dust of the finer, you can remove the air conditioner filter when traveling and place it in the sun to lose moisture.
2. When driving for a long time (over 4 hours) and experiencing poor air conditioning, you might want to check your filter to ensure it is not clogged with dust.
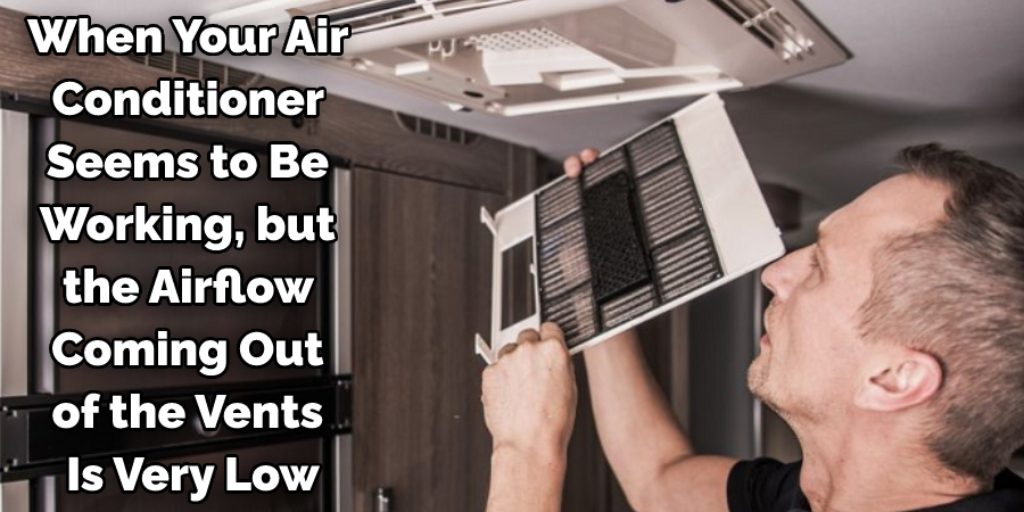
3. When your air conditioner seems to be working, but the airflow from the vents is very low, please check that your filters are not clogged up. For this reason, you must know how to clean Rv Air Conditioner Filter.
4. If you ever open the furnace and notice a lot of dust, it is time to clean your air conditioner filter.
5. If you ever lose power while driving and can’t control your vent blower with the Rv Air Conditioner Remote, please shut off the main switch before trying to get out of your coach to check anything. Please do not risk getting hurt or worse during this process.
6. If the air conditioner seems to be working well and you notice a drop in the airflow from the vents, it’s time to clean your Rv Air Conditioner Filter.
Conclusion:
The most important thing to remember is that it’s very easy for dirt and grime from the outside environment to filter into your RV, primarily through the air conditioning vents. This will clog up your AC system faster than you might expect if not taken care of regularly.
If you notice a change in how quickly or efficiently your AC system cools down inside the camper, it may be time to clean your filters!
A dirty filter can also lead to an unpleasant odor emanating from the ventilation pipes. Luckily, cleaning them doesn’t take much work; just follow the steps mentioned on cleaning the RV air conditioner filter.
For more information, or if you need help with any other aspect of maintenance or upgrades, don’t hesitate to contact us!


