How to Remove Front Cover of Frigidaire Window Air Conditioner
The Frigidaire Window Air Conditioner is a product that has been on the market for many years and continues to be one of the top sellers in its category. It’s easy to see why when you consider how efficient, convenient, and affordable it is.
However, there may come a time when you want or need to remove the front cover from this unit because it needs service or repair work done. Fortunately, with these, we will walk you through some steps on how to remove front cover of frigidaire window air conditioner so that you can get back up and running quickly!
What is the Front Cover of a Frigidaire Window Air Conditioner?
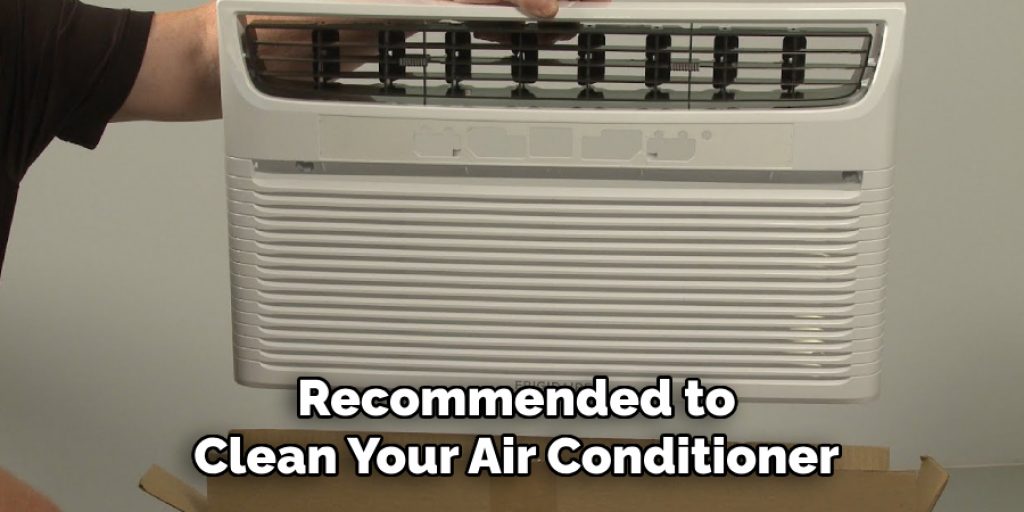
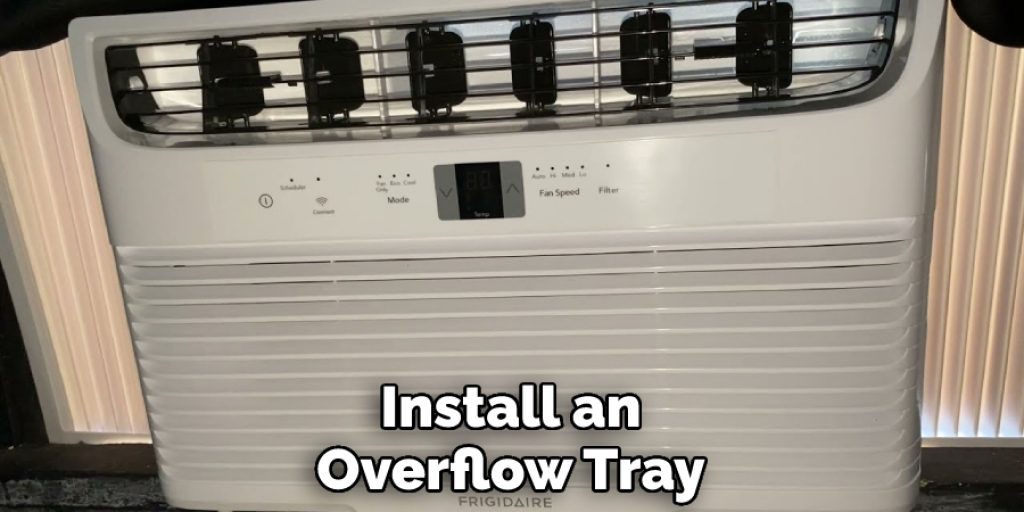
The front cover of a Frigidaire Window Air Conditioner is the plastic panel that covers the front of the unit and allows for air to flow in and out. It also houses various components such as the filter, fan, and control panel. Removing the front cover may be necessary to clean or service these components.
You may also need to remove the front cover if you are planning to mount the unit in a different location or during relocation. In any case, knowing how to safely and correctly remove this part is essential for maintaining your Frigidaire Window Air Conditioner.
Why Would You Need to Remove the Front Cover?
As mentioned, there are a few reasons why you may need to remove the front cover of your Frigidaire Window Air Conditioner. Some common ones include:
Cleaning:
Over time, dust and debris can build up inside the unit, making it less efficient. Removing the front cover allows for better access to clean the filter and other internal components. It’s recommended to clean your air conditioner at least once every season to ensure optimal performance.
Servicing:
If your unit is not working properly, you may need to remove the front cover to access and repair any faulty parts. It’s important to always unplug the unit before attempting any repairs or service work.
Relocation:
If you are moving, you will need to remove the front cover before uninstalling and packing your air conditioner. This ensures that the unit is safely transported without any damage.
Things You’ll Need to Remove Front Cover of the Frigidaire Window Air Conditioner:
Once you’ve decided that it is time to remove the front cover of the Frigidaire window air conditioner, the next step is to make sure that you have all of the necessary tools and components available. Here are some items:
a) Phillips Screwdriver
You will want a Phillips screwdriver in order to disengage the screws from the casing of the AC.
b) Ether-based Lubricant
When you remove the front cover of the frigidaire window air conditioner, there will be some friction against the metal and plastic moving parts of the unit. A bit of this lubricant will keep it from screeching or grinding as you work.
c) Screw Extractor Set
If any of the screws strip out, you may be able to get them started again with a screw extractor.
d) Punch
If one of those extractors doesn’t work, you can remove the front cover of the frigidaire window air conditioning unit by drilling and punching out the damaged screw. As a last resort, you can tap and die new threading into the screw hole.
11 Instructions: How to Remove Front Cover of Frigidaire Window Air Conditioner
Step 1:
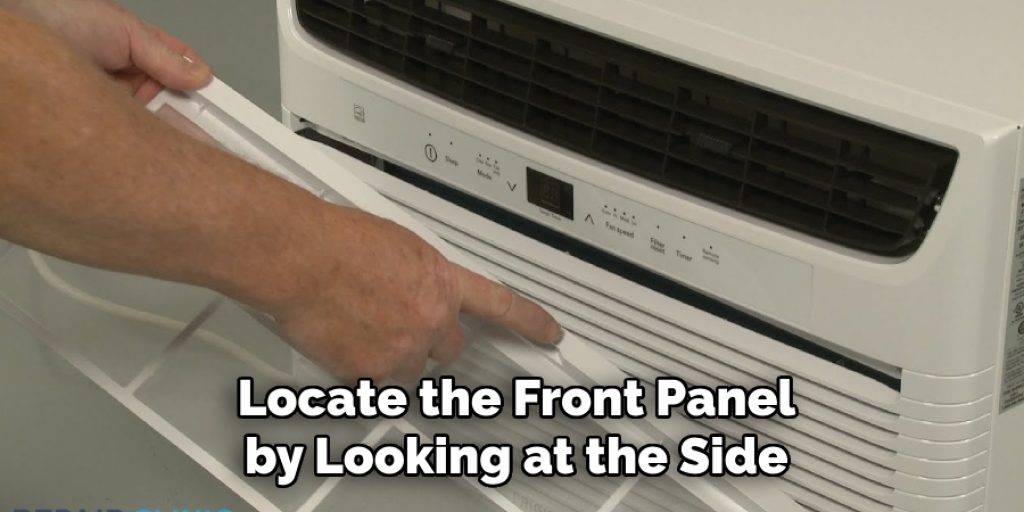
Locate the front panel by looking at the side of your unit. You should find the panel on the side that has a black grill. This is the front panel that you will need to remove. It will be held in place by clips, as well as screws. There are four screws in total, but we’ll get to that later. You can see these screws from inside your home, as they are on the other side of the metal cover. It’s important to note that some models may vary, so be sure to refer to your unit’s manual if you are unsure.
Step 2:
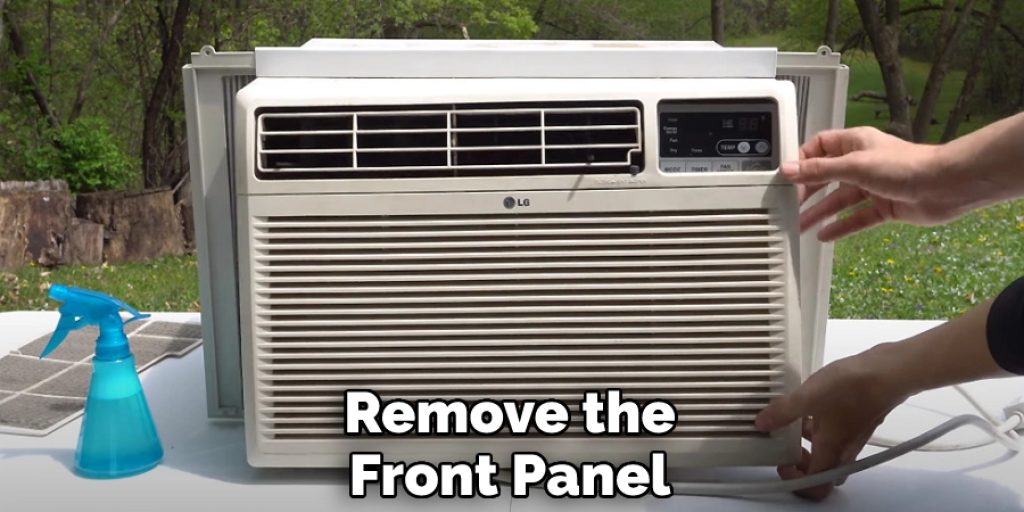
Remove the screws from the top and then gently pull up to remove the control panel. If it doesn’t come off easily, check for more screws or clips holding it in place. Put them out of reach so that you don’t lose them. But if you do lose them, don’t worry! You can purchase replacements at your local hardware store. The control panel will fold up toward you and away from the unit. You will then have access to the filter.
Step 3:
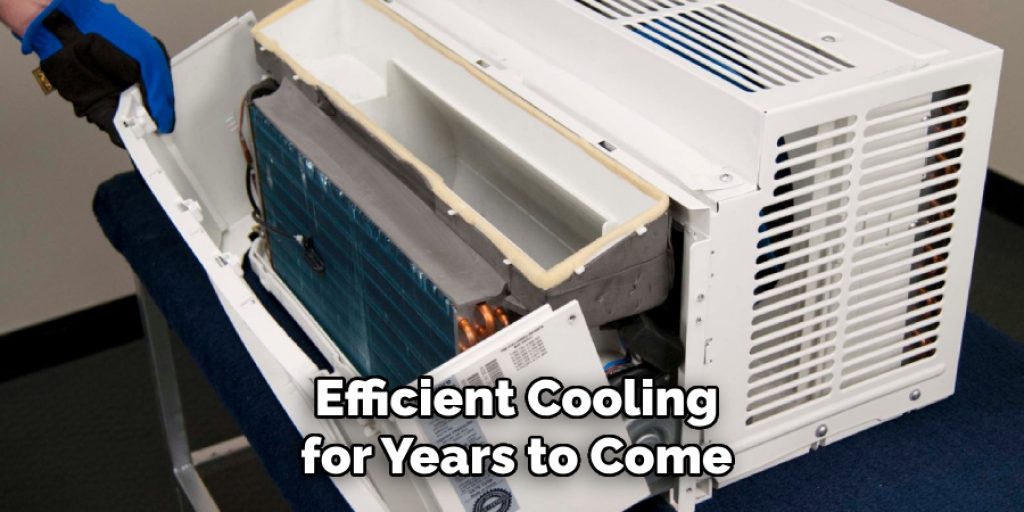
Disconnect the wires to remove the front panel. Remove all of the visible screws, and then pull out the sides so that you can get in between to disconnect the wire connections. You should notice two pairs of these wires attached to clips, one on either side of your unit’s inner wall. Removing them will allow you to remove the front panel. It’s important to take note of how the wires are connected so that you can reconnect them properly later on.
Step 4:
Press tabs on either side of the inner wall and gently pull it out. This will give you access to the parts that are attached to the sides of your unit. These include all of your filters, along with heating elements, vents, and fans. You can now replace any parts you need to reattach the panel. It’s essential to clean the filters at this point, as this will help your air conditioner run more efficiently. The last thing you want is for dust and debris to clog up your unit, making it work harder.
Step 5:
Put the wires back in place, and then put the front panel back on your unit. If you hear any snapping sounds when you do this, stop and check for more screws that you might have missed or clips that didn’t come loose with the other ones. Replace those and then put the screws back in place. You should now be able to use your window unit again! It’s important to follow these steps carefully in order to avoid any damage to your unit or injury to yourself. Be sure to refer back to the manual for your specific unit if you have any doubts or questions.
Step 6:
Turn on your air conditioner and check for any problems. If everything looks fine, and it almost certainly will, you can now set the thermostat back to normal and enjoy some cool air! Although this guide covers some general steps to remove the front cover of a frigidaire window air conditioner, it’s still essential to consult your unit’s manual for specific instructions and safety precautions.

Step 7.:
Repeat the same process if you need to remove the front cover again in the future. It’s always good to have a refresher on how to do it, and it will ensure that you are doing everything correctly. Make sure to keep all of your tools organized and easily accessible for future use. Additionally, regularly cleaning and maintaining your frigidaire window air conditioner will help prevent the need to remove the front cover for repairs. If you take good care of your unit, it will continue to provide efficient and affordable cooling for many years to come.
Step 8:
Properly dispose of any old or damaged parts that you may have replaced during the process. It’s important to follow proper waste disposal guidelines to protect the environment. You can also recycle any materials if possible, such as the metal cover or plastic parts. This will not only be beneficial for the environment but also help reduce waste and conserve resources. But most importantly, make sure to dispose of any refrigerants in a responsible manner, as they can be harmful if not handled properly.
Step 9:
Consider scheduling regular maintenance for your Frigidaire Window Air Conditioner to prevent future issues and keep it running efficiently. Regular cleaning and inspection can extend the life of your unit and save you from having to remove the front cover for repairs in the future. It’s also a good idea to replace filters and lubricate moving parts as needed to keep your unit in top condition.
Step 10:
If you encounter any problems during the process or have questions, refer to your unit’s manual or contact Frigidaire customer support for assistance. It’s always better to seek help and ensure everything is done correctly rather than risking further damage or issues with your unit. With proper care and maintenance, your Frigidaire Window Air Conditioner will continue providing reliable and efficient cooling for years to come.
Step 11:
Congratulations, you now know how to remove the front cover of your Frigidaire Window Air Conditioner! With these easy steps, you’ll be able to quickly and safely remove the front cover whenever needed. Remember to always follow safety precautions and refer to your unit’s manual for specific instructions.
Following these steps will not only provide you with a clean and efficient air conditioner but also save you time and money in the long run. Regular maintenance and cleaning can prevent costly repairs or replacements, ensuring your unit runs smoothly for years to come. Thank you for choosing Frigidaire for all your cooling needs!
Tips & Warnings:
- It’s always a good idea to wear work gloves when handling components of your air conditioner, especially the sharp edges on the front panel. Otherwise, it might be possible to cut yourself even through the gloves!
- Be careful not to squeeze or bend any wires while you’re taking off the panels. The insulation could be damaged, and you could cause a short circuit that will disable the unit.
- Be very careful when replacing the wires back on your unit’s inner walls as well. The clips and wiring components are fairly fragile, so you don’t want to break them off or misplace them during this process!
- If you do break anything, make sure you put everything back in place the way it came off. It could save you a lot of time, headaches, and money down the line!
- If you have any pets or small children around the house, it’s a good idea to keep them away from the area you’re working on. Failing to do so could result in injury to your kids or your animals!
- Always disconnect your air conditioner from the power source before attempting to remove the front cover or perform any maintenance on it.
- If you’re unsure about performing any of these steps, it’s best to seek professional help or consult Frigidaire customer support for assistance.
- Never attempt to repair or modify your unit if it is still under warranty, as it may void the warranty and potentially cause more damage.
- Regularly clean and maintain your air conditioner to prevent the need for removing the front cover in the first place. This will not only save you time but also extend the life of your unit.
- Dispose of any replaced parts or materials properly and responsibly, following all waste disposal guidelines.
- Be cautious when handling refrigerants, as they can be harmful if not handled properly. Always refer to the manual or contact Frigidaire customer support for assistance with any concerns.
- Schedule regular maintenance and cleaning to keep your air conditioner running efficiently and prevent future issues. This will also save you money in the long run by avoiding costly repairs or replacements.
- Keep all tools and materials organized and easily accessible for future use.
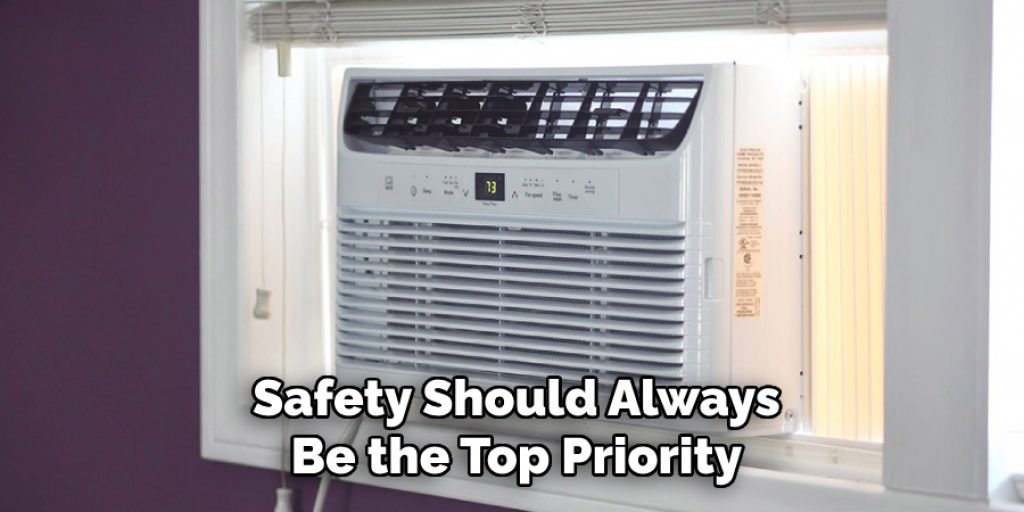
- When in doubt, always refer to the unit’s manual for specific instructions and safety precautions. Safety should always be the top priority when working with any household appliances or equipment.
Frequently Asked Questions:
Q: Do I Need to Turn Off the Power Before Removing the Front Cover of My Frigidaire Window Air Conditioner?
A: Yes, it is always recommended to turn off the power before working on any electrical appliance for safety reasons. Please make sure to unplug your unit or switch off the circuit breaker before attempting to remove the front cover. You don’t want to get electrocuted! It is always better to be safe than sorry. The power can be turned back on before you test your air conditioner after reattaching the front cover.
Q: When Should I Remove the Front Cover of My Frigidaire Window Air Conditioner?
A: You should only remove the front cover if it is necessary for maintenance, repair, or cleaning purposes. If your unit is functioning properly, there is no need to remove the front cover. As a general rule, it is recommended to have your air conditioner serviced by a professional every year or two to ensure optimal performance and prevent potential issues.
Q: Can I Reuse the Same Screws When Putting Back on the Front Cover?
A: Yes, you can reuse the same screws as long as they are in good condition and still fit securely. If any screws are damaged or stripped, it is best to replace them with new ones to ensure that the front cover stays securely in place. You can purchase replacement screws from hardware or home improvement stores.
Q: Is It Difficult to Remove the Front Cover of a Frigidaire Window Air Conditioner?
A: It may seem intimidating at first, but with the right tools and instructions, removing the front cover of your Frigidaire window air conditioner is not too difficult. Just make sure to follow all safety precautions and take your time to avoid any potential damage to the unit. If you are unsure or uncomfortable with removing the front cover yourself, it is always best to hire a professional. It may cost a bit more, but it will ensure that the job is done correctly and safely.
Q: What Should I Do if the Front Cover is Stuck and Won’t Come Off?
A: If you’ve removed all visible screws and tried gently pulling on the panel, but it still won’t budge, there may be hidden clips or additional screws that need to be removed. Double-check your unit for any potential hidden components and make sure you haven’t missed anything. You can also refer to the manufacturer’s manual for further instructions. If all else fails, it may be best to seek assistance from a professional technician. Attempting to force the panel off could cause damage to the unit.
Overall, it is important to regularly maintain and clean your air conditioner to keep it running efficiently and prolong its lifespan. So don’t be afraid to tackle this task if necessary; just remember to follow these steps and exercise caution!
Conclusion:
We hope this article on how to remove the front cover of the frigidaire window air conditioner has been helpful. If you require further assistance, please contact an experienced technician. In addition, if you have any questions or comments, please feel free to fill out the comment form below. Thank you for choosing Frigidaire Window Air Conditioner – we appreciate your business! Keep cool and stay safe.
You May Read Also- How to Trick a Thermostat to Make It Colder

