How to Use Transfer Paper for Tattoos
Tattoos are a form of art that people wear on their skin for the rest of their lives. They are permanent, but there are ways to remove tattoos you wish to do so. One way is by knowing how to use transfer paper for tattoos.
Transfer paper can be purchased at tattoo shops and online, and it’s often used if one wants to get a temporary tattoo or cover up an old one.
If your current tattoo has faded over time, you can even use it- simply peel off the old layer with scotch tape before applying new layers! It’s important to note that while this method will not completely rid you of your unwanted ink.
Transferring them onto another surface will help cover them up or make them less noticeable until you’re sure that it’s wet enough. Read this article to know how to prepare a transfer paper for your next tattoo session.
What is Transfer Paper?
Transfer paper for tattoos is a material that may be used as an alternative to tattoo ink. It’s also known as transfer foil or simply foil.
Transfer paper is a tool that can be used to cover up tattoos or remove them. It works by dissolving the first layer of skin and transferring it onto another surface.
In some cases, foil can be used to cover and intensify already existing tattoos. Since it is a thin material and fairly easy to apply, it can be cut into any shape or size to fit the design on your skin perfectly.
So whether you’re tired of your unwanted tattoo or want new designs for special occasions, transfer paper can help get the job done.
Transfer Paper Application: How Transfer Paper Works?
Now that you know what the material is, it’s important to know how it works before applying any of them to your new tattoo or old one.
Keep in mind that using transfer paper on tattoos that are still fresh will not necessarily make them look more pronounced; instead, they might just flake off and create an even larger mess.
You’ll want to ensure that your skin is completely clean and dry before you do anything, and the best way to do this is by taking a shower or using hand sanitizer. If possible, it’s also advisable to shave the area where your new tattoo will be placed. Then, take some transfer paper and place it on a flat surface.
Crumble up the foil using your fingers to break up any big chunks and make it look more like powder. You can also use a clean towel to get a better grip to remember not to press too hard, or you’ll end up tearing the material into pieces!
Why Should You Use Transfer Paper for Tattoos?
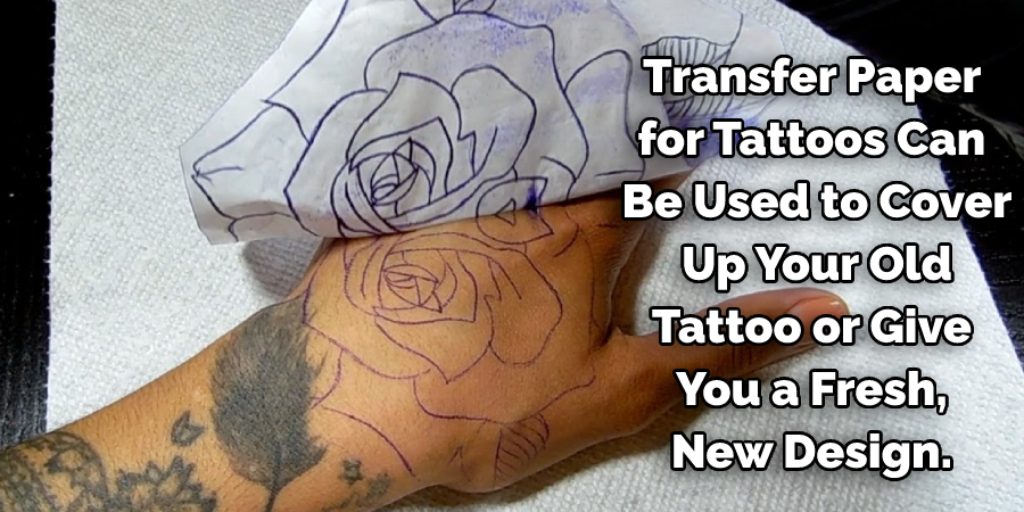
Transfer paper for tattoos can be used to cover up your old tattoo or give you a fresh, new design. Here are five reasons why using transfer paper might just be the best idea for you:
1. You Can Always Use Transfer Paper Even if You Have an Old Tattoo – Covering up old tattoos with new designs is certainly a way to breathe new life into your skin and will leave you with a brand new look in just minutes.
2. Transfer Paper Comes with New Designs Every Month – It’s not only the fact that there are hundreds of designs to choose from, but also the option to get monthly updates and more special offers.
3. Transfer Paper Can Be Used to Intensify an Existing Tattoo – If your tattoo has faded over time, you can use foil transfer paper to make it look more intense and sharp than it did before!
4. Covering Up Unwanted Tattoos is a Great Way to Save Money. Rather than spending a ton of cash on laser treatments or other expensive procedures to remove tattoos, you can simply cover them up using transfer paper. It may be an affordable solution for those who are worried about their wallets.
5. You Can Use Transfer Paper Even If You Have Sensitive Skin – Foil tends to be less irritating than ink which is why it’s great for those who have sensitive skin.
You Can Check It Out to Make a Tattoo Stencil With Tracing Paper
Instructions: How to Use Transfer Paper for Tattoos
Step 1: Prepare The Skin And Transfer Paper
Before transferring any tattoo, you must prepare the skin for getting inked. Before applying tattoo paper to your skin, thoroughly clean it with soap and water to reduce the chances of infection since tattoo paper is treated with chemicals, so its sticky side goes towards your skin.
Step 2: Place the Transfer Sheet on the Skin
Carefully place Transfer Paper for Tattoos on your skin. Once in position, use a ruler to ensure lines are straight and symmetrical. Now, using a cloth and warm water or another sticky product such as Vaseline, gently smooth out any air bubbles that may have formed under the paper.
Step 3: Wait for the Design to Be Transferred
Keep the tattoo paper sheet on your skin for a few minutes so that you can check if it has been properly transferred or not. If all is fine, then gently peel the paper away from your skin. Now apply Transfer Paper for Tattoos using clean water and wait until it has dried.
Step 4: Apply a Stencil
Once the tattoo has been transferred, remove excess water and blood using a cloth. Now apply a stencil on top of your design. Make sure that your hand is steady when creating this outline.
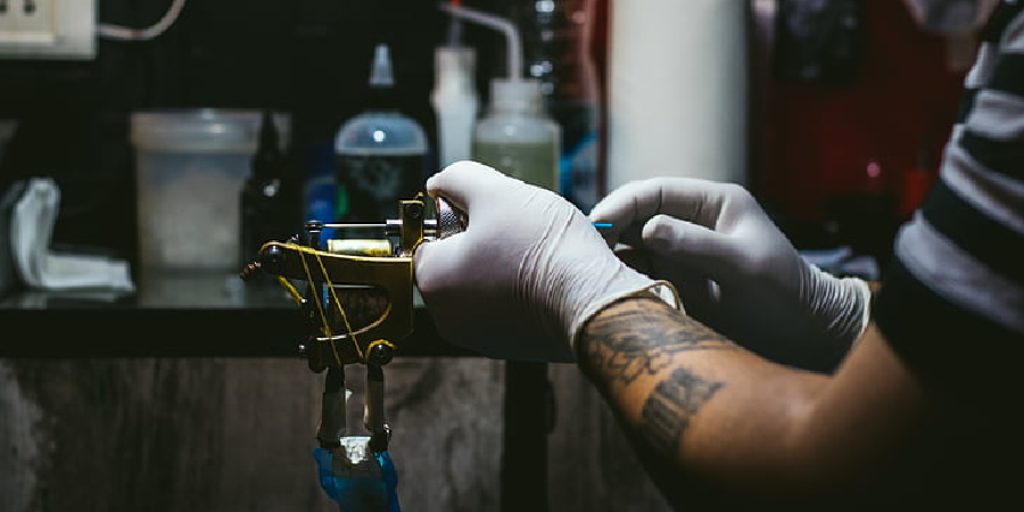
Step 5: Ink Your Tattoo
Before getting inked, ensure the design is clean and thoroughly dry. Now, using a tattoo machine or a stick implement, carefully fill in the lines with ink. Once completed, wipe away any excess ink on your skin using some alcohol or hydrogen peroxide.
Step 6: Keep Your Tattoo Clean and Dry
Your new tattoo is fully complete. To reduce the risk of infection, you must always keep it clean. You can use a bar of gentle hand soap to wash your hands and your body.
Avoid using anti-bacterial soaps or any other kind of cleansing agent near your fresh tattoo until it has healed fully. In addition to staying clean, you must keep your tattoo dry.
Step 7: Apply Bandage and Ointment
Once the tattoo has dried completely, cover it up using a Band-Aid or gauze and medical tape. You can then further protect the area by applying some fresh Polysporin or another antibacterial ointment.
At this point, your tattoo is secure, but you still need to keep an eye on it for the next 24 hours. If your tattoo starts oozing blood or pus or appears swollen, then consult a doctor immediately.
Some Precautions and Warning:
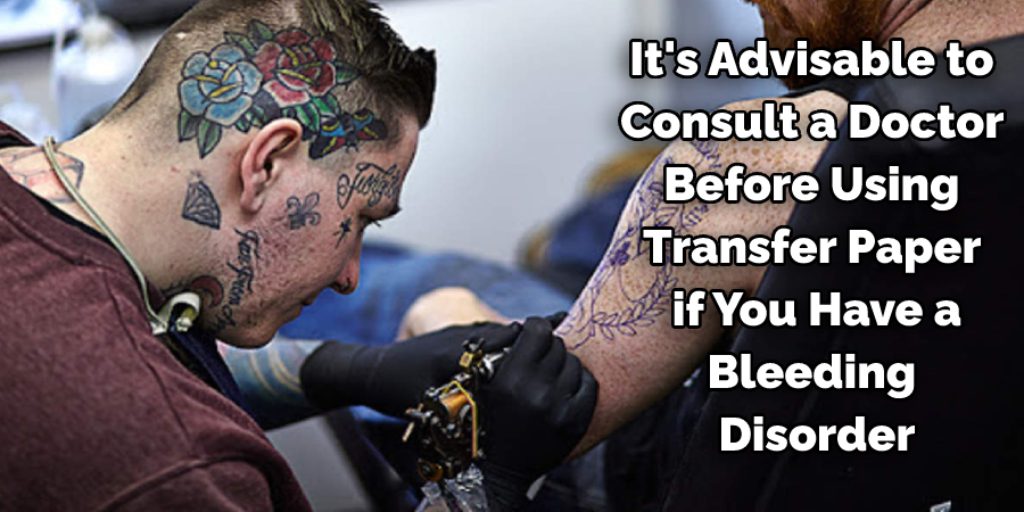
1. Pregnant, breastfeeding women, and people with allergies to adhesive tape or fresh tattoos should not use transfer paper. In addition, it’s advisable to consult a doctor before using transfer paper if you have a bleeding disorder, diabetes, or poor general condition of your health.
2. People who are going to get tattooed should avoid using analgesic ointment in the area that will be tattooed before using transfer paper. Analgesic ointments (Anbesol, etc.) include chemicals that can prevent the marking from sticking correctly.
You should also not use an analgesic ointment on fresh tattoos and scabbing tattoos because it will make the skin too glossy and much harder for transfer paper to adhere to and reduce the life of your transfer tattoo.
3. Newborn skin is usually too fragile for using transfer tattoo paper because it’s a thin layer that protects against harmful things such as bacteria, viruses, etc. However, if you will use a newborn baby/toddler or infant in the photo, you should use transfer paper.
4. Transfers tattoo works best on people with well-developed fine lines, wrinkles/furrows around the mouth, and strong cheekbones. The reason is that the depth of wrinkles/furrows will make a shadow that looks like lips, and your cheeks add more volume to your face, making the lips look a bit plumper.
5. When you apply transfer paper to your skin, it may take up to 15 minutes for the drawing to appear on your skin. Therefore, you should wait no longer than 10 minutes after applying it before checking if the lines are showing clearly through the wax paper backing.
If you do not see anything, then check if the transfer tape completely adheres to your skin. If it’s not, then apply more pressure and rub the backside of the paper against your skin until you see something or all of it.
6. When you decide which pencil to use for drawing, use one that doesn’t have a lot of pigment/color in them because it can be too dark.
If you want to use a pencil with some pigment/color in it, draw over your lines until they are as light or dark as you want them to be, and peel the paper away from your skin.
8 Benefits of Using Transfer Paper for Tattoos:
1. Give yourself more time to fix mistakes or consider what you want.
2. Save your tattoo artist money because you’re giving them a better drawing!
3. Tattoo artists also benefit from using transfer paper because it prevents getting “inked” accidentally (and it happens more often than you might think!). In addition, using Transfer Paper for Tattoos prevents their hand from touching the skin, thereby increasing their accuracy.
4. If your tattoo is something that you want to look at in 10 years and still be as thrilled about it as if it were fresh, then a Transfer Paper for Tattoos is a must! Using transfer paper, your tattoo will last longer because the stencil can be removed and re-applied as often as you like.
5. There’s no need to worry about smudging or ink getting on the inside clothing. Transfer Paper for Tattoos prevents accidental smudges, making it easy to get a satisfyingly crisp stencil that you can take away with you.
6. If your tattoo is close to your eye, you can use Transfer Paper for Tattoos to ensure it’s carefully placed.
7. Using Transfer Paper for Tattoos lets you see where the stencil will be on your skin, making applying a steady hand and good technique easier.
8. Many people prefer using transfer paper because of its convenience. It’s easier to carry around and saves time in appointment making.
Will Transfer Make Your Tattoos Last Longer?
Transfer paper is a tool used to make stencils, and the stencil is used to apply ink to the skin. A transfer is an absolutely necessary step if you plan to make your own tattoos or apply someone else’s tattoo.
In fact, it takes two steps; first, you make a workout stencil with your transfer paper, then you place your transfer on the skin and re-apply ink to the skin over the top of the stencil.
Your tattoo will last almost as long as one applied by a professional since it’s given a boost from being applied in this way.
This post has all the necessary tips on using transfer paper for tattoos so that your tattoos may last longer. Be sure to check that out if you want your tattoos to look nice and make them last longer.
When To Use Transfer Paper For Tattoos?
Transfer paper is necessary for those who wish to work with their own design; for example, you can make a workout stencil using your transfer, use it to apply ink to your skin, and then wash off the transfer paper when you’re done.
This is a much less expensive option than paying someone else to do your tattoos every time you want one!
Transfer paper is also used in the tattoo removal process. However, you don’t have to use transfer paper on every tattoo if you don’t want to. For example, if a design has faded due to age or laser removal treatments.
You can make a new stencil with your transfer paper and replace it on top of the old one. This will give a new lease on life to your old tattoo.
Final Words:
Transfer paper is a great way to create custom tattoos. The process of transferring the design onto your skin can be as simple as using an inkless printer and rubbing alcohol, but we recommend you use transfer paper for best results.
This blog post has given you all the information you need to know about how to use transfer paper for tattoos and what supplies are needed.
Now it’s time for you to give it a try! Well, the article is over, and we hope this information was helpful to you in some way.
However, please leave a comment or two if you have further questions about transfer paper for tattoos to help others. Till then, take care and best wishes!