How to Remove a Pocket Door
If you have a pocket door in your house, you know that it can be both a blessing and a curse. On the one hand, they are great space savers when set up correctly; on the other, they’re not so easy to take down if you decide to make changes or do some remodeling. Regardless of why you need to remove it, the process is simpler than most people think – as long as you know how!

In this blog post, we´ll cover everything from what tools may be necessary for removing your pocket door (including a latch remover!) to how to safely get rid of any leftover debris. So keep reading and learn more about how to remove a pocket door.
The Benefits of Having a Pocket Door?
Before we get into the removal process, let’s take a minute to look at some of the benefits of having a pocket door.
Pocket doors are great space savers. Not only do they save you from having to install full-sized doors, but they also don’t require any additional wall space to open and close, which is a huge plus.
Pocket doors are also excellent for sound insulation, as they form a tight seal between two rooms. They’re also quite durable and won’t budge when you open them as regular doors can. It will be especially useful if you live in a busy area.
Finally, pocket doors can make it easier to open and close the door while carrying something due to their sliding mechanism. Having a pocket door can give your home an incredibly modern look that will impress guests and neighbors alike!
Is It Difficult to Remove Pocket Door?
No, removing a pocket door is not difficult. However, it is important to make sure that you approach the process correctly, as you don’t want to damage your door or walls in the process.
In most cases, all you need are a few basic tools and few minutes to take your pocket door down. You can do it yourself, or you can hire a professional.
Things to Consider Before Removing Pocket Door
Before you start removing your pocket door, there are a few things to consider.
First, the most important factor is safety. Make sure that you have a clear path for the door and any other objects in the room before attempting to remove it. You don’t want anyone getting hurt. Ensure that you’re wearing protective clothing while removing the door, and make sure all kids and pets are out of the way.

Second, you’ll need to determine how your pocket door is attached to its tracks. If it has a reversible latch, use a latch remover to remove it (or hire someone who knows how). If it doesn’t have a latch or is attached in some other way, you’ll need to use a pry bar and/or hammer to take it apart.
Finally, make sure you know how to properly dispose of the door after it has been removed. It’s best to check your local guidelines for how to discard old doors in an eco-friendly manner. It will be especially important if you are planning to install a new pocket door.
Tools Needed to Remove a Pocket Door
Now that you know the benefits of having a pocket door, let’s talk about the tools necessary for successful removal. First and foremost, you’ll need a latch remover tool. This is essential as it will allow you to remove the latch and screws without damaging them or any other parts of your door.
You will also need a drill and an assortment of screws, nails, and bolts for the reassembly process. Additionally, you’ll want to have some protective eyewear, like safety glasses or goggles, as well as work gloves to protect your hands from any debris or sharp edges.
10 Steps on How to Remove a Pocket Door
Step 1: Cut the Power
Shut off the power before you start. This is essential for safety purposes, and it will also ensure that your door won’t accidentally open or close during the removal process. Be mindful of any electrical cords, as well.
Step 2: Remove the Door Latch
Using your latch remover tool (or a hammer and pry bar for non-latch doors), remove the door latch and screws from your pocket door. Be careful not to damage any other parts of the door in the process.
Step 3: Disconnect the Sliding Track
Once your door latch is off, it’s time to disconnect the track from the wall. This will require unscrewing the top and bottom tracks, as well as any other screws that are holding them in place. Use a screwdriver or drill for this part of the process.
Step 4: Remove the Tracks
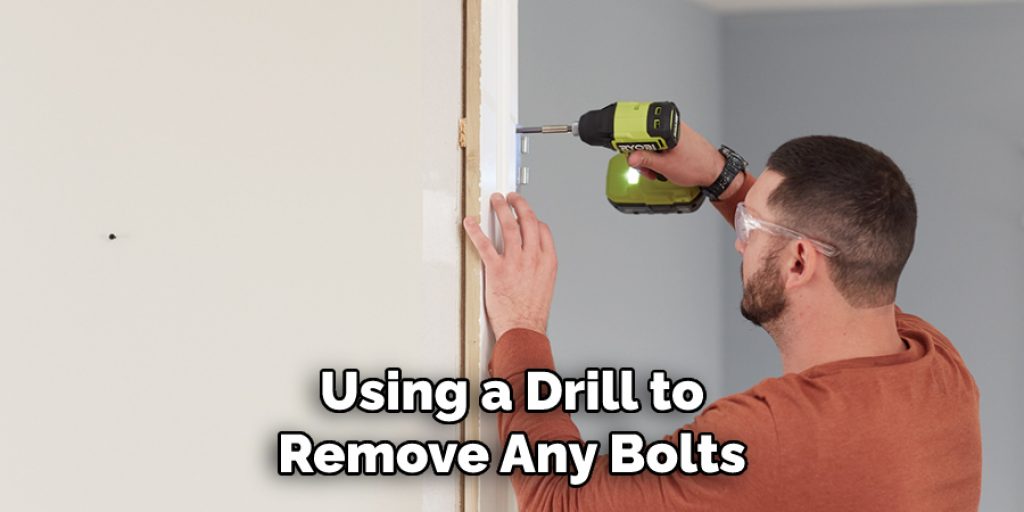
Using a drill, remove any nails or bolts that are holding your tracks in place. Once they’re free, carefully lift them out of their slots and set them aside. Be careful while doing this so you don’t damage the tracks or walls.

Step 5: Remove the Door
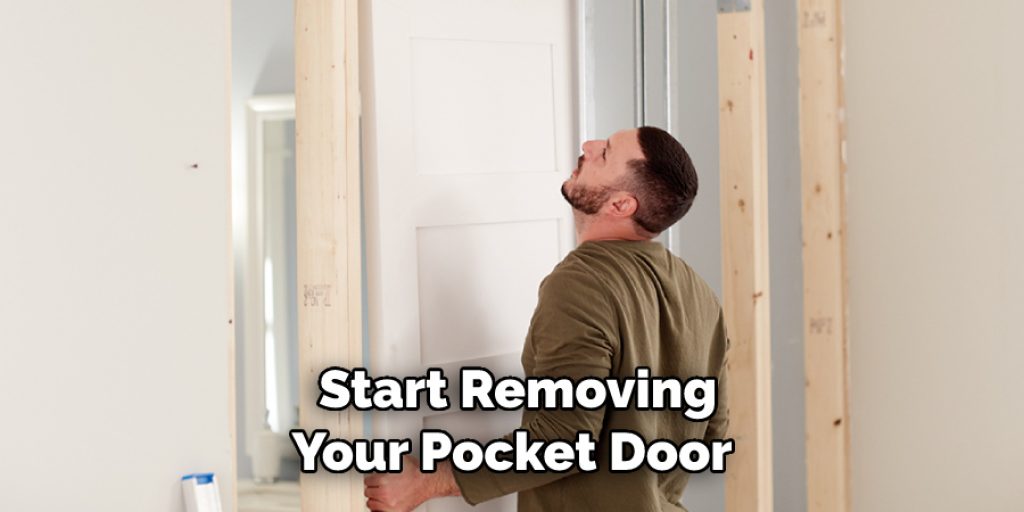
With all of the screws and bolts removed, your door should now be free. Carefully lift it off its track, being mindful of any sharp edges that could injure you. The door itself should be easy to handle, but if it’s too heavy for you to carry by yourself, enlist the help of someone else.
Step 6: Disconnect the Door Handle
Remove the door handle from the pocket door. This is usually a simple process and requires only a screwdriver or wrench. It might be simple, but be sure to pay attention, so you don’t lose any screws or pieces.
Step 7: Clean Up and Dispose of the Door
Once you’ve finished removing your pocket door, make sure that all debris is cleared away from the area. This includes any nails, screws, tracks, and other items that may have been used to assemble the door. When everything is cleared away, it’s time to dispose of the door properly.
Step 8: Prepare for Installation
Now that your pocket door has been safely removed, you can begin preparing for its installation. Ensure that all tracks, screws, and other hardware are cleaned and ready for use. You may also want to inspect them for any damage before proceeding.
Step 9: Assemble the New Door
Using your newly purchased pocket door and hardware, begin assembling the new door. Most doors come with instructions on how to assemble them, so be sure to follow those closely. If you have any questions or doubts, enlist the help of a professional to avoid damaging the new door.

Step 10: Install the New Door
Once your new pocket door is assembled and ready to go, it’s time to install it in its place. With careful attention to detail and following all instructions, you can easily replace your old pocket door with a brand-new one.
With these steps, you’ll be able to safely and effectively remove your pocket door with minimal effort. Keep in mind that it’s always a good idea to enlist the help of a professional if you’re unsure how to proceed. This will ensure that the job is done right, and you won’t have to worry about any errors or accidents.
8 Safety Precautions to Consider
No matter how small the job, it is important to take safety precautions before starting any home improvement project. Before attempting to remove a pocket door, here are 8 safety tips to keep in mind:
- Make sure you have the right tools for the job. Properly equipped with a ladder, screwdriver, hammer, or other tools, you will be able to complete the job safely and efficiently. If the tools you need are not available, borrow them or purchase them before starting.
- Wear protective gear. Make sure your eyes are protected with safety glasses and that you have gloves to protect your hands from splinters and cuts. Protective wear should also include long pants, a long-sleeved shirt, and steel-toed boots.
- Disconnect the power to the area where you are working. Make sure you know how to shut off the electricity before beginning any task around electrical wiring or outlets. It is an important precaution that can save you from potential danger.
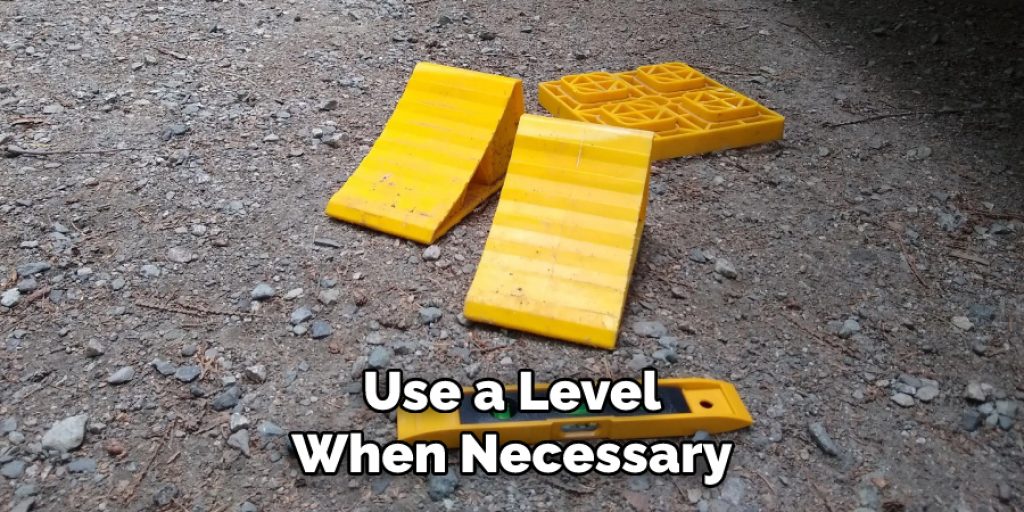
- Use a level and jacks when necessary. If you are taking out an existing pocket door, it is likely that the opening for the door is not perfectly even or level. Make sure to use a level and jacks to ensure the walls won’t collapse once the pocket door is removed.
- Secure the area with a tarp or drop cloth before beginning the job. Not only will this keep dust and debris from spreading around your home, but it can also make clean-up afterward much easier.
- Remove any furniture, floor coverings, and other objects that are in the way of your work area before beginning the task. It will be much easier to move the objects out of the way now than it will be trying to maneuver around them during the job.
- When removing a pocket door, make sure you use the proper lifting technique. Have someone help you if necessary, and don’t attempt to lift anything that is too heavy for you to handle on your own.
- When disposing of the pocket door, use proper disposal methods. Check with your local waste and recycling center to see how they recommend disposing of such an item. This is important because if done improperly, you can be fined or even face jail time.

By following these 8 safety tips, you can make sure that when you remove a pocket door, you do so in the safest and most efficient way possible. This will help ensure that the project is done correctly and that no one gets hurt in the process. With these tips in mind, you can confidently complete any home improvement task.
5 Maintenance Tips
Pocket doors are an efficient way to save space in your home, but they can need maintenance or repair from time to time.
- Check the door jamb first. Make sure the door is not stuck due to a misalignment or obstruction. If there is an issue with how the door fits into its frame, it can prevent you from removing it. If you cannot move the door manually, use a screwdriver to adjust how it fits in the frame.
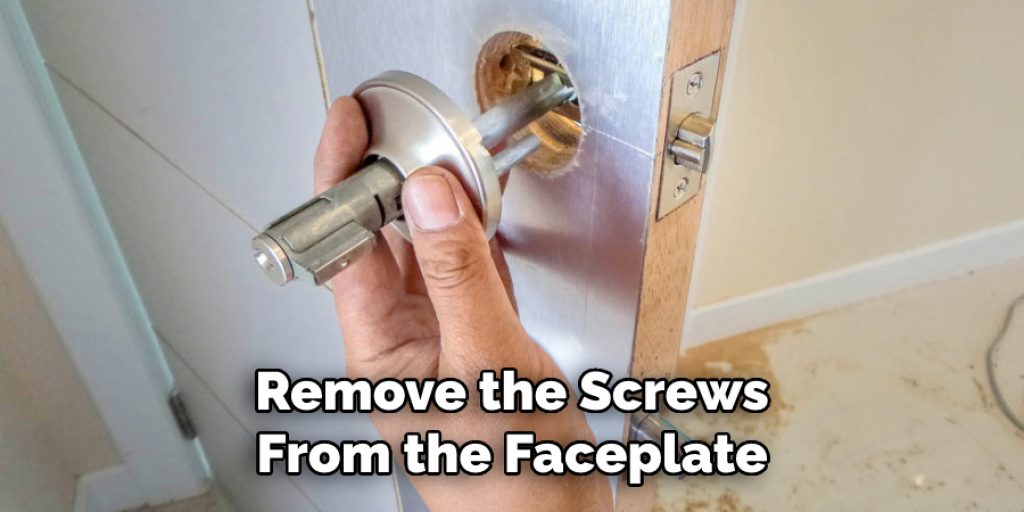
- Remove the screws from the faceplate. The faceplate is typically found at the top of the pocket door and holds it in place. Unscrew this plate with a Phillips screwdriver or an Allen wrench, depending on how it was installed.
- Look for any nails or screws that are holding the pocket door in place. If there are any, remove them with a screwdriver. The pocket door should now be loose and ready for removal.
- If there are no nails or screws, use a pry bar to carefully remove the pocket door from its frame. Start at the bottom of the door and work your way up until it is loose enough to be removed by hand.
- Follow the manufacturer’s instructions to reinstall your pocket door and make sure it is properly aligned in its frame so that it will work correctly when operated.

By following these steps, you can remove and reinstall a pocket door with ease. Pocket doors are convenient and space-saving, but, like any item in your home, they require some routine maintenance from time to time. Be sure to check how the pocket door is functioning regularly to ensure that you don’t need to remove it for repairs or adjustments.
Conclusion
Removing a pocket door is relatively simple and doesn’t require special skills or tools. Having the proper equipment will make the job much easier, however, among them being a hammer, screwdriver set, and pliers. Once you have removed the door, you’ll need to patch up any holes you may have left in the wall.
Once this is done, you’re ready to proceed with your renovations! Make sure to use good judgment with some of these tasks, as certain steps could cause considerable damage if done incorrectly. Finally, always make sure to look up information specific to your situation, as different pocket doors have varying installation procedures and components.
Knowing this information is paramount in any successful pocket door removal, and have this guide on how to remove a pocket door, a help door, and future maintenance that needs to be done.


