
How Long Does Paper Mache Take to Dry
Introduction:
Paper mache is a way of covering objects with paper to be shaped into any form by ‘gluing’ them together. It takes its name from the French words for ‘paste’ and ‘chalk,’ as first used in making casts for sculptures.
If you think about this, it’s straightforward: you cover an object with layers of newspaper soaked in glue, but it becomes rock hard when dry! And if you want to paint your sculpture or decorate it, you coat each layer with color before applying the next one. There are many reasons why we make things out of paper mache.
The most obvious one is that if you have an object to which you want to give a new form, it is much easier to make it on paper before trying to make the real thing! Paper Mache Fun: You can see for yourself how long it takes objects such as these eggs and oranges to become rock hard by making them from the newspaper.
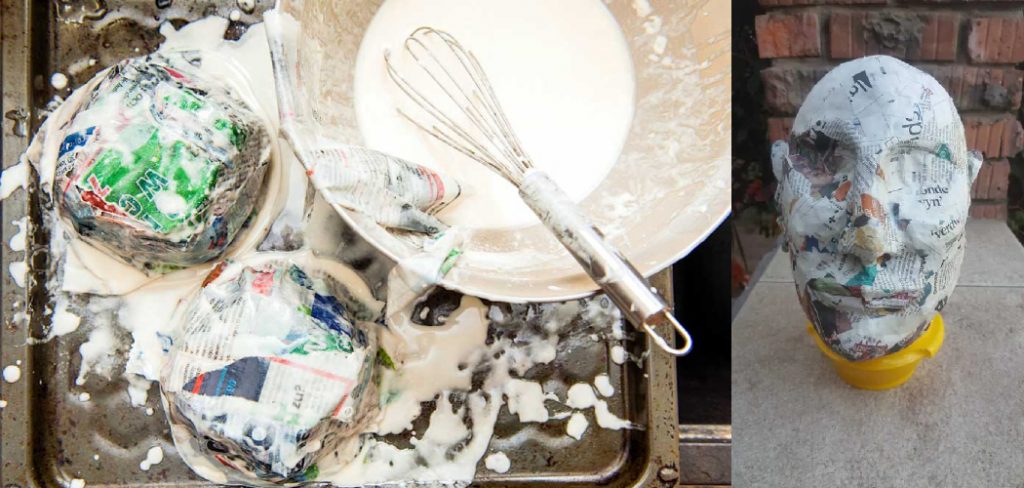
All you need is some newspaper (nothing else will do), flour paste, tape, and something which will absorb water – like a sponge or balls made of cotton wool. Don’t worry about the mess – they clean up easily with water. However, for people who are new to paper mache, settling time can be a major issue. For this reason, in this article, I will discuss “how long does paper mache take to dry”. So let us get started.
Summary: Paper mache is a type of sculpture that is made by pouring a mixture of plaster and water over a wet piece of paper. The mixture hardens and forms the sculpture. Paper mache can take a long time to dry, so it is important to be careful not to touch it until it is completely dry.
How to Make Paper Mache?
Step 1:
The first thing you do is to make a paste from paper and water. You can add glue to the mixture, which may inhibit drying time. If not using glue, ensure that you have shredded or torn the paper into small pieces since this will help with the paper dissolving process faster than bigger pieces. This step should be done outside as it tends to get messy quickly.
Step 2
There is no precise ratio of how many pieces of paper to add for each cup of water. However, the general rule of thumb is to use 2 cups of water for every 4 cups of shredded or torn paper.
Step 3:
Mix ingredients inside a big bowl and set them aside while making another batch. Cover your work area with a newspaper for easier clean-up.
Step 4:
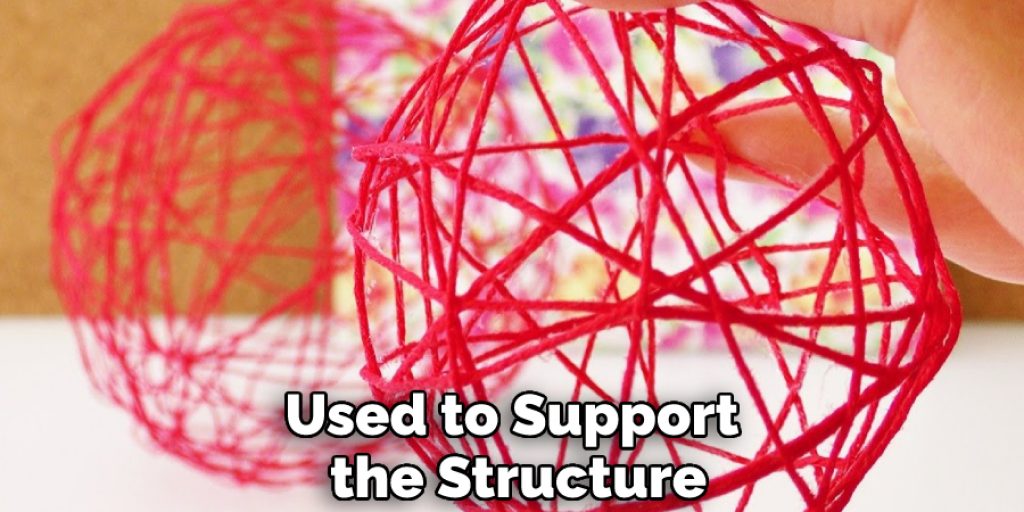
Next, cut the string to desired length (around 20-25 mm from the edge of your bowl) and tie knots at both ends. This will be used to support the structure once dried.
4a) If you don’t have a piece of string handy, you can use nylon or a fishing line instead. You will also need a needle that has been sterilized by either boiling it for 5 minutes or setting it on fire and then letting it cool down. Nylon thread is preferred because it’s stronger than the fishing line, but if not available, any thin thread will do just fine as long as it’s strong enough to hold weight, such as mending thread or dental floss.
4b) Note that paper mache may still be soft even when you feel that it has dried completely, especially when made at room temperature or in a humid area, since wood glue and flour tend to swell more than plain water during this step because they contain starch. Sometimes, people prefer soaking it again before shaping it into the final piece.
Step 5:
Cover the bowl with a piece of cloth and put something heavy on top to keep it from being blown away. Paper Mache should be set in a sunny spot if possible so that it can dry faster, but you can also use an oven or any other heat source as long as there is enough ventilation.
The ideal temperature for drying is around 35-45 degrees Celcius/95-113 degrees Fahrenheit. Verify the temperature by using a thermometer and adjust your heat source if necessary. Edrich Tip: If you are working with kids, place the entire project inside a shoebox before putting it in an oven or outside to prevent little hands from getting burned.
Step 6:
This is the part where you wait and watch as your Mache dries. It will take several days to dry, so don’t get too anxious if it feels too hard after a few hours of being set. You can test if it’s ready by bending it while holding each end. If it bends easily without breaking, then it’s time to remove it from your drying spot and continue to the next step.

Step 7:
Once dry, remove your paper mache from its drying spot and scrape off any dried paste or glue still sticking on your work area (do this outside, so you don’t mess up your kitchen). The easy way to get rid of dried paper mache is to use a hammer, knock it off, and then sweep the waste away. Next, smooth out uneven spots using a damp sponge but if you can wait until it’s scorched (it should only take 4-6 hours), do so because soaking it in water may make it lose some of its texture.
A Detailed Discussion on How Long Does Paper Mache Take to Dry:
Paper mache molding is an exciting process. Paper mache is very versatile and can be used for all kinds of projects. One of the best things about paper mache is that you get to have a finished product within 24 hours! Yes. If this sounds too good to be true, try out paper mache yourself to see how amazing it is.
Actually, it takes longer than 24 hours to make models with paper mache because of two reasons: You need time to let your final layer dry properly before painting; the first layers take as long as 8 hours or more to dry, and it takes at least 6 hours to make the final layer. This is because the paper mache used has a considerable molecular weight and thus needs more time to dry out completely than other materials such as clay or Plaster of Paris.
So, yes, you will need several days (usually 2-3) to complete your model. But don’t worry! It’s not hard work – believe me – I have tried making my first model using this method and can vouch for how easy it really is. Okay, so now you know about paper mache. Now let us look into its drying process:
The Drying Process of Paper Mache:
One of the main reasons why paper mache dries so quickly is because of how it is made. Paper mache consists of dissolving paper pulp in water and brushing the solution onto a form or mold you have previously made. But if you think this means that you must coat your entire model with paper mache as quickly as possible, think again!
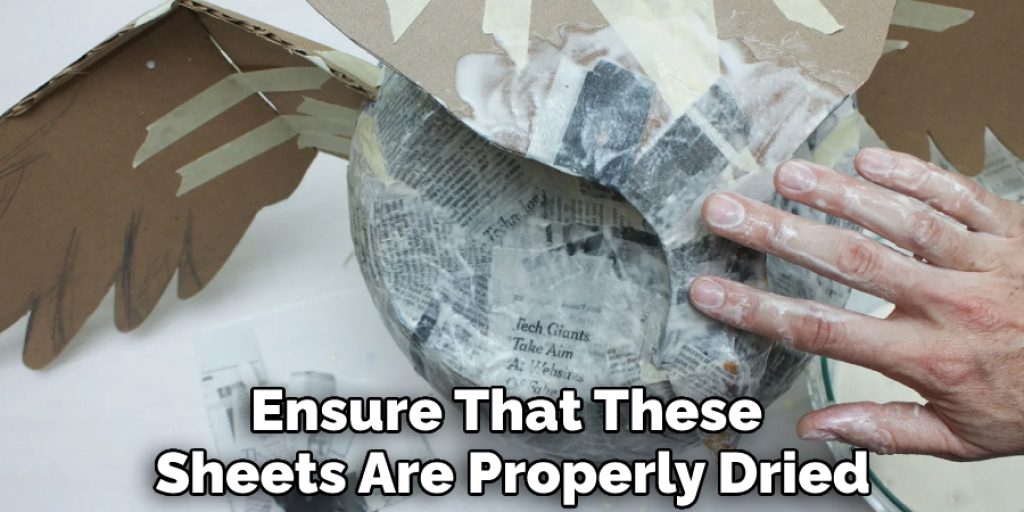
In fact, letting the first layers dry undisturbed for at least 4 hours (and not painting until they are scorched) will help give your end product much greater strength. This process also allows the fiberglass mesh to dry out properly, which is important since the paper mache can later be painted over. Furthermore, if you use thin sheets of newspaper as your source material (instead of toilet paper or textured paper), then you will need to let the paper mache dry longer (8-12 hours) to ensure that these sheets are properly dried.
So, as a rough estimate, if you coat your entire model with paper mache on the first day, allow everything to dry undisturbed for 4 hours (or at least 6 – 8 hours if using thin newspaper sheets), and then start painting the next day, it is reasonable to conclude that your project should be ready for “showtime” within 3 days.
Factors Affecting the Drying Process of Paper Mache:
To have a proper idea of how long paper mache takes to dry, one must clearly understand the factors affecting this process. Several factors affect how quickly your paper mache piece dries.
The first factor is the moisture content of the paper, which can be altered by adding certain chemicals to alter the paper’s porosity and expand its surface area. Generally speaking, a high porosity will make for faster drying than a low porosity paper, although there are other factors to consider.
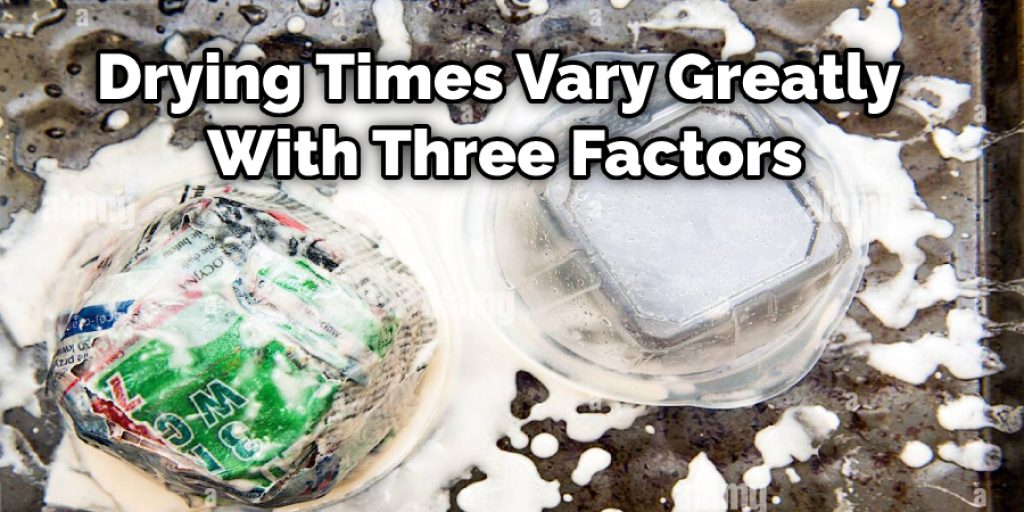
The second factor is ambient humidity; the higher humidity you work in, the longer it’ll take for your sculpture to dry out because water molecules aren’t evaporating as fast from the surface of your workpiece (the moisture has more water molecules to reattach itself). The third factor is temperature: if you’re working during warm weather or plan on working in a warm, dry climate (such as an art studio), you’ll find more evaporation from the surface of your workpiece.
Drying times vary greatly with these three factors mentioned above; for example, if you’re working during wintertime and the piece is made out of newspaper soaked in water and then dried (a shallow porosity paper), then when it comes to figuring how long your sculpture will take to dry out completely, you must also figure in temperature and humidity levels where it is being worked on as well. On average, dried sheets of paper mache can be safely handled after about two weeks (~7 days).
Frequently Asked Questions
Can I Use a Hair Dryer to Dry Paper Mache?
There is no definitive answer to this question as it depends on your specific hair dryer and the type of paper mache you are working with. However, it is not recommended to use a hairdryer to dry paper mache as it can cause damage to the surface you are working on and may also create heat that could cause the paper mache to melt.
How Many Layers Should You Paper Mache?
There is no definitive answer to this question as it depends on the type of paper mache you are using and the specific application. However, you will generally need at least three layers of paper for most applications.
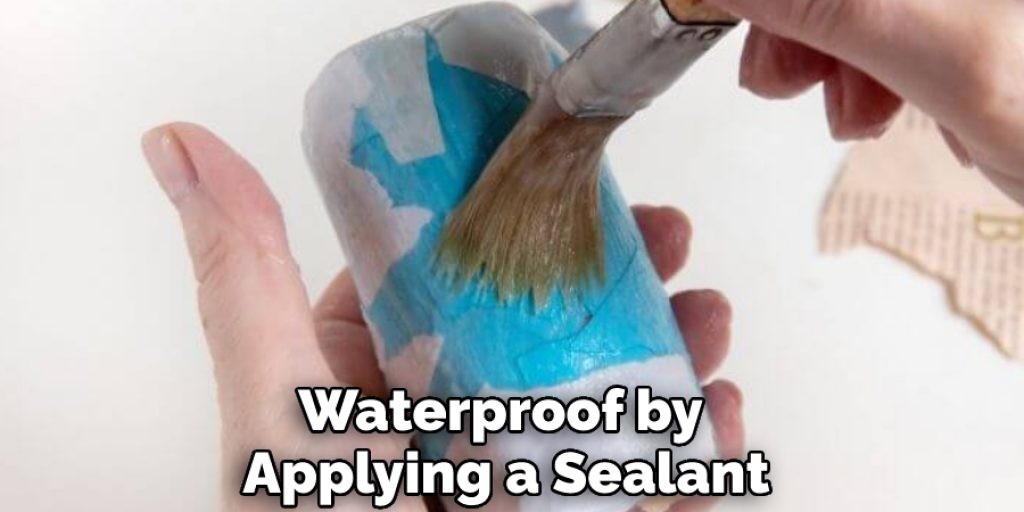
Is Paper Mache Waterproof?
There is no definitive answer to this question as it depends on the type of paper mache you are using and the conditions in which it will be used. However, most water-resistant papers can be made waterproof by applying a sealant or coating.
Can I Use Toilet Paper for Paper Mache?
You shouldn’t use toilet paper for paper mache because it could damage the material.
Conclusion:
I hope this article has benefited from learning “how long does paper mache take to dry.” Thank you, and have a nice day!
Read our other post – How to Fix Water Damaged Paper
Elizabeth Davis
Elizabeth is a creative writer and digital editor based in the United States. She has a passion for the arts and crafts, which she developed from a young age. Elizabeth has always loved experimenting with new mediums and sharing her work with others. When she started blogging, she knew that DIYquickly would be the perfect platform to share her tutorials and tips. She's been writing for the blog from the beginning, and her readers love her helpful advice and easy-to-follow instructions. When she's not writing or editing, Elizabeth enjoys spending time with her family and friends.


