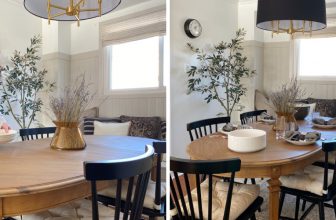
How to Attach a Tabletop without Screws
Introduction
Many of us are familiar with woodworks, and it is somewhat a recreational task for some people. They spend a lot of their time making furniture fir their house using wood. This requires much patience as well as high-quality artistry. In this case, we have observed that the use of metal fasteners is much high because they are considered as one of the firmest elements that can hold the two blocks of wood together.
But there are some disadvantages in this regard, as wood is derived from trees, so there is some seasonal effect that is placed on the wood by nature, which includes the occasional expansion and compression of the wood puts an impact on the metal fasteners, and these cracks develop on the furniture. For this reason, today, we will exhibit you the techniques of how to attach a tabletop without screws, which will be beneficial for you as a beginner.
Requirements
The whole process required many wood work-related equipment, among them first, you will need unused wood, and they should think of high quality because the entire weight of the table will be transferred through these wood. These woods will be shaped into a small hexagonal-shaped box and wooden buttons. For this reason, you will require a table saw or a normal woodcutter. You will need a hammer for driving the dowels and clamps to hold the woods.
Then you have to use Festoon domino for cutting the holes in these woods, you can also use the router in this case, and anyone of them will be worthy enough for the task. After holes are carved, you will need a wood planer to smooth the blocks and the buttons. An essential thing that you will need is the glue, which will act as the core adhesive for the tabletop’s attachment with the table holder panel.
Procedure
There are many ways you can avoid the metal fasteners to attach your tabletop, and you can easily construct a table and use these techniques to enclose the tabletops. These processes will be beneficial because the use of metal screws is absent in the construction process, this keeps the table firm, and you can easily apply these processes to develop your skills. Two of the best techniques are stated below in brief.There are many ways you can avoid the metal fasteners to attach your tabletop, and you can easily construct a table and use these techniques to enclose the tabletops. These processes will be beneficial because the use of metal screws is absent in the construction process, this keeps the table firm, and you can easily apply these processes to develop your skills. Two of the best techniques are stated below in brief.
- Dowel Method
In this method, you will use wood pieces and dowels to attach the tabletop with the stand. In this case, you will require standard wood cutting equipment. First, you have to measure the length of the tabletop, and then we have to take a piece of wood and mark the length of the wood that is needed to adjust. The primary process involves cutting of the woods in a geometric shape, which is hexagonal.
These hexagonal-shaped woods are attached to the main table and the stand with the use of dowels. First, we take a wooden plank and cut two hexagonal sections, which are identical in size and shape. You can use a standard hand saw for this case, but using the hand saw will be quite tricky, and it requires much more labor and effort to complete the task. For this reason, we suggest that you use a circular saw, this is fully automated power tools.
This works on the electrical supply, and it requires much less labor for the wood to slice, and the surface of the wood also becomes much smoother. The artistry will be much lovely to observe. But for the beginners, you can use the table-saw because this remains firmly attached to the table, so no extra movement is required, and the weight of the circular saw might be high for some people. The next step is to make the surface of the wood plane.
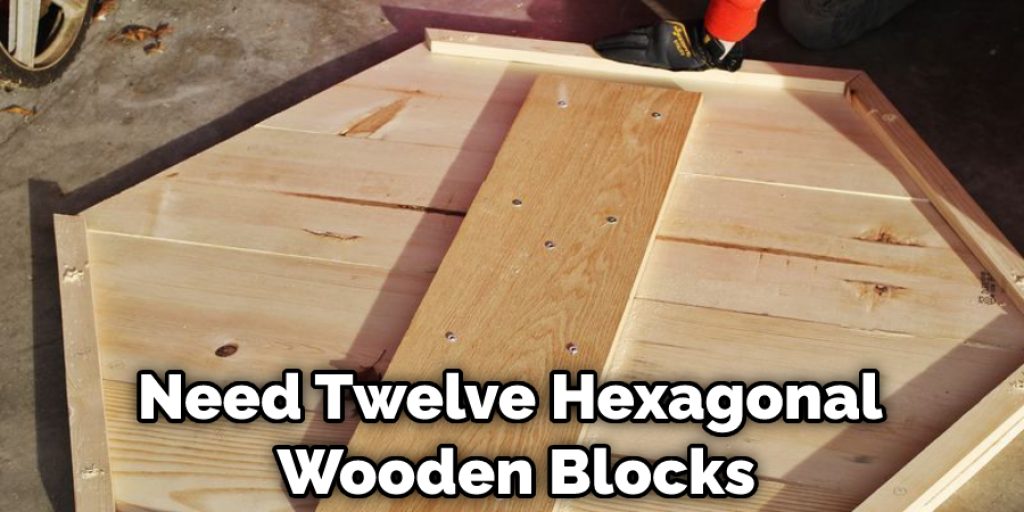
You can use two types of planers: the hand planer and the surface planer. Both of them will be much beneficial to obtaining the exact hexagonal shape. Now there is an easy calculation for determining the number of wooden blocks required for the entire process. For each corner of the table, you have to prepare two hexagonal blocks, so in total, you have to make eight wooden blocks, and for each side, you have to prepare four hexagonal blocks, which will be slightly bigger.
So for the entire process, you will need twelve hexagonal wooden blocks. Now then the step is drilling holes on the wooden blocks and the sides of the table stand with which they will be attached. In this case, you can use Festool domino and using it. You can drill holes in the wood. The holes should be made slightly bigger because there will be a seasonal movement for the wood, and the elongated holes will accompany it.
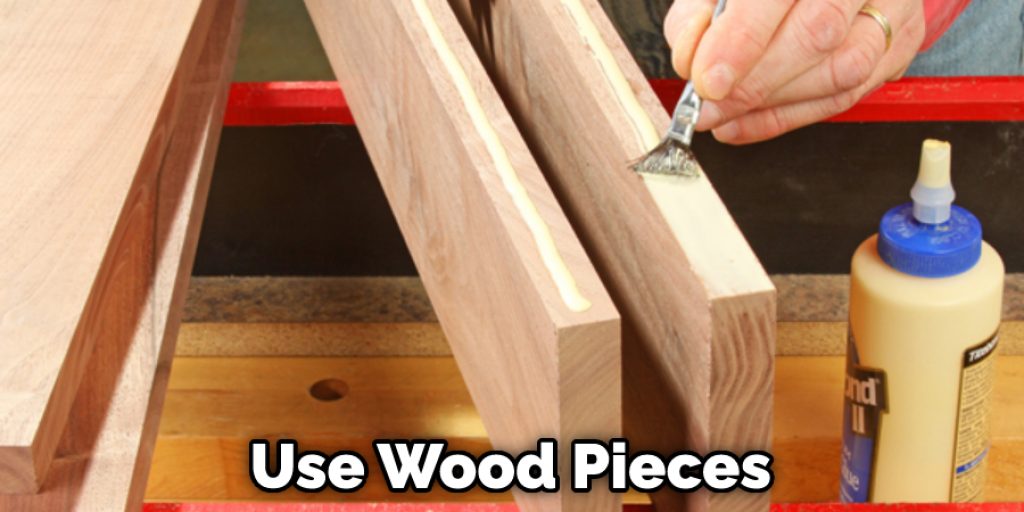
The writer is saying that it is better to drill holes on each side of the stand and to keep the ridges the same size. This will make the table more sturdy and the dowel attachment will be better. The next step is to attach the wooden blocks to the tabletop. To do this, the writer says to apply glue to the wood and attach it to the tabletop.
In this manner, you have to attach both the small and large-sized wooden blocks with glue. We have to use the clamps to keep them connected, after a significant amount of time you will the braces will be removed, and we will place the tabletop and the stand together and use the wooden dowels to attach both them utilizing the hammer. Then again, we use clamps and keep them to get connected for a while, then we open the braces, and your table is ready to be used.
- Wooden Button System
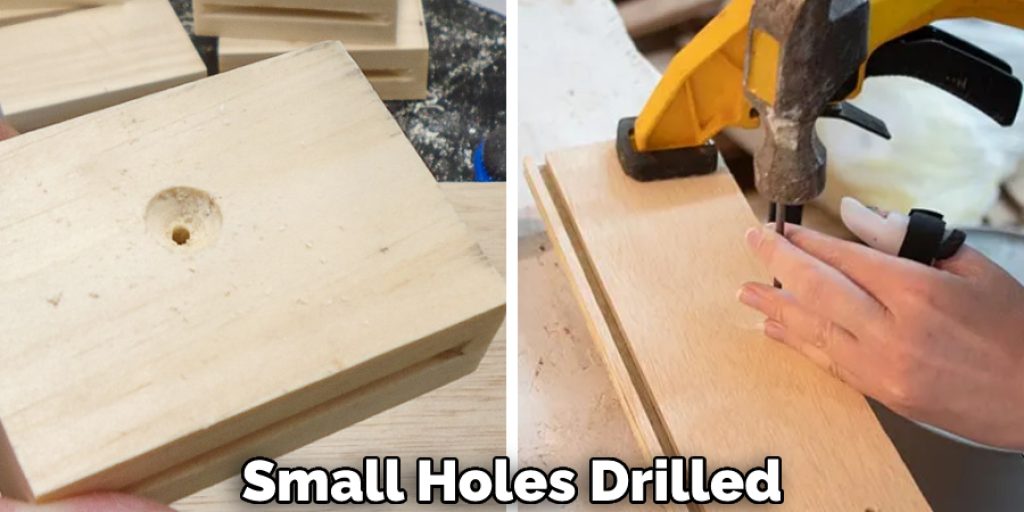
In this project, we will make wooden buttons to attach the tabletop to the stand. This is easy to do and will not take much time. Once the buttons are made, we will put them on the tabletop and attach them to the table holder using small holes drilled in them.
For this case, we will require a Festoon domino, but before that, we have to take a piece of wood and mark them at a distance of one inch apart. Then we use a ruler to line out each of the segments. This will give a good mark for cutting the wood into small buttons. But before using the table saw for cutting the wood, we have to use the domino or router, which will make ridges on the side of the wood. The ridges will be made at the center of each segment.
No stipulated number of wooden buttons will be required for the tabletop to get attached, but we prefer that at least eight to ten buttons will be required you can make more depending on the size of the table. After the ridges are done, we take a table-saw and cut the piece of wood into small buttons with holes engraved. This will act as our preliminary wooden buttons for attaching the tabletop. size, and this will make the connection pretty strong. The wood is then taken to the router table where we can easily align the hole for our buttons.
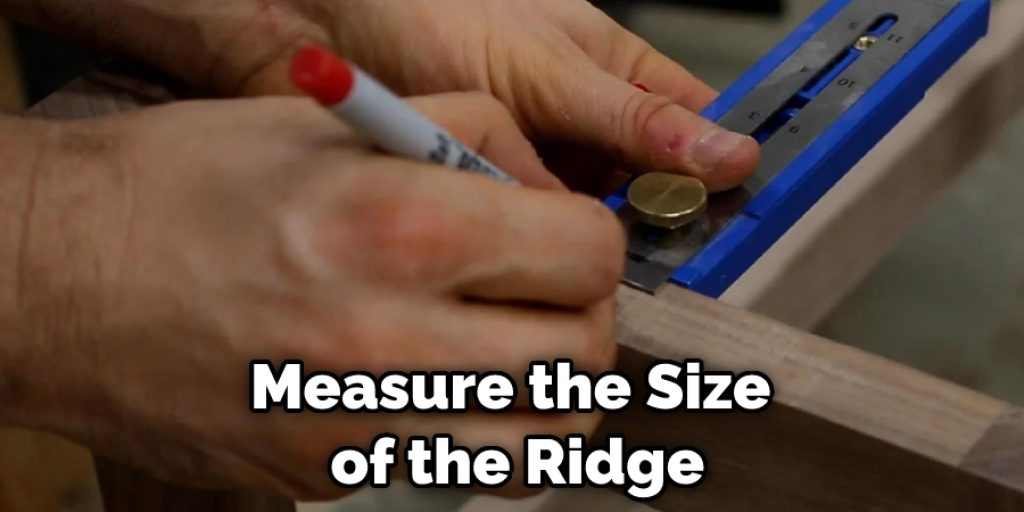
Now we have to measure the size of the ridge that has been engraved and cut out small pieces of the wood chunk inserted inside the holes. After we have cut out the woods, we add them in the ridges and fill with glue. We have to leave them for a couple of hours so that the two pieces of wood get attached firmly. The next step is creating the same ridge on the panel of the table-holder.
For this step again, we have to take the Festoon domino or the router and carve ridges on the side panels. We have to cut the ridges similar to the number of buttons that we have prepared. The ridges should be made a bit larger because the wood’s seasonal movement will be accommodated in this manner. After the ridge is carved, we have to clean it with a soft cloth so that no wood remains attached to the holes that have been created.
The wood buttons will be dried by this time and ready to use. You have to take the buttons and attach them to the tabletop using glue. Once they are firmly connected, you will receive the tabletop and put the extended part of each button inside the table holder panel’s predrilled ridges. Thus the tabletop will be properly attached, and this will be done without the help of any screw.
Frequently Asked Questions
Does a table need aprons?
No, a table does not need aprons. Aprons are used to protect clothing from dirt and stains while working in a kitchen or other area where food is being prepared.
Can you make a table without an apron?
Yes, you can make a table without an apron. However, it is important to be careful not to get any of the wood or stain on your clothes. You can also use a dust cloth to clean the surface if necessary.
What is a stretcher on a table?
A stretcher on a table is a medical device that is used to transport patients who are injured or who are in critical condition. It is also known as a gurney, hospital bed, or transport stretcher. The stretcher on a table is made up of two parts: the frame and the mattress. The frame holds the patient and supports their weight, while the mattress helps to cushion them and keep them comfortable.
The stretcher on a table can be moved using either human power or an electric motor. It can be transported using a vehicle such as an ambulance, van, or truck.
Conclusion
Lastly, we hope that the techniques we have mentioned here to attach the tabletop, which will not require any screws, will be beneficial for beginners. This will act as a great source of increasing the DIY skills of a person, and the process is less harmful as there is no use of metal fasteners. Happy carpeting! Have a beautiful day!!
You may read also –How to Make a Tabletop Easel