
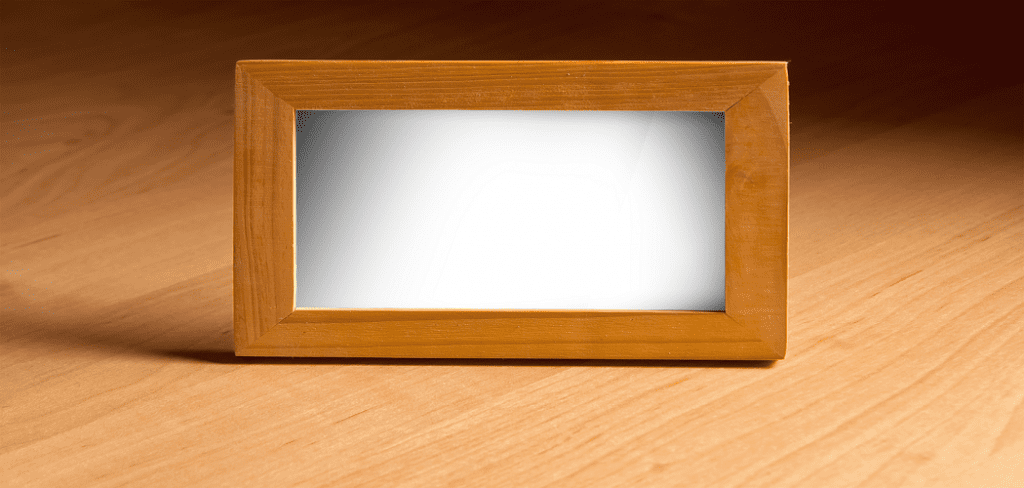
How to Custom Cut Picture Frame Acrylic
Are you feeling quite interested to learn about the actual process of how to custom cut picture frame acrylic? If the ultimate reply is positive, we want to assure you this entire article could be the perfect resource for you.
If you want to learn more about how to custom-cut picture frame acrylic, read on. We’ll give you a step-by-step guide and some safety tips.
Some people who make music online use a material called acrylic to help protect their work while it’s being transported. This material is usually added to the work with protective sheets on each side, so that if it gets scratched, the scratches will only appear on the sheet and not on the work itself.
If you want to keep your acrylic paintings looking their best, you should smooth them down with a microfiber fabric. Anything beyond that can risk damaging the painting. Acrylic is also flexible, so keep that in mind when you’re preparing for picture frame maintenance.
The Process of How to Custom Cut Picture Frame Acrylic
1. You should be close to the glass when you are cutting acrylic to make the process easier. We suggest that you use a piece of glass that is four inches wider and longer than your project for smaller pieces of art, and six inches wider and longer for larger projects.
2. Maintaining the shielding film, region your acrylic sheets on the head of another.
3. Mark off where you may “punch” your gaps to your stalemates.
4. We denoted our holes so the stalemates would be 1-½ inch from the acrylic’s external edge and, this way, 1-½ inch between the deadlock and the craftsmanship.
5. “Warm up your steel stake by running it through the burner a few times. Because the stake is so long, we found that it didn’t get excessively warm toward the end; however, always wear a glove to be safe!”
6. Punch your preliminary hole. Rehash steps 4 and 5 till you have the entirety of your gaps for your stalemates.

7. Take a margarine blade to fly off the liquefied acrylic.
8. Eliminate the inward layers of defensive plastic, and spot your fine-art in the casing.
9. Secure your fine-art set up by utilizing the corrosive free photograph tabs.
10. Strip back the external defensive plastic layers, and affix your stalemates set up.
11. Adhere to the mounting guidelines that accompany the stalemates to hang your work of art.
12. Remain back and appreciate your greatness for making an incredible edge that your companion’s entirety will need to rip off your dividers.
We have appeared almost at the end. At this stage, we believe your confusion regarding the topic of how to custom cut picture frame acrylic has gone. Now you know all the vital details of this topic.
Finally, we recommend that you read the entire article carefully and follow all the steps mentioned earlier. Pay attention to the safety precautions to avoid accidents and messes. Now let’s get started!
you may also read now
Elizabeth Davis
Elizabeth is a creative writer and digital editor based in the United States. She has a passion for the arts and crafts, which she developed from a young age. Elizabeth has always loved experimenting with new mediums and sharing her work with others. When she started blogging, she knew that DIYquickly would be the perfect platform to share her tutorials and tips. She's been writing for the blog from the beginning, and her readers love her helpful advice and easy-to-follow instructions. When she's not writing or editing, Elizabeth enjoys spending time with her family and friends.


