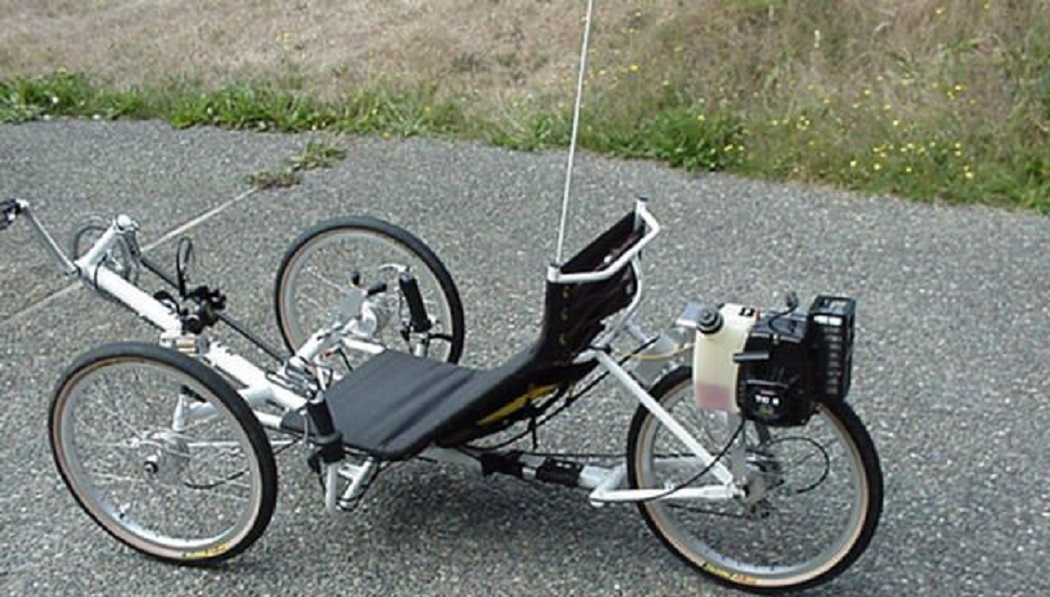
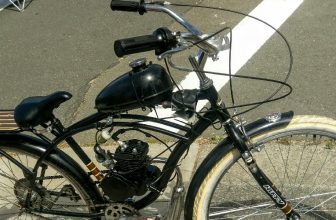
How to Build a Mini Bike With Lawn Mower Engine
Your dad may have told you that the mower engine is just for cutting grass, but with a few modifications and some creativity, you can make a minibike! This article will provide an overview of how to build a mini bike with lawn mower engine. The first thing you need to do is take off all of the unnecessary parts of the mower, such as the handlebars and seat.
Next, remove any extra metal pieces that might be sticking out from where it was bolted together. You’ll then need to weld in aluminum plates every inch or so around either side of what will be the bike’s frame. If you want more detailed instructions, keep reading about how to build a mini bike from a lawnmower engine.
What is a Mini Bike?
A mini bike is a small, lightweight motorcycle with an engine that typically has a maximum displacement of 50cc. They are often used for recreational purposes and require less maintenance than larger motorcycles.
You can purchase a mini bike from a store, but it’s much more fun and rewarding to build your own! Plus, building your own mini bike allows you to customize it to your liking and learn valuable skills along the way.
It’s important to note that mini-bikes are not meant for highway use and should only be ridden on private property or in designated areas. Always wear protective gear, such as a helmet and pads, when riding.
Materials Needed:
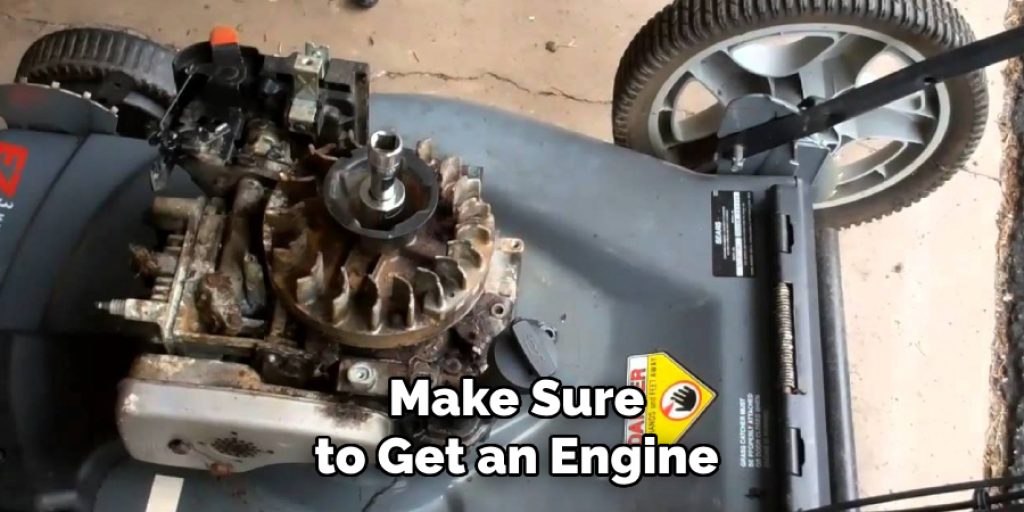
Lawnmower Engine:
The most essential part of building a mini bike from a lawn mower engine is the engine itself. Make sure to get an engine with at least 3 horsepower, as this will provide enough power for your mini bike.
Frame:
You can either purchase a pre-made frame or build one yourself using aluminum plates and welding equipment. The frame should be strong enough to support the weight of the engine and rider.
Wheels:
For a mini bike, you’ll want to use small wheels that are designed for off-road use. You can purchase these from a store or salvage them from an old lawnmower or mini bike.
Chain and Sprocket:
The chain and sprocket will connect the engine to the rear wheel of your mini bike. Make sure to choose a sturdy chain and sprocket that can handle the power of the engine.
Throttle and Brake:
You’ll need to install a throttle and brake system on your mini bike for control while riding. These can be purchased from a store or made using basic materials such as cables, levers, and grips.
Tools and Supplies Required:
Welding Equipment (if Building Your Own Frame):
This includes a welding machine, aluminum plates, and protective gear such as gloves and a welding helmet.
Wrenches:
You’ll need different-sized wrenches to remove parts from the lawnmower engine and attach them to the frame.
Screwdrivers:
Screwdrivers will be needed for any screws or bolts that need to be removed or tightened on the mini bike.
Drill:
A drill will be necessary if you need to make any holes in the frame for mounting parts or attaching the engine.
Measuring Tape:
This will come in handy when building your own frame and ensuring that all parts are properly aligned.
Step-by-Step Guide: How to Build a Mini Bike With Lawn Mower Engine
Step 1: Acquire a Lawn Mower Engine
The first step to building your mini bike is acquiring a lawnmower engine. You might think that this process would be complicated, but it isn’t. The stores where I found lawnmowers for sale also happened to sell their engines separately! So when I priced out how much it’d cost if I had bought a complete blade, it was roughly the same as if I’d just gotten a lawnmower engine and took out my blade. If you want to save even more money, consider pulling your blade off of an old mower or using one from something like an old push mower.
You’ll want to make sure the engine has at least 3 horsepower, as this will provide enough power for your mini bike. If possible, test the engine before purchasing to ensure it runs smoothly. That way, you won’t run into any surprises during the building process.
Step 2: Acquire a Bike Frame
The next step to building your mini bike is acquiring a suitable frame. The best way to do this will ultimately depend on what you have available. If you’re choosing to use an old mower blade, then the frame of that mower may have survived all these years! If that’s not the case, or if you’re trying to build a brand new mini bike, try looking for an old kids’ bicycle frame. Perhaps if they aren’t selling them any longer, they’d be willing to part with the frame so that someone else can put it to good use!
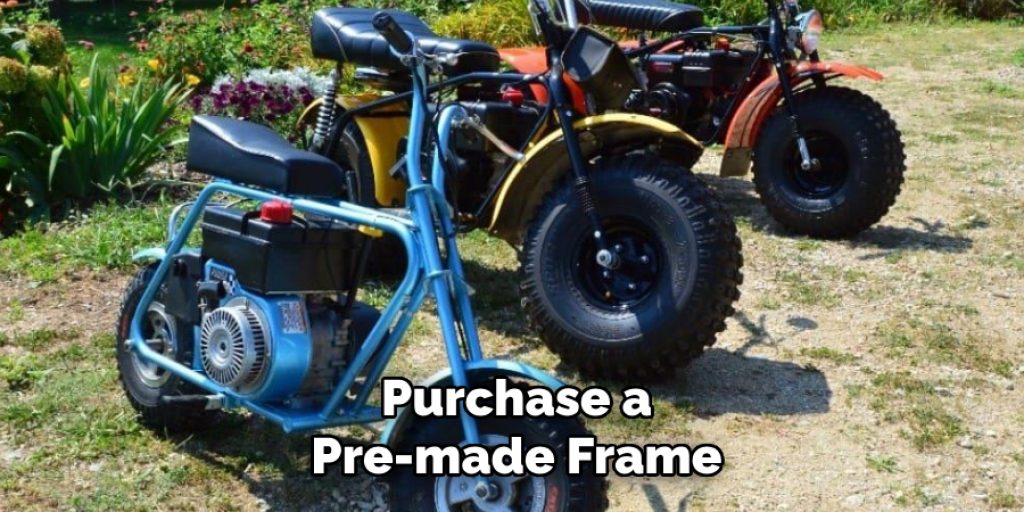
Although you can purchase a pre-made frame, building your own allows for more customization and is a fun project in itself. It’s also a great opportunity to learn how to weld if you’ve never done so before.
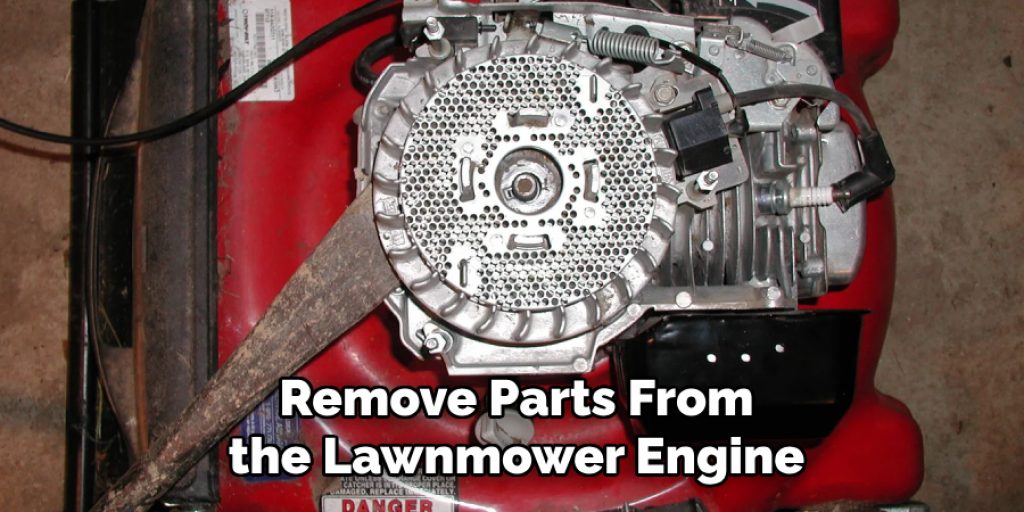
Step 3: Prepare the Lawn Mower Engine
Once you have your lawn mower engine and bike frame, it’s time to prepare them for attaching. Keep in mind that the blade is sharp, so be sure to wear protective gear when handling or working with it. You might also want to consider painting over any logos on the blade so it isn’t so easy to identify as belonging to a specific mower.
You’ll also need to remove any unnecessary parts from the engine, such as the handlebars and seat. Use wrenches to loosen any bolts or screws, keeping these parts attached. This will make it easier to attach the engine to the frame.
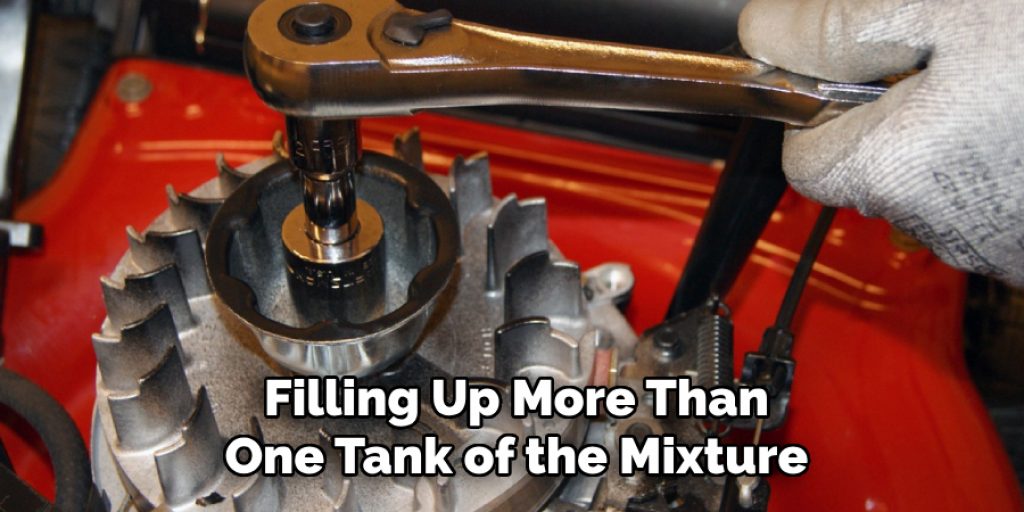
Step 4: Acquire Two-Stroke Engine Oil and Mini Bike Fuel
When you have your bike frame and lawnmower engine, it’s time to fill them both up with fuel. Just one gallon of two-stroke oil can be mixed in a 50:1 ratio with gasoline to create the correct mixture for the lawnmower engine. If you plan on having more than one person ride the minibike, then you might want to consider filling up more than one tank of the mixture. Keep in mind that it will be difficult for your engine to start until you have filled your mower with oil and gasoline, which is why both these steps are best done simultaneously.
You will likely have to buy two-cycle oil in bulk and then mix it by yourself. You’ll need a measuring cup that’s capable of around 4-1/2 oz for this. The oil also must be “cycle” oil, so don’t purchase something that can only be used in a four-stroke engine.
Step 5: Mount Lawn Mower Engine to Frame
Once the lawnmower engine has been filled with oil and gasoline, you can mount it to your frame. If your mower blade doesn’t already have holes in it, make sure that the structure is prepared for drilling. When mounting the mower to the frame, be careful not to use too much force or tighten anything down too much. If you strip any holes or damage the mower, then it will have to be replaced.
You may need to use some creativity when attaching the engine to your frame, but once it’s secure, you’re well on your way to having a functional mini-bike. I recommend using strong bolts and nuts to minimize the chances of any parts coming loose while riding.
Step 6: Connect Lawn Mower Engine Wires
Once your lawnmower engine has been mounted properly, it’s time to connect the wires. You can see any wiring diagram that would help you get this done correctly. If not, feel free to ask questions or consider taking it to a professional for assistance. If you aren’t connected with anyone who has experience with lawnmower engines, then you could look up a guide online or take apart your machine in order to see how things are connected internally.
The wires used to connect the engine should be quite simple, but it’s important to follow proper safety precautions and ensure everything is connected correctly. Any loose or improperly connected wires could result in dangerous malfunctions during use.
Step 7: Test the Lawn Mower Engine
When your lawnmower engine wires have been connected, you should be able to test your engine. First, make sure that you have the right mixture of oil and gasoline and the correct electricity running through it. Once everything is up to code, turn on the ignition and see if it starts! If not, make sure everything has been connected properly.
You may need to make several adjustments before your mini bike is fully functional, so don’t be discouraged if it doesn’t work perfectly on the first try. Remember, building a mini bike is a fun and exciting project and a great way to learn new skills. Enjoy the process and have fun riding your very own customized mini bike!
Step 8: Mount Mini Bike Seat
Once your engine is working correctly, it’s time to attach the seat. If you’re using an old bicycle frame for your minibike, then the chances are that the seat post will already be attached. Otherwise, you’ll need to drill holes into whichever support beams you’ve chosen or welded together to mount the seat correctly.
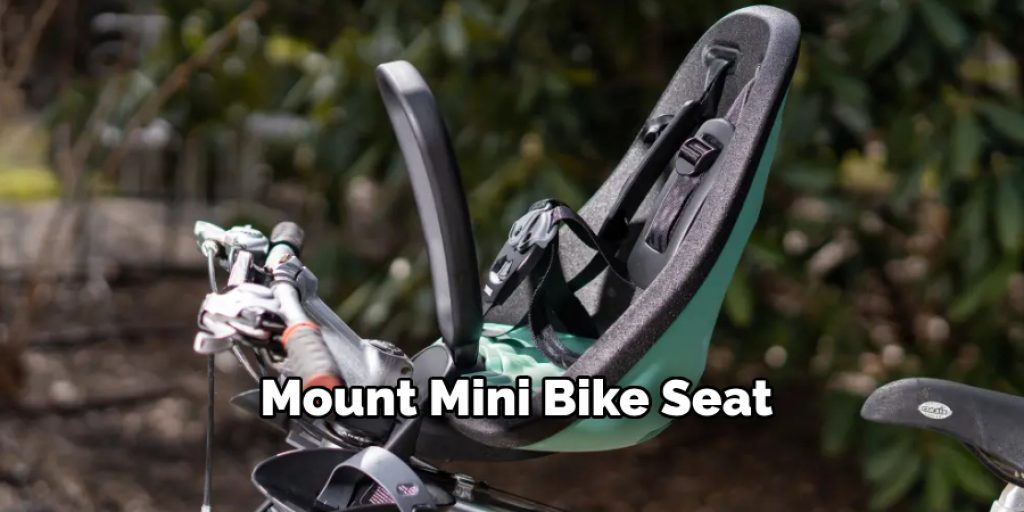
It’s important to make sure the seat is securely mounted. You don’t want it coming loose while riding, as this could cause injury or damage to your mini bike. But you also want to make sure it’s not too tight, as this could cause discomfort while riding. Experiment with the positioning and tighten down the bolts or screws until you find a comfortable and secure fit.
Step 9: Attach Handlebars
Once you have your mini bike seat installed, it’s time to attach the handlebars. Again, if you’re using an old bicycle frame for this project, the handlebars will already be attached. If not, however, now is an excellent opportunity to figure out where you would like them positioned and drill holes into the frame for this purpose. Once your handlebars have been properly mounted, make sure to test them out before going any further to ensure they don’t feel flimsy or unstable.
There are many different handlebar styles and sizes to choose from, so don’t be afraid to experiment and find what works best for you. You may also want to consider adding grips or padding to the handles for added comfort while riding.
Step 10: Attach Controls
Finally, you can attach your controls. For a mini bike, this will likely be the throttle and brake levers. If you’re using a bicycle frame, then all of the controls will have already been connected. If not, however, simply drill holes into your chosen support beams and attach them based on the markings within the bike’s manual.
You may also want to consider adding additional controls, such as a kill switch or lights, depending on how you plan on using your mini bike. Make sure to properly test and adjust the controls before riding to ensure they are functioning correctly.
Following these steps will ensure that you have a safe and functional mini bike ready to ride. Remember, safety should always be your top priority when building and riding any vehicle. Always wear proper safety gear and follow all traffic laws while enjoying your custom-made mini bike! Happy riding!
Precautions and Safety Measures:
1. Do not wear baggy clothes because your skin can get caught in the engine/moving parts.
2. When working with gas, make sure you have a fire extinguisher nearby and work in a well-ventilated area.
3. Take extra precautions if you are using a lawnmower engine because it is more difficult to control than a regular two-stroke engine.
4. Wear protective gear when necessary, such as eye protection, gloves, etc.
5. Do not smoke when working on your mini bike because sparks from the lawn mower engine can turn it into a flamethrower.
6. Keep children away from the project when working on it.

Frequently Asked Questions:
Q: Can I Use Any Type of Engine for My Mini Bike?
A: It is recommended to use a small four-stroke lawnmower engine, as they are easier to control and more readily available. However, you can use other types of engines if you have the proper knowledge and skills. You can also consider purchasing a ready-made mini bike engine. You can also consider purchasing a ready-made mini bike engine.
Q: Can I Make Modifications to My Mini Bike?
A: Yes, you can make modifications to your mini bike, but it’s important to remember that safety should always be a priority. Make sure to research and understand the potential effects of any modifications before making them. Otherwise, you risk damaging your mini bike or causing harm to yourself or others while riding.
Q: Do I Need Any Special Tools or Equipment?
A: You will need basic tools such as screwdrivers, pliers, wrenches, etc. However, specific projects may require additional tools, such as a welder. Make sure to research the necessary tools before starting your project to avoid any delays.
Q: How Long Will It Take to Build a Mini Bike?
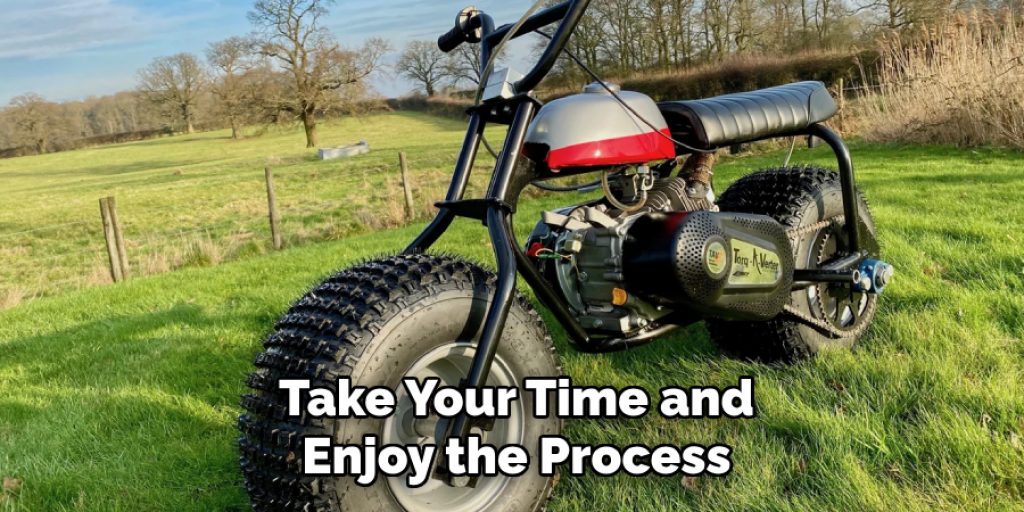
A: The time it takes to build a mini bike will vary depending on your skill level and available resources. On average, it can take anywhere from a few days to a few weeks to complete. Take your time and enjoy the process of building your own mini-bike!
Overall, it is important to take precautions and prioritize safety while working on any project involving engines and other mechanical parts. With proper planning, research, and execution, building a mini bike can be a fun and rewarding experience. Remember to have fun and enjoy the ride! After all, that’s what mini bike building is all about. So go out there and start building your very own customized mini bike!
Final Words:
If you follow these steps carefully mentioned on how to build a mini bike with lawn mower engine, then you should be able to successfully build a minibike with a lawnmower engine in relatively little time. As long as you’ve read this guide and considered its advice, then you should be able to build your bike without too much difficulty or confusion along the way.
Keep in mind that if you’re not familiar with welding/drilling, ask for help from an experienced friend! Once you have finished assembling your minibike with a lawnmower engine, you’ll be able to take it out for a test run. Make sure to wear all of the necessary safety gear before attempting this! If you don’t, then your first ride could end up being messy and misguided.
You Can Check It Out to Remove Paint From Bicycle Frame
Check out our article How to Fix a Bike Pedal That Fell Off
Louis Wein
Louis has always been fascinated by cars. He loves the way they look, the sound of the engine, and how they make him feel when he's driving. He is always keen to learn more about different mechanics of cars and how the engine contributes to other aspects of the car. As an automotive technician with over 10 years of experience, he knew how they worked and loved taking them apart to see how they went back together. He was especially interested in the mechanics of combustion engines and loved finding ways to make them more efficient. He loves to work on cars and help people keep their vehicles running smoothly. As a senior editor, he enjoys contributing to Diy quickly because it allows him to share his knowledge and expertise with others.