How to put Weedeater Motor on a Bike Step by Step
Weed eaters work like sorcerers when you want to get rid of the weeds in your yard. But if you buy a ready-made weed eater machine or motorbike, it will cost you a significant amount of money. To avoid that, you can simply bring something a motor from your nearest shop or online and mount it with your motorbike. Interesting right? It is pretty easy, and it is a cost-effective method, too. So, in this article on how to put weedeater motor on a bike, I will show you how to put a weedeater motor on a bike step by step.
You may have got an old weed eater machine. But after years of usage, everything has spoiled except the motor. You can reuse the motor with your motorbike if that’s the case. But first, you have to learn how to make things work. So, without any delay, let’s dive in!
Summary: Putting a Weedeater Motor on a bike can be tricky, but with the right tools and instructions, it’s easy to do. First, remove the handlebars from the bike. Then, unscrew the bolts that hold the motor onto the frame. Next, remove the motor from the frame. Finally, screw the new motor onto the frame, replacing the old one. Be sure to torque the bolts correctly so that the motor is securely attached to the bike.
What is a Weedeater Motor?
A weedeater motor is the engine of a traditional weed eater machine. It is responsible for powering the cutting blades to trim weeds and grass in your yard. These motors are usually lightweight and compact, making them ideal for mounting on bikes.
You can find weedeater motors in different sizes and power outputs, but they usually range from 25cc to 50cc. They are two-stroke engines, which means they require a mixture of oil and gasoline to operate.
It is important to note that weedeater motors are not built for long-term use and may require maintenance or replacement after a few years. However, they can be repurposed for other tasks, such as powering a bike.
Why Put a Weedeater Motor on a Bike?
There are several reasons why someone may want to put a weedeater motor on their bike, including:

Cost-effectiveness:
As mentioned earlier, buying a ready-made motorbike can be expensive. By repurposing an old weedeater motor, you can save money and still have a functioning motorbike. The only additional cost would be for any necessary tools and materials.
Customization:
Putting a weedeater motor on a bike allows for customization. You can choose the size and power output of the motor, as well as where to mount it on your bike.
Versatility:
Weedeater motors are designed to be lightweight and portable, making them ideal for use on bikes. They can also be easily removed and replaced if needed.
Fun:
Let’s face it: riding a motorized bike is just plain fun! It’s a unique and exciting way to get around, especially for those who enjoy DIY projects and tinkering with engines.
Tools You Will Need
Before we dive into the step-by-step process of putting a weedeater motor on a bike, let’s first go over the tools you will need:
Wrenches (Adjustable and Socket):
These will be used to loosen and tighten bolts.
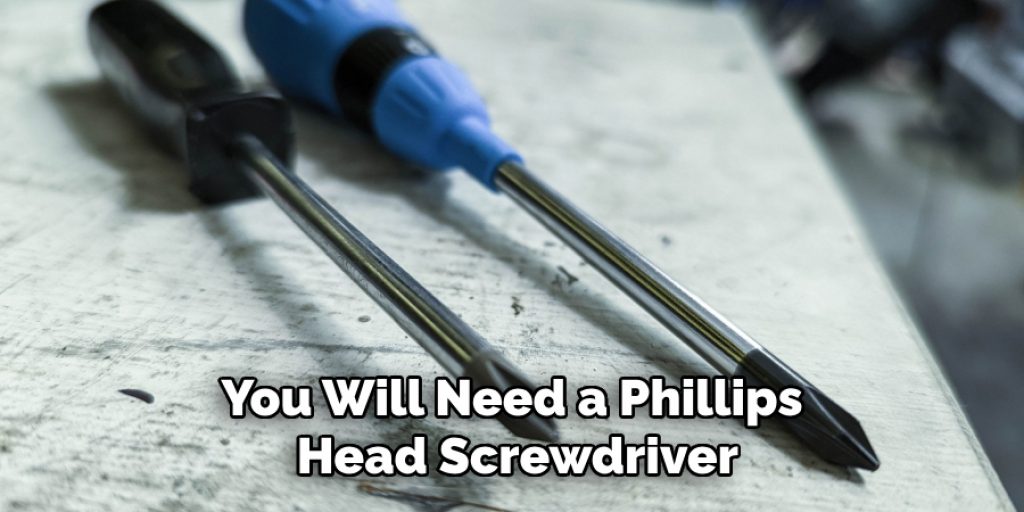
Screwdrivers:
You will need a Phillips head screwdriver for removing the motor from the weedeater frame, and a flathead screwdriver may also come in handy for certain tasks.
Drill (optional):
A drill may be needed if you need to make any modifications or add additional mounting brackets.
Safety Gear:
It is always important to wear safety gear when working with tools and engines. At the minimum, you should have safety glasses, gloves, and closed-toe shoes.
11 Step-by-Step Guide on How to Put Weedeater Motor on a Bike:
Step 1: Prepare the Bike
Start by removing any accessories or components that may get in the way of mounting the motor, such as baskets or racks. You can also remove the pedals, but this is not necessary. It may also be helpful to have someone hold the bike steady while you work. You can also secure the bike to a workbench or stand if you have one. The goal is to have the bike in a stable position so that you can work on it comfortably.
Step 2: Remove the Handlebars
Using an adjustable wrench, loosen and remove the bolts that hold the handlebars in place. Once removed, set them aside. It may also be helpful to mark the position of the handlebars on the stem so that you can easily reposition them later. You can also remove the stem if it gets in the way. The goal is to make enough space on the frame for the motor. It is important to remove the handlebars carefully so that you do not damage any wires or cables.
Step 3: Remove the Motor from the Weed Eater Frame
Using a Phillip head screwdriver, remove the screws that hold the motor onto the weedeater frame. Once removed, gently wiggle and pull the motor away from the frame. Be careful not to damage any wires or cables connected to the motor. You can also cut and remove any zip ties that hold wires in place. But remember to take note of where each wire was connected so that you can rewire the motor later. The goal is to remove the motor from the frame completely.
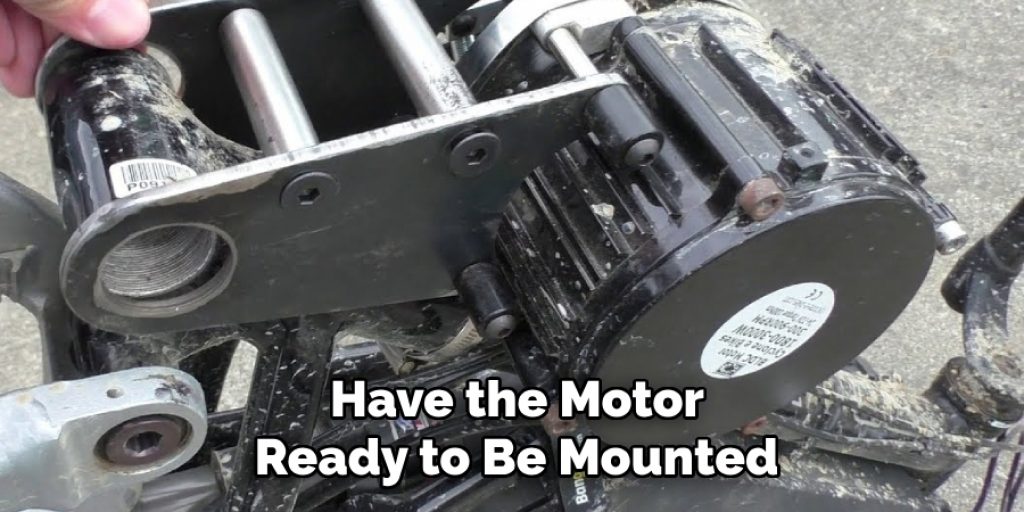
Step 4: Prepare the Motor
Before mounting the motor on the bike, you may need to make some adjustments or modifications. This could include removing any unused brackets or adding additional mounting brackets if needed. You can also use a drill to create new holes for mounting if necessary. The goal is to have the motor ready to be mounted on the bike. It may also be helpful to have someone hold the motor while you work.
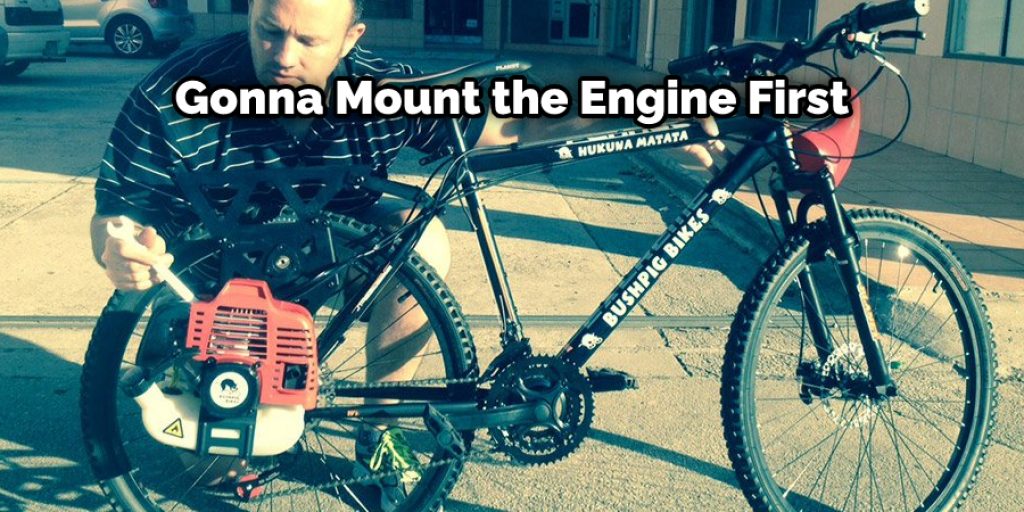
Step 5: Position the Motor
Carefully place the motor on the bike frame in the desired position. Depending on your bike and motor, you may need to adjust the position slightly for a proper fit. Take note of where the mounting holes on the motor line up with the frame. You can also use the old motor as a reference. It is important to make sure the motor is aligned properly before attaching it. The goal is to have the motor securely and properly mounted on the bike frame.
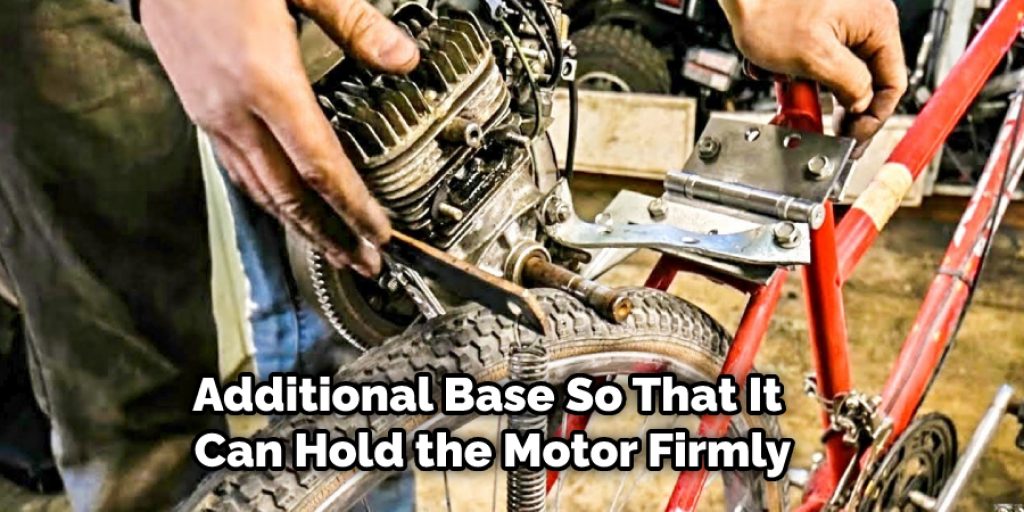
Step 6: Secure the Motor
Using bolts and nuts, secure the motor onto the frame. It may be helpful to have someone hold the motor in place while you work. You can use an adjustable wrench and socket wrench to tighten the bolts securely. It is important to make sure the motor is tightly attached to the frame so that it does not shift or come loose while riding. But be careful not to over-tighten the bolts as this can cause damage.
Step 7: Reattach Handlebars
If necessary, reattach the handlebars onto the stem using the previously removed bolts. Make sure they are positioned correctly and securely tightened. You can also reattach the stem if it was removed earlier. The goal is to have the handlebars securely attached to the bike frame. You can also make any adjustments as needed to ensure a comfortable riding position. The motor may also affect the handling of the bike, so it is important to test it out and make any necessary adjustments.
Step 8: Connect Throttle Cable
Attach the throttle cable from the motor to the handlebars. This may involve threading or clipping the cable into place, depending on your specific motor and handlebar setup. Refer to your motor manual for specific instructions if needed. The goal is to have the throttle cable securely connected and functioning properly. It may also be helpful to test the throttle before moving on. You can also use zip ties to secure the cable in place.
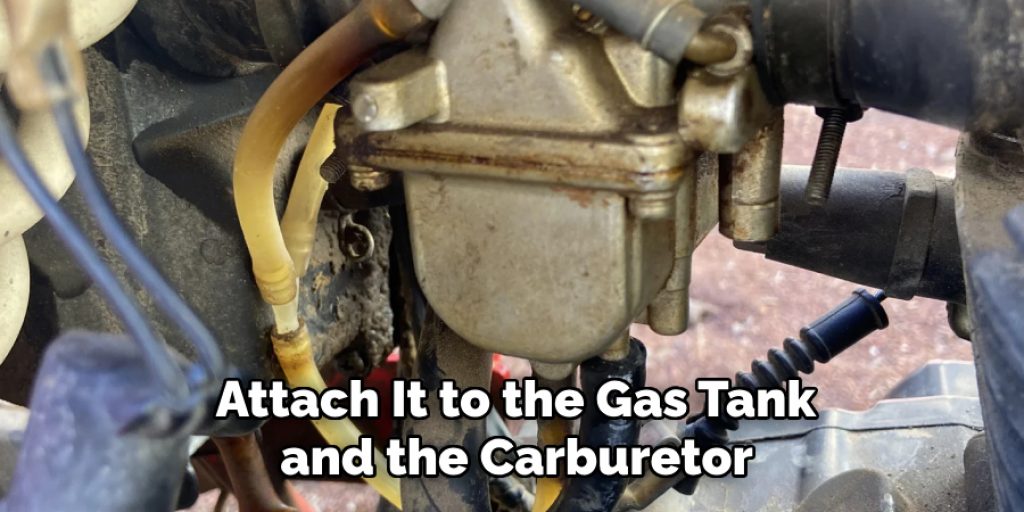
Step 9: Connect Fuel Lines
If your motor requires a fuel line, attach it to the gas tank and the carburetor. The specific method will depend on your motor, so refer to the manual if needed. Make sure all connections are secure and tight. It is important to have proper fuel flow to the motor for it to function correctly. You can also use zip ties or clamps to secure the fuel line in place. But be careful not to kink or damage the line.
Step 10: Connect Spark Plug
Attach the spark plug wire to the spark plug on the motor. Make sure it is securely connected and not loose. The goal is to have a properly functioning spark plug for the motor to start and run. It may also be helpful to test the spark plug before moving on. You can also use zip ties or tape to secure the wire in place. It is important to handle the spark plug carefully and not damage the wire or connection.
Step 11: Test and Adjust
After completing all the steps, it is important to test the motor before riding. Make sure all connections are secure and functioning properly. You can also make any necessary adjustments to the throttle, fuel lines, or spark plug if needed. It may also be helpful to have someone watch as you test the motor for any potential issues or adjustments needed. The goal is to have a fully functioning and safe weedeater motor on your bike!
Following these steps on how to put weedeater motor on a bike will ensure that your weedeater bike conversion is successful and safe to ride. Remember to always wear protective gear when operating the motor and to regularly check for any necessary maintenance or repairs. With a little bit of effort and know-how, you can transform your ordinary bike into a unique, motorized machine. Enjoy the ride!
Additional Tips:
- It is important to have proper knowledge and experience working with motors before attempting this conversion.
- Always follow safety precautions when handling tools, motorized equipment, and riding the bike.
- Regularly check for any loose bolts or connections, as well as wear and tear on the motor or bike frame.
- If you are unsure about any steps or modifications needed, consult a professional or refer to your motor manual. There are also online forums and tutorials available for further guidance.
- Have fun and be creative with your weedeater bike! You can customize it to fit your style and needs, such as adding a storage compartment or different handlebars. Just make sure any modifications do not compromise the safety of the bike.
- Remember to follow all laws and regulations for motorized bikes in your area.
- Always ride responsibly and be considerate of others on the road.
- If you plan to use your weedeater bike for off-road or extreme riding, make sure to properly reinforce the frame and components for added durability. Safety should always be a top priority.
- Keep in mind the added weight and power of the motor may affect the handling and balance of the bike, so take it slow at first until you get used to riding with the motor.
How Much Will It Cost?
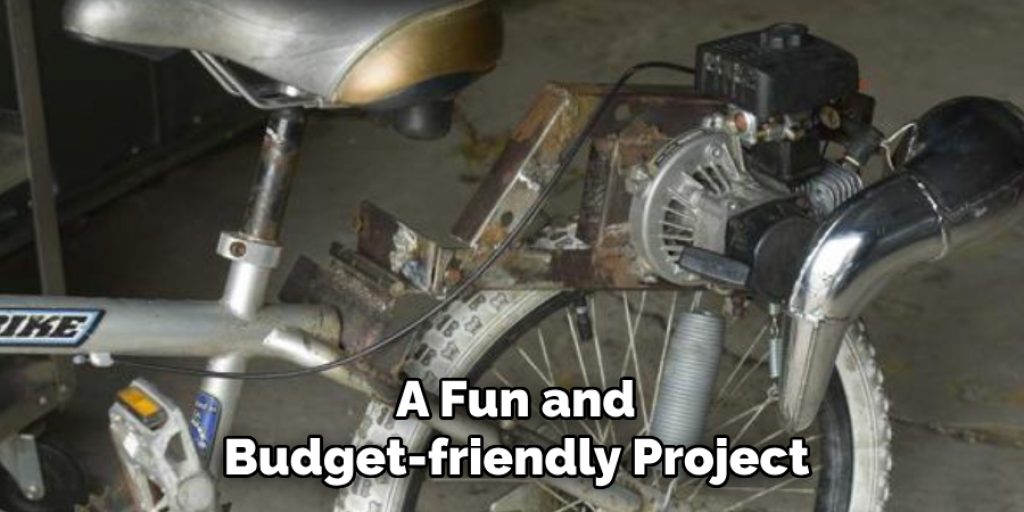
The cost of converting a bike with a weedeater motor can vary depending on the type of motor and bike used, as well as any additional modifications or parts needed. On average, the conversion can range from $100 to $300, including the cost of the motor and necessary parts such as fuel lines and cables.
However, this can be a fun and budget-friendly project for those looking to add some excitement to their bike rides. So, gather your tools and materials and get ready for a unique riding experience with your very own weedeater bike!
You can also look for secondhand or discounted parts to save some money. Just make sure they are in good condition and compatible with your bike. Happy riding!
Frequently Asked Questions:
Q: Is It Difficult to Convert a Weedeater Into a Bike Motor?
A: The difficulty level can vary depending on your mechanical skills and the specific weedeater and bike you are using. However, with proper tools and instructions, it should be achievable for most people. You may also need to make some adjustments or modifications depending on your setup. It is always helpful to have someone with mechanical knowledge assist you if needed. The more experience you gain, the easier it will become.
Q: How Fast Can a Weedeater Bike Go?
A: The speed of a weedeater bike will depend on various factors such as the size and power of the motor, weight of the rider and bike, terrain, and more. On average, most weedeater bikes can reach speeds of up to 25 mph. However, it is important to check local laws and regulations regarding motorized bikes, as some areas may have speed restrictions. You should also always wear protective gear and ride safely.
Q: Can I Ride My Weedeater Bike on the Road?
A: This depends on your local laws and regulations. Some areas may allow motorized bikes on the road, while others may not. It is important to check with your state’s Department of Motor Vehicles or Transportation for specific rules and requirements. You may also need to register and obtain a license for your weedeater bike if it is considered a motor vehicle in your area. Always follow any laws and regulations to ensure safe and legal riding.
Q: Are There Any Safety Concerns with Weedeater Bikes?
A: As with any motorized vehicle, there are potential safety concerns that should be taken seriously. It is important to wear protective gear such as a helmet, gloves, and durable clothing when operating a weedeater bike. You should also regularly check for any necessary maintenance or repairs to ensure safe riding. Always follow safety precautions and laws in your area to prevent accidents or injuries. However, with proper use and maintenance, weedeater bikes can be a fun and unique mode of transportation.
Q: Can I Convert Other Power Tools Into Bike Motors?
A: While it is possible to convert other power tools into bike motors, it may not always be safe or practical. Weedeater motors are specifically designed for use on bicycles and have been tested and proven to work well. Other power tools may have different specifications or limitations that could make them unsafe, such as bike motors. It is always best to stick with tried and true methods for safety reasons. However, you can always do your research and consult with experts for professional opinions before attempting any conversions.
Conclusion:
Weedeater bike conversions are a fun and cost-effective way to create your own motorized bike. With some basic tools, materials, and knowledge, you can transform an ordinary bicycle into a unique machine that will turn heads as you ride by.
Always remember to prioritize safety and follow any laws or regulations in your area when operating your weedeater bike. With proper care and maintenance of how to put weedeater motor on a bike, your weedeater bike can provide hours of entertainment and transportation. Enjoy the ride! Keep moving forward with new projects and ideas for your weedeater bike. There is always room for improvement and creativity in the world of DIY motorized bikes. Happy riding!
You may also read now –