How to Start a Motorized Bicycle With a Drill
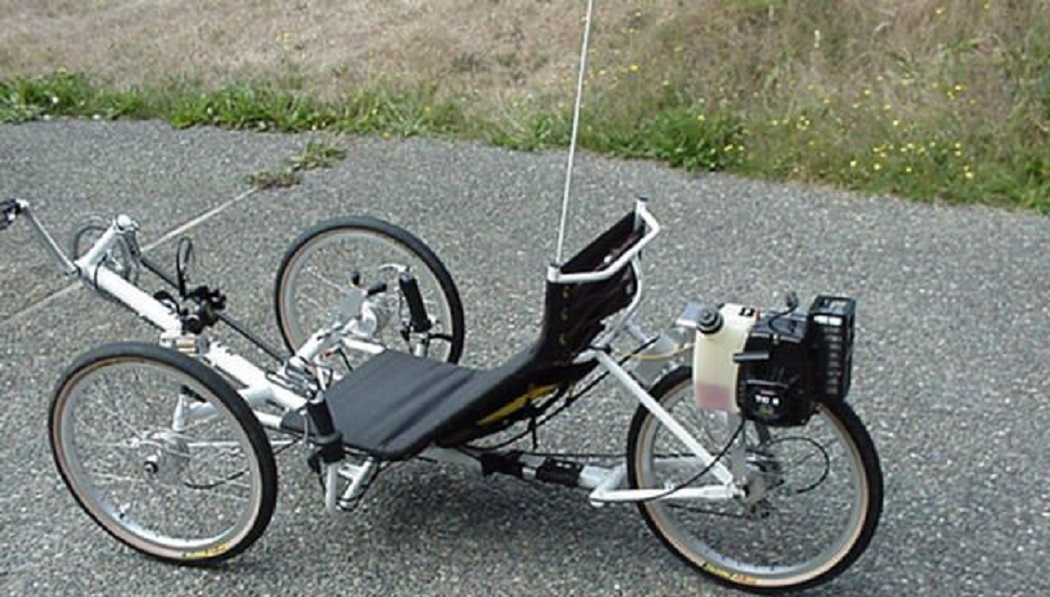
Imagine pedaling up a hill, only to have the bike suddenly stall out. Rather than getting off and pushing, you could start the engine with a drill. This article will show you how to start a motorized bicycle with a drill.
We will also provide an overview of the different components of a motorized bicycle. By following these simple steps, you can be on your way to enjoying the freedom and convenience of a motorized bicycle. Read on to know more!
Summary: If you want to start riding a motorized bicycle, but don’t have the time or funds to buy one, there is another way to get started. You can use a drill to make a hole in the frame of your bike, then attach a belt and pulley system to connect the drill to the bike’s engine. This way, you can pedal the bike with the drill, allowing you to travel at a much faster pace than if you were pedaling with your feet.
Materials You’ll Need
2. A Drill
3. Two alligator clips
4. An adjustable wrench to tighten bolts if needed
5. An adjustable wrench or pliers to tighten the drill’s chuck
6. A Phillips-head screwdriver
Step by Step Guide: How To Start A Motorized Bicycle With A Drill
Step 1: Adding the Drill to the Bicycle
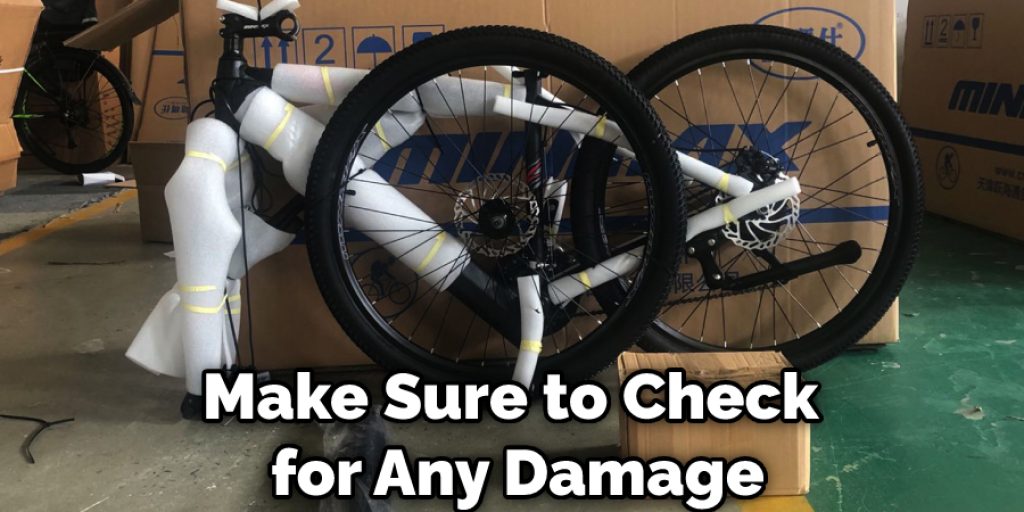
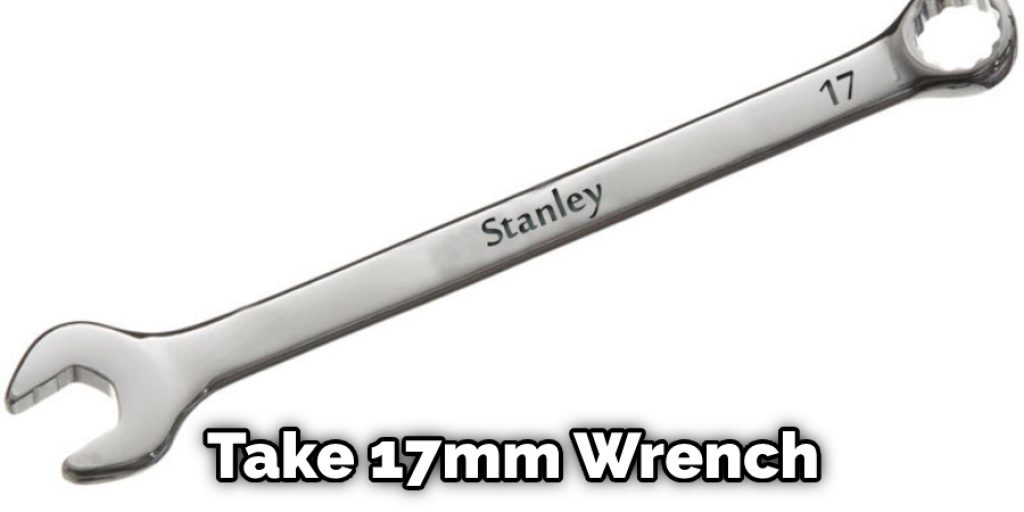
Assemble your new motorized bicycle kit by removing it from its box and recording the model number. Then, gather your 11mm wrench, 17mm wrench, and ratchet with a 6-inch extension bar and 1/4 inch socket adapter. Next, open the kit and remove all parts from the box, laying them out on your work surface.
While reviewing the parts, make sure to check for any damage from shipping. If there is a problem with the kit, contact your dealer to arrange for a replacement. On the other hand, disassemble the bicycle and remove all parts from it if everything looks good.
Step 2: Ziptieing the Drill Down
Place the sprocket that came with your kit on top of your work surface in the garage, next to the battery-powered drill. Measure off one foot following the outer edge of the sprocket, and use a marker, sharpie, or paint to mark the one-foot section.
Measure out four inches from the one-foot mark you just made and mark another spot for drilling. Repeat the measurement to have two points 4 inches apart on the sprocket’s outer edge. Use a drill bit to make two holes at each of these marks. Go back to your work surface, where the sprocket is, and use a marker or paint to connect these two circles into a larger circle.
Step 3: Tying the Drill Down
Cut two pieces of wire, each measuring at least 14 inches long. Use wire cutters to snip away any extra bits of wire hanging off the end of the piece you just created. Strip about one inch of insulation from both ends of each piece. Thread one bit through your drill’s chuck and then to one of the drill’s gears.
Make sure that it is taut but not so tight that you damage your drill bit or gear. Then do the same thing with the second wire on another drill gear.
Step 4: Connecting Your Bicycle to Your Drill
Take the wheel axle hanger off your drill and place it onto a 17mm wrench. The wheel axle hanger will only go on one way, so don’t worry too much about this part. Then take your 17mm wrench and hold it in your hand with the open end of the wrench facing away from you.
Next, take one end of the sprocket marked with gear and hold it in your other hand. Using a clockwise rotation, use the wrench to screw the sprocket onto the drill.
Once the sprocket is snug against the drill’s gear, take one of the wire ties and loop it around to fasten the wire from inside the drill’s wheel axle hanger. Do this with both wires coming from both gears on the drill. The two ends should be tied together so they come out near each other on either side of the bicycle’s frame.
Step 5: Working With Your Chain
Take off all pieces connected to every gear in your bike except for one. The chain that is still connected to gear is the one you will be working with. Next, take your 17mm wrench and remove the smallest gear from the center of all gears in your bicycle, whether they are attached or not. This smaller piece is called a cone nut.
Take the small threaded rod labeled “A” in your kit and thread it through the holes of each side of this band brake mechanism. Then screw both sides onto each end of your threaded rod until you feel resistance against each cone nut. Finally, loosen these two cones back up so that when you re-snug them, there won’t be any friction against your rotating shafts.
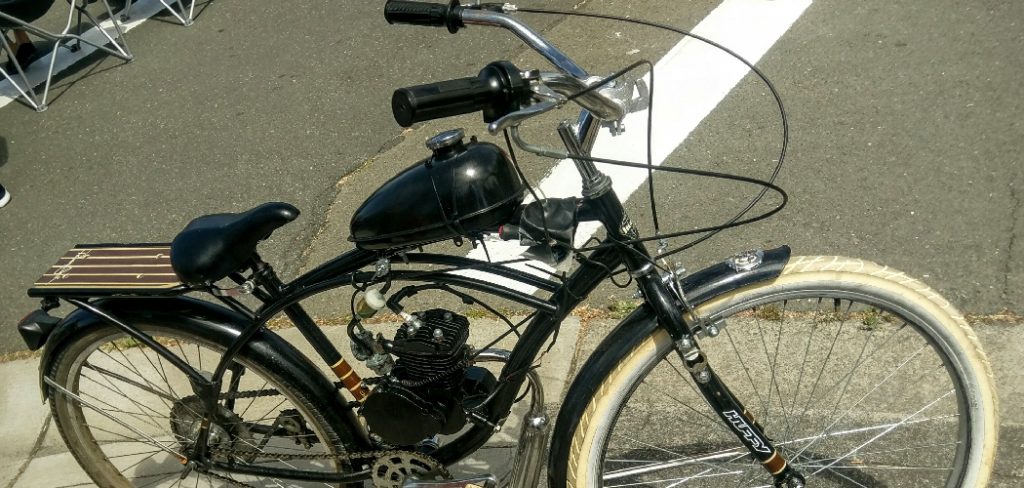
Step 6: Adding the Throttle System
In order to use a battery-powered drill with a kit, the throttle control must be taken off the kit and plugged into the drill. The switch portion of the control should be placed against the trigger, or “T,” on the drill. Then, a cable tie should be put through one of the wires coming from the drill, creating tension between the wire and the tie. The tie should not be too tight, but should have enough tension to prevent slipping.
Then pull and hold the brake lever on your bicycle, which should be up toward you right now as you sit straddling your bike with its back facing away from you. Next, push down on your drill’s “T” button to engage it. Watch as the sprocket starts turning slowly at first, gaining speed until it is whizzing around fast enough to give your bicycle a solid boost of power.
Note: If your drill is not powerful enough, you may have to make some adjustments. Loosen the cone nuts on the band brake mechanism and move the threaded rod down a bit to create more tension. There should be a good amount of tension, but not so much that the threaded rod is too tight. Next, wiggle the drill’s trigger until you see it turning more quickly.
You can check it out to Use Resin Drill
Conclusion
To start a motorized bicycle with a drill, you will need a drill, Motorized bike battery (12 volts or more), Battery clamp connectors, Jumper cables, an Allen wrench set, Pliers, Flathead screwdriver Phillips head screwdriver. First, disconnect the negative terminal of the battery using pliers.
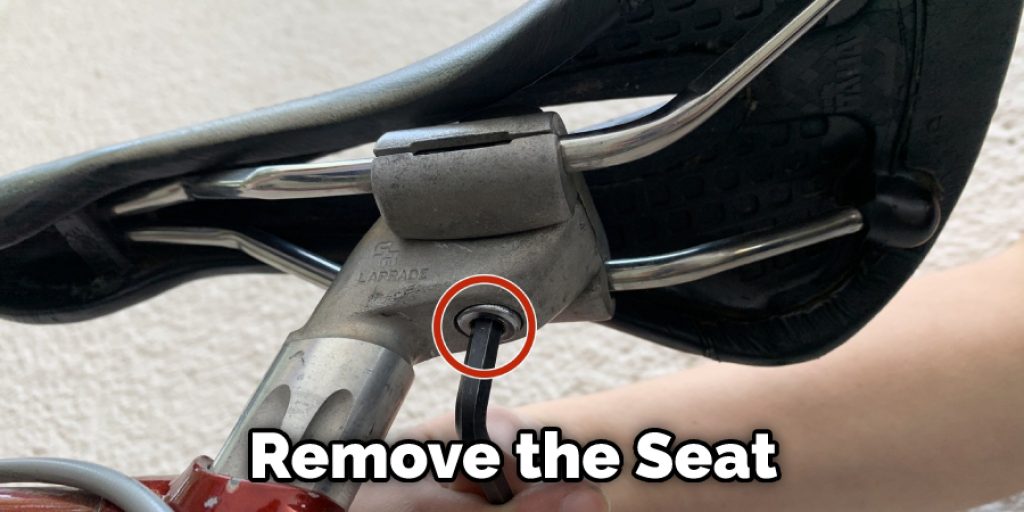
Next, remove the seat and unscrew the cover that hides the engine. Unplug any wiring harnesses from the old engine and remove them completely. Install the new engine by reversing these steps. Be sure to reconnect all wiring harnesses and tighten all screws before replacing the cover.
We hope this blog post has helped guide you on how to start a motorized bicycle with a drill. If you have any questions or want to know more, then feel free to comment below!