
How to Build a Stereo Cabinet
Introduction
Wooden cabinets are always crucial for storing various household elements. We use these cabinets to keep our belongings safe. The stereo music set that we have in our house can also be stored in such cabinets. Thus, we will discuss an easy technique on how to build a stereo cabinet using simple carpentry tools. This method will surely be much helpful for beginners to learn new things.
Procedure
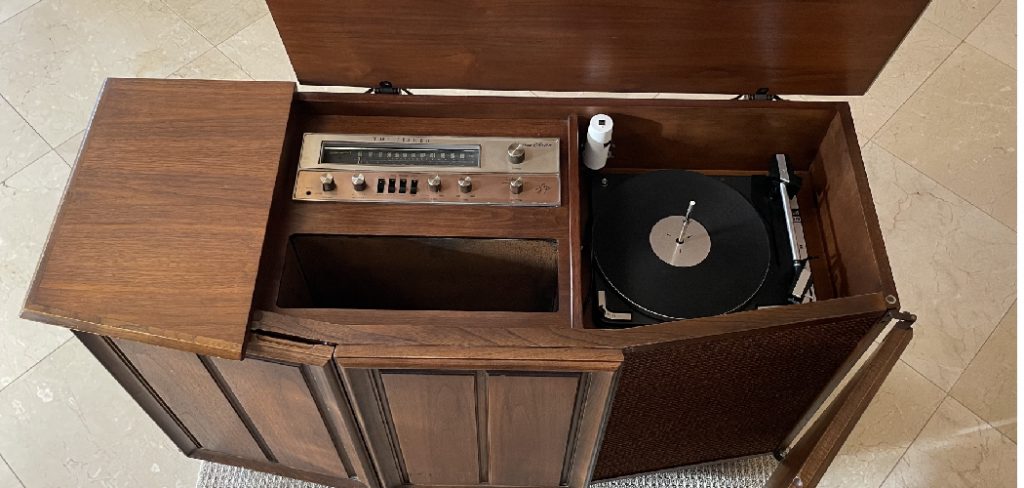
A stereo cabinet is a piece of furniture used to store a music system. It is usually made of wood and has shelves or compartments to hold the different parts of the system, like the speakers, amplifier, and turntable. You can buy a ready-made stereo cabinet from a store or build your own. Building your own cabinet is a bit more complicated than just buying one, but it can be very rewarding.
Reasons to Invest in Stereo Cabinets and Racks
- Stereo cabinets and racks provide secure storage for your stereo equipment. You won’t have to worry about getting damaged or stolen if stored properly in a cabinet or rack.
- Stereo cabinets and racks are designed to enhance the look of your home audio system. Whether you want something modern, classic, or contemporary, there are plenty of styles and designs to choose from.
- Cabinets and racks help keep your wires and cables organized so that they’re not exposed and create a cluttered mess in your living room or den.
- Most stereo cabinets and racks come with adjustable shelves so that you can customize the setup for the exact size of your components and get more space out of them than if you were placing them on a flat surface like a table or dresser.
- Investing in a stereo cabinet or rack ensures that all of your components are securely mounted with no risk of them falling off or being damaged due to an unstable surface or insufficient support structure.
Steps to Follow
• Step One
At first, you need to gather the necessary instrument for the process. You will need a table saw for this process because the timber required here will be easy to cut, then you will need some clamps. These are much needed to hold the wooden pieces together. You will need a mortise machine, which will help cut the tenon joints. You will need a strong adhesive, which will help to attach the planks. Lastly, you will need essential carpentry tools like a hammer, chisel, sanding machine, and scrapper.
If you want to make a war hammer, follow the article to learn more.
• Step Two
After gathering all the instruments, you have to start working. It would be best if you took a measuring tape and then marked the planks according to the cabinet’s draft. For a cabinet with three storage spaces, you must cut three planks for the three sides, which will work as a covering. And for the front portion, you have to cut according to the design. After marking the measurement, you have to cut the timber with the help of a table saw.

After gathering all the instruments, you have to start working. It would be best if you took a measuring tape and then marked the planks according to the cabinet’s draft. For a cabinet with three storage spaces, you must cut three planks for the three sides, which will work as a covering. And for the front portion, you have to cut according to the design.
The next step is to fix the cutting planks on the spot where you want to install the
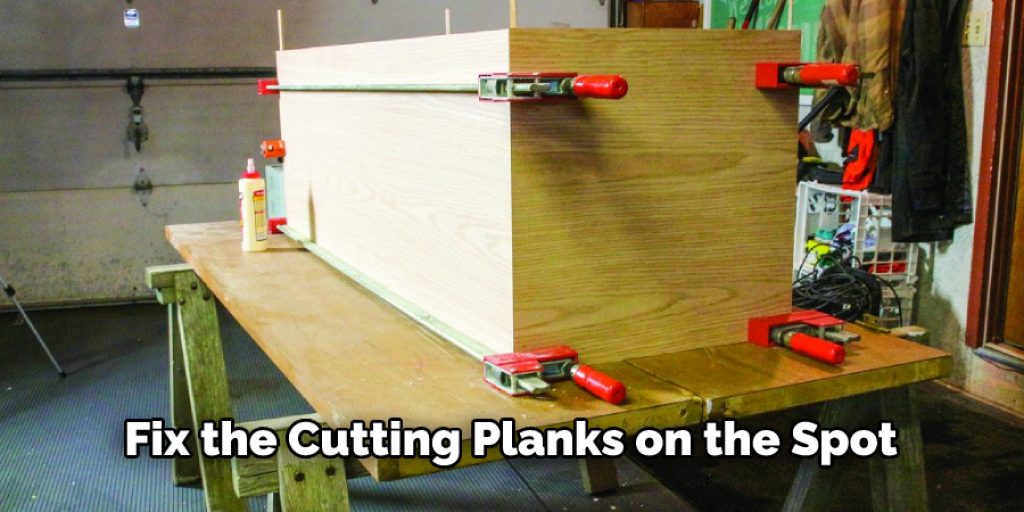
cabinet. You can use nails for the purpose or even screws, if you want it to be more stable. After that, you have to start working on the bottom part and then the top part.
• Step Three
After the timbers are sliced, you should take some extra wood for the edge banding. You can use a quarter-inch slice of wood for the edge banding. You can cut these edge banding from the standard timber and then attach them with glue. After applying the adhesive, you must clamp both the pieces for sturdy attachment. Then you have to mark the places where you want to make holes. You can use a mortise machine for this purpose.
• Step Four
After the mortises are done, you can interlock them with the tenons. For this, you have to
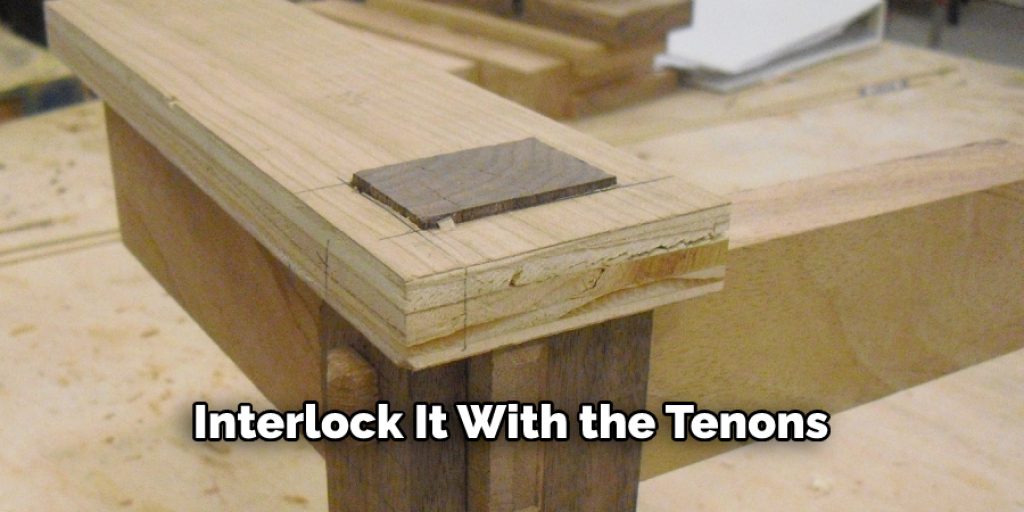
use glue. You must apply the glue in the intermediate spaces and then attach the panels. Then you have to clamp them. After this, you have to install the clamps and the front panels. You can use a miter saw to carve a design on the front panels. After all the connections are made, you can use a sanding machine to make the surface smooth, and then you can easily apply a spray finish.
Conclusion
In conclusion, we would like to state the technique we have said here will help build your stereo wooden cabinet. This procedure will much benefit people who are interested in DIY activities. Thank you for your precious time. Happy crafting. Have a nice day!
you may read also –


