
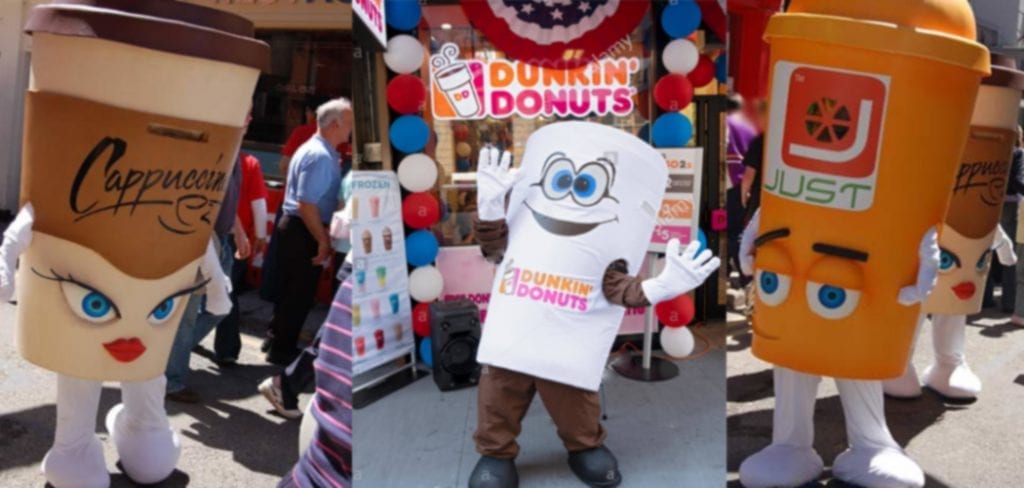
How to Make a Coffee Cup Costume
Reveal others how well a coffee you enjoy by wearing dresses as a mug of your drink of choice. Pick simple components in the coffee drink’s color scheme that you are attempting to recreate to make the experience smoother, and apply adornments with textile colors, logos, or iron-on change.
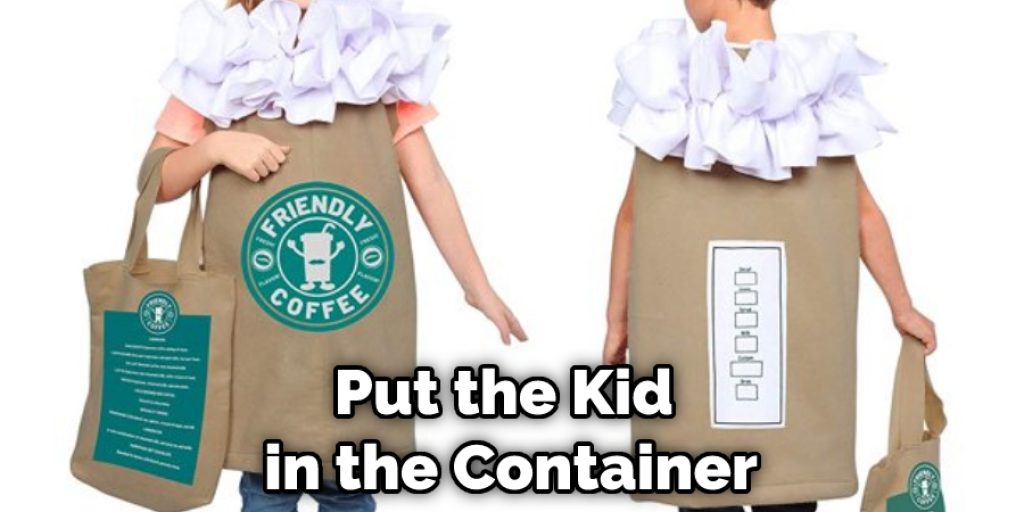
Summary: Looking for a fun coffee cup costume? Here are some easy steps to follow: 1. Find a coffee cup that you can modify. For example, if the cup is too big or small, you can cut it down or make a mold of it. 2. Grab some fake coffee and make some simple decorations with it. For example, add whipped cream, chocolate chips, or marshmallows. 3. Get some clothes that fit the cup well. For example, a dress, skirt, or tunic. 4. Add a wig and glasses if you want. 5. Have some fun and enjoy your new coffee cup costume!
Looking for a fun coffee cup costume? Here are some easy steps to follow: 1. Find a coffee cup that you can modify. For example, if the cup is too big or small, you can cut it down or make a mold of it. 2. Grab some fake coffee and make some simple decorations with it. For example, add whipped cream, chocolate chips, or marshmallows. 3. Get some clothes that fit the cup well. For example, a dress, skirt, or tunic. 4. Add a wig and glasses if you want. 5. Have some fun and enjoy your new coffee cup costume!
Instructions:
Type 1:
You can use adhesive labels to create a relatively large funnel for your child to wear over their head. This will make it easier for them to get in and out of the jar. The lines on the labels are soft and adhesive.
Quantify how big you want your arm always to be, so make prepared to remove your handcrafted sheet large enough to tie it all over. Seam glue gun and occasional dabs to hold it stable. Make a pattern of your arm’s cross-section, then cut it out and make another one. Place these two around the end of your arm where you want your tattoo to be and move them up or down until they reach a comfortable position, not too low or too high.
Split the felt band for sleeves. I bent in 3rds and attached as I moved.
In order to tie someone’s shoes, you first need to put their foot in a cup. Then, you need to bring the laces around the foot and over the top of the cup. Make sure you leave some slack in the laces, and then tie them in a bow. Finally, take the foot out of the cup and pull the laces tight.
Now you’re set for the ruffles of whipped cream. I created with a glass container and sliced 20-9 in rings. Pick a circle, bend it in half, and put one adhesive spot in the middle to make your ruffles. Then roll it up, another sticky mark. It would help if you loaded your braids into the mug then.
Much of mine had gone between the two colored paper boards. Keeping the ruffles out from the aperture line. Cold shirt. Crème Served. Grab a tissue paper wrap for your hairband, and tape your green piece of paper around this one. Create an easy paper fan garland to decorate for any holiday. It’s a great DIY project for kids. Gather your supplies. Begin by downloading and printing this Paper Fan Garland Template onto cardstock.
Quick tape the hairband over your pipe. Taking your whipped cream circles and putting them across the bottom of the tube to ensure that enough of them are stuck to the hairband to protect it. Ultimately, the Starbucks brand print comes out and attaches it.
You Can Check It Out to Make Cold Brew Coffee Shelf Stable
Type 2:
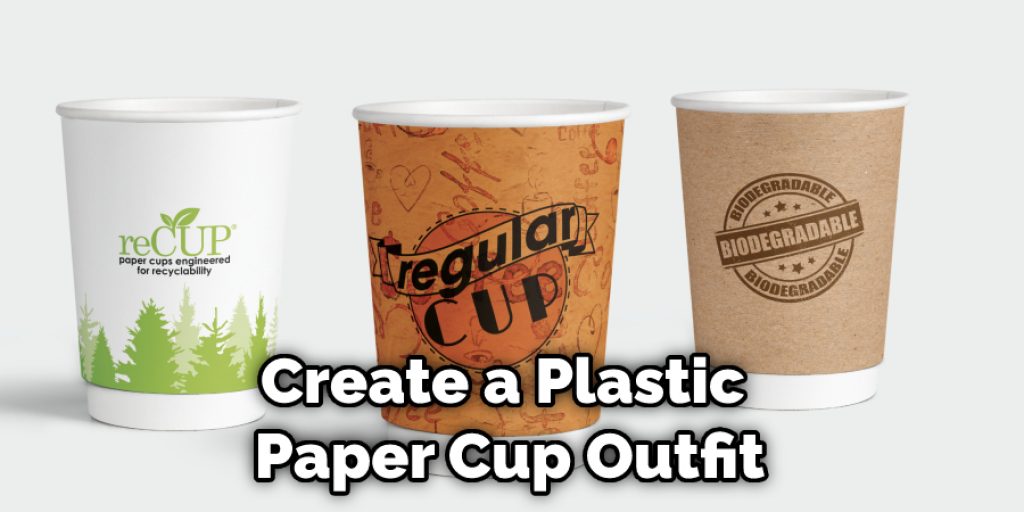
Garbage Cup Coffee: Create a plastic paper cup outfit with a cover by buying round plastic trash. Take the waste top off with a big knife, so that you can swing your feet quickly. Press your beloved coffee company icon onto a piece of label printing paper. Cut the icon out and add it to the cup middle.
Well, you may staple two large elastic lines to the edge of the packaging to make tights to keep onto your neck the outfit. You may also tie two loops to the underneath of the trash to make a strap, so the cover for the paper cup rests on your face, for warmth wearing a sweatsuit below the outfit.
Coffee Cup: Transform a foldable washing bag into a plastic cup by using a set of scissors to slice off the hamper’s base. Wear a broad strip of felt along with the laundry basket’s outer basket in every painting to add better durability to the outfit. You are using a heated-glue device to tie the felt to the stall.
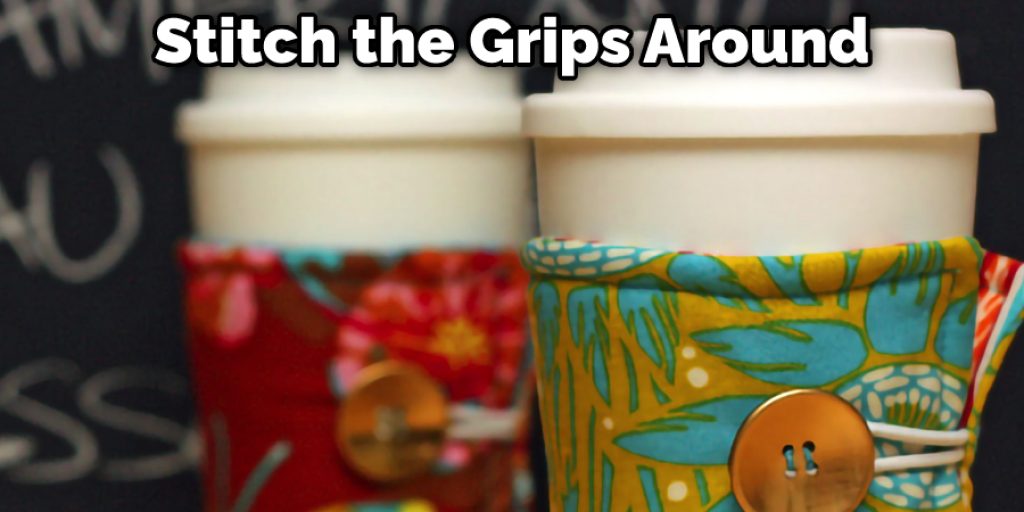
The remaining felt sliced into two minor hold-shaped parts of the coffee cup. Stitch the grips around, and leave exposed each side. Change the grips off and fill the batting end to retain its form. Stitch or add the knob to the edge of the frame. Accessorize the cup with words or forms cut out through a single felt hue.
Complete the outfit by fastening rubber bands to shape overalls to the edge of the plastic cup. And use a quilting loop, and a surface will make a textile coffee cup easily with no stitching. Using a quilting hoop with a circumference of at minimum three feet, note that the hoops’ height will decide the size of the completed espresso cup.
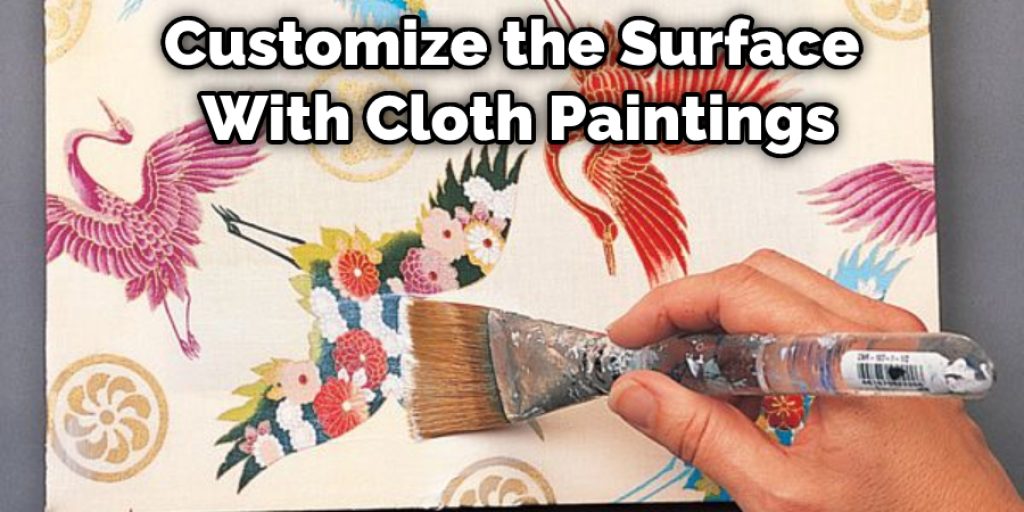
Slice the silicone panel to fit within the crocheting hoop’s internal rim comfortably, and then warm-glue the board into position. Break a gap in the padding with a knife blade big enough to bring the padding and the hoops on your back above your face. Lace the fabric here between the hoop’s upper and lower circles, and tie together the rods to keep the cloth in position. To imitate a cup of coffee, customize the surface with cloth paintings or iron-on transitions.
You may read also –
- How to Make Man Cut in Half Halloween Costume
- How to Make an M&M Costume
- How to Make Fake Muscles for a Costume
Elizabeth Davis
Elizabeth is a creative writer and digital editor based in the United States. She has a passion for the arts and crafts, which she developed from a young age. Elizabeth has always loved experimenting with new mediums and sharing her work with others. When she started blogging, she knew that DIYquickly would be the perfect platform to share her tutorials and tips. She's been writing for the blog from the beginning, and her readers love her helpful advice and easy-to-follow instructions. When she's not writing or editing, Elizabeth enjoys spending time with her family and friends.


