How to Caulk Frameless Shower Glass
Frameless shower glass is a great way to update your bathroom. But before you can enjoy the full benefits, you have to caulk it properly. This post will show you how to caulk frameless shower glass and provide tips for troubleshooting common issues during installation. Read on for more!
Caulking is the process of applying the sealant to an area, such as the joint between two pieces of glass. It may sound like a simple thing, but it’s essential for safety and can affect how long your shower lasts. So if you’re planning on caulking your frameless shower glass, make sure you know what’s involved first!
How Does Caulking Work?
A frameless shower glass is an excellent addition to any bathroom; it is easy to care for and clean. Just use a squeegee after every shower. The only downside is that it is not watertight, which can lead to annoying leaks. Luckily, caulking the seams where the panels meet is a super-easy way to prevent those leaks.
You’ll never have another leaky shower again! Before you begin, use a razor blade to scrape away any dirt or other grime from the seam. Then clean the seams thoroughly with an all-purpose cleaner and a sponge.
Remove caulk from its packaging while it’s still fresh, then squeeze adhesive into a small dish or jar cap. An old sauce lid works well. For best results, caulk once a year, or after every time you clean your glass.
Spread the adhesive evenly across the entire seam with a flexible squeegee or trowel. Then smooth it down by dragging the squeegee firmly along the whole length of one side of the seam.
What You’ll Need:
- Caulking Gun
- Silicone Caulking (clear)
- Paper Towel or Rag
- Hair Dryer
- Bowl or Cup
- Toothpick/Dry Erase Marker
Steps to Follow: How to Caulk Frameless Shower Glass
Here are some steps we have mentioned on how to caulk frameless shower glass.
Step 1: Clean the Shower Glass
Take your rag/paper towel and wipe down all of the glass. The surface must be completely dry for this step. Next, use a vacuum or damp cloth to clean up any leftover dust created by wiping down the glass.
Step 2: Apply Silicone Caulk.
Lay down several strips of silicone caulk onto your bowl or cup. Ensure the caulk is close enough to the caulking gun that you can easily reach it without moving around too much.
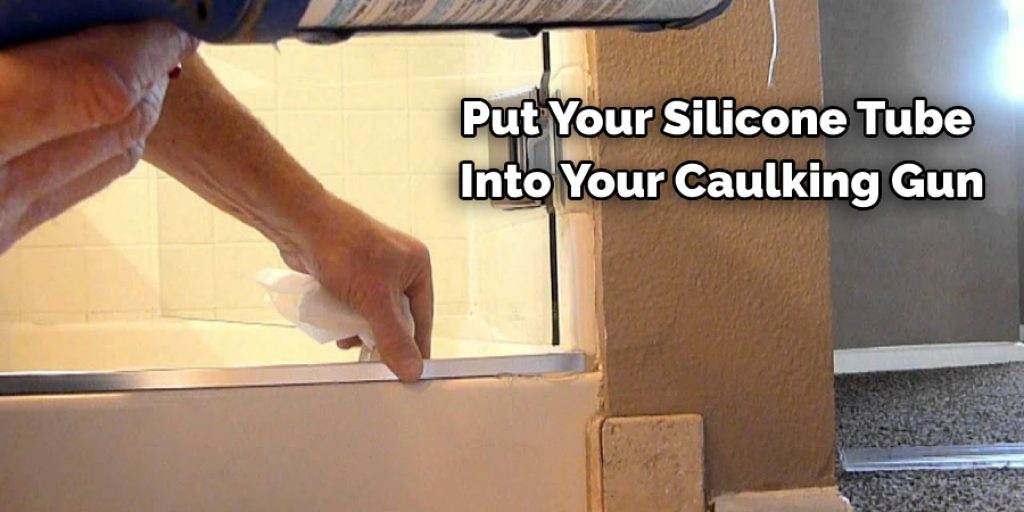
Step 3: Load Silicone Caulk Into the Caulking Gun
Put your silicone tube into your caulking gun and pull back on the plunger so there’s enough room for all the caulk in the tube to fit into the gun. It should be about 1/3 of the way loaded into your caulking gun.
Step 4: Caulk the Shower Glass.
Start on one end of your caulking line and begin to apply firm pressure with your caulking gun. Continue applying even pressure while moving the caulk gun down your caulking line. Make sure you are holding the tip of the tube flush against the glass. If it gets too far away from the glass, silicone caulk may begin to ooze out of the nozzle.
Step 5: Apply Firm Pressure to Caulk Line.
Continue applying even pressure while moving your caulking gun down your caulking line. It would help if you had enough caulk in the tube so that you don’t have to stop and load more silicone into the gun.
Step 6: Clean off the Silicone Caulk Line
Take your rag/paper towel and wipe down the excess silicone. The cleaner you leave it, the less likely dirt or debris will get caught in the silicone before it dries.
Step 7: Let the Silicone Caulk Dry.
Let the silicone caulk dry for several hours. You’ll know it’s completely dry when you can touch it with your finger and not feel any stickiness or wetness at all.
Step 8: Cut the Silicone Caulk Line
Once the silicone has dried, it’s time to cut your caulk line. Use a sharp razor blade and press it against the glass right next to the silicone line you just created. Drag the razor towards you as you gently pull away from the edge of where your silicon was applied. Clean up any loose bits of silicone with your finger or rag/paper towel.
Some Tips and Tricks:
1. Make sure you have all the materials and tools before starting
2. Make as few cuts as possible, as silicone is tough to clean up if it spills onto your tiles or flooring
3. Check for tools and materials as you go along (not to have to backtrack)
4. Clean the glass well before caulk application.
5. Use painter’s tape to cordon off edges and ensure you don’t get caulk on tiles, handles, etc.
6. Make sure the caulk runs smoothly to the drain (it should go right down into it)
7. Don’t lay out too much caulk beforehand, as it is nearly impossible to get a straight line.
8. Make sure the silicone is pushed away from the center of the shower towards the drain, as this will make future cleaning easier.
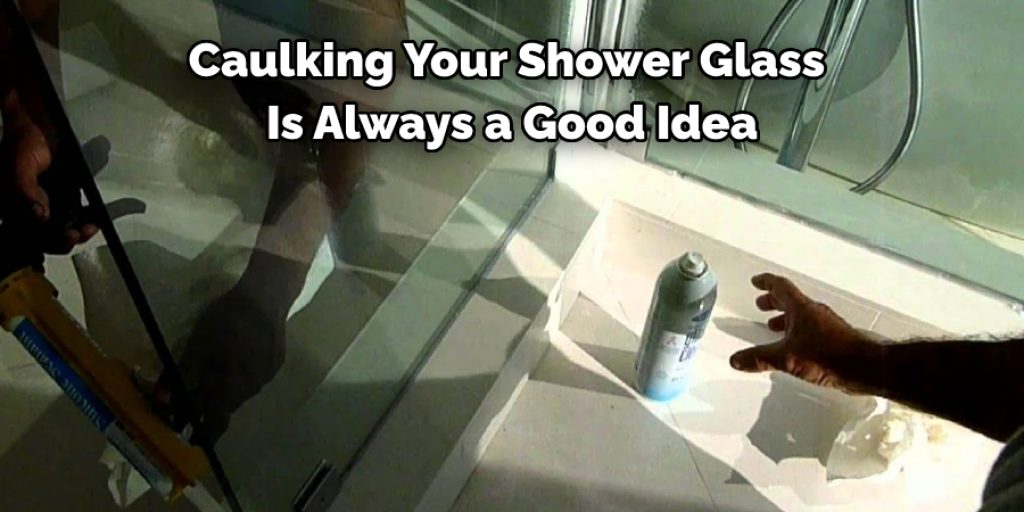
Why Should I Caulk My Frameless Shower Glass?
Caulking your shower glass is always a good idea, no matter where you are. Your frameless shower door can allow leaks and water damage to permeate your bathroom if the caulk isn’t put in correctly. The only difference it makes is that if you’re doing it correctly, you’ll be able to enjoy the benefits of a perfect watertight seal. Using suitable materials is just as important as using the proper techniques.
Conclusion:
After reading this blog post on how to caulk frameless shower glass, you should have a good idea of what to expect when caulking frameless shower glass. You know the basics about caulk, how it can be applied and why it’s essential for your new installation.
We hope you found the article informative and helpful in deciding whether or not caulking is right for you. If so, we encourage you to come back soon or contact us if there are any questions! Thank you for taking time out of your day to read our blog!
Angela Ervin
Angela is the executive editor of DIY quickly. She began her career as an interior designer before applying her strategic and creative passion to lifestyle and home. She has close to 15 years of experience in creative writing and online content strategy for housekeeping, home decorations as well as other niche efforts. She loves her job and has the privilege of working with an extraordinary team. She lives with her husband, two sons, and daughter in Petersburg. When she's not busy working she spent time with her family.