
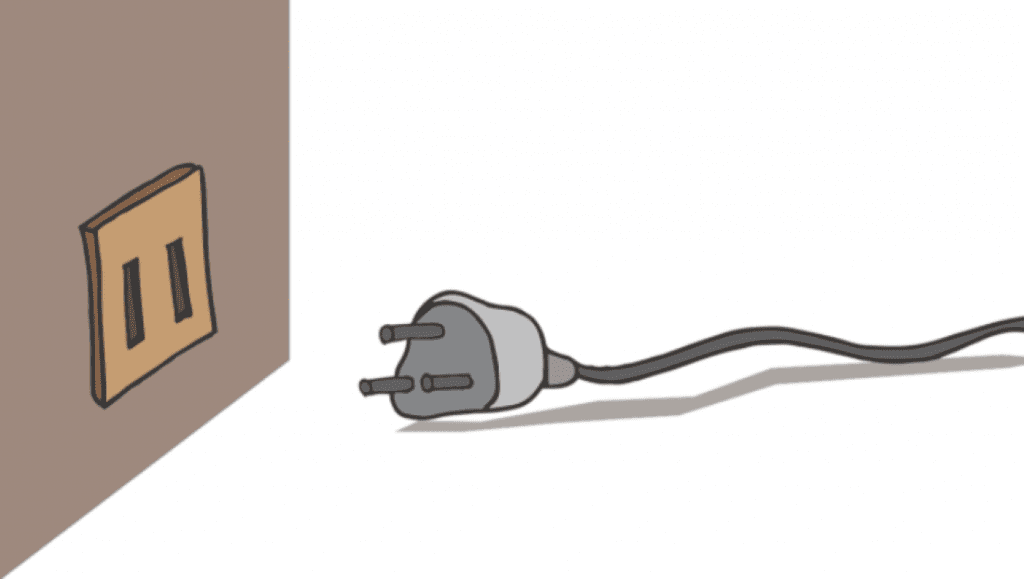
How to Cut Outlet Holes in Drywall
The installation of an electrical box in a finished wall can be complicated if you don’t follow the exact process. That’s why most of the homeowners prefer expert’s help for this process. Well, that can be a bit costly. But do you know with a little effort and proper techniques you can easily complete the process and that’s going to cost 5 dollars only? Yes, you have heard that right. The effort is yours, but if you are really looking for how to cut outlet holes in drywall, I can help you out. So, leave all your works for a couple of minutes and concentrate on this article.
I am one of the remodelers in my town, and unlike others, I really love to perform remodeling projects on the drywalls. Honestly, working the full sheets isn’t much hard, but when I have to work with the little electrical connections outlets, I really face lots of complications. It is because if the hole is a bit larger than required, the entire thing is needed to be repaired, sometimes replace too. Frankly, the entire process of cutting holes takes 10-15 minutes only, but the time extends significantly due to some unwanted mistakes. But as now you are here, you won’t have to face these complications because I have figured out the accurate process of accomplishing the task easily. So, let’s dive in!
Things You Will Need
- Tape measure
- Torpedo level
- Pencil
- Drywall saw
- Drop cloth
- Linesman pliers
How to Cut Outlet Holes in Drywall
Step 1 – Mark the Location
No matters what process you prefer, you have to first mark the exact location where you are going to cut the outlets on your drywall. In this case, I have used a black Sharpie for marking the blockings and studs at the drywall. And for marking the centerline of the boxes, I have used a red Sharpie. By marking with different colors, you will be able to understand the difference between each hole. Once you have done that, measure the boxes from the distance from the floor to the box and write down the vertical dimension of them. Unlike most of the electricians, we are going to use the same measurement for every outlet.
Step 2 – Check the Wires
When you are marking the locations for your box, you should also inspect the wires. Check for the wires if they are tucked properly or not. This an electrician’s job, but if you can do your eyeballs a little favor, you can also figure that out. Always double-check, if there is any loose connection or cutouts. Use the correct bit size and depth. You don’t want to pierce your pipes or electric wires while drilling the hole in the wall. Use the drill bits of correct size. And also, ensure that you do not drill too deep as it will damage the wiring.
Step 3 – Tack the Drywall
As your drywall is hanging over the top of the boxes, you can simply make the cutouts with screws. It is a simple technique of cutting the holes without any complications. For this, take some screws and tuck the drywall right at the position of your outlet. When you drive the screw through the drywall, it will create a significant amount of pressure where it covers the box, and due to that, the shape will burst out through the wall. Thus, the cut out will be made automatically.
Step 4 – Locating the Boxes
If you want to locate the location of the box simply, then you will need nothing but a measurement tape and a pencil. You have to do this according to the measurement from the subfloor right up to the wall. Once you have got them, follow the marks and start poking through the wall. First, you have cut the edges and then follow the box’s dimension to accomplish the rest of the cutout. Once you are done, it is time to start the second phase of this whole operation, which is the installation of new electrical outlet box.
Step 5 – Inserts
If you find complications with the above process, there is another technique for you. You can simply insert something sharp in the box that pokes through the drywall. For this purpose, I had used a plastic insert named “Mark-N-Guard.” These are designed for accomplishing this type of task so, you can also use them for your remodeling project. When you will put it inside of the box and push the box, the insert will poke through the center of the box. This process also protects the wires from being cut out during the process.
Step 6 – Using Magnetic Locators
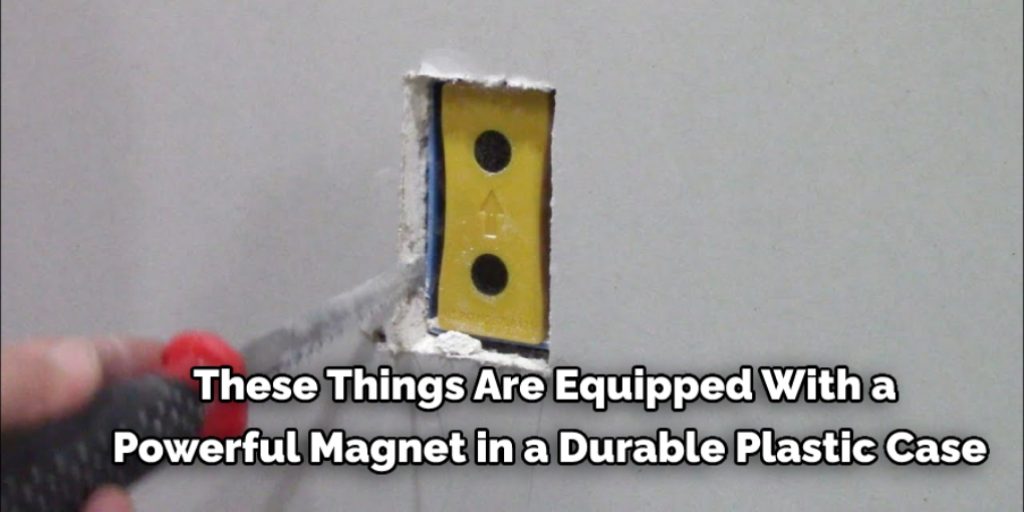
This is another user-friendly method. You can simply buy them from your nearest shop or from Amazon. These things are equipped with a powerful magnet in a durable plastic case. Once you have placed a magnet inside of the box, you can use a matching magnetic block to find out the accurate location of the box. These magnets are way more useful to track the location of the boxes, in case if you have forgotten to mark the location of the boxes.
I will recommend you to select the Plug Mark model for this process. Its plastic prongs hold a thin magnetic block that can easily set into any boxes. By using them, you will be able to identify the location of your electric boxes easily. The product comes with two high-quality magnets that are set into reusable plastic blocks. In fact, the product is available at a very reasonable price, and you can order them online as well.
Frequently Asked Questions
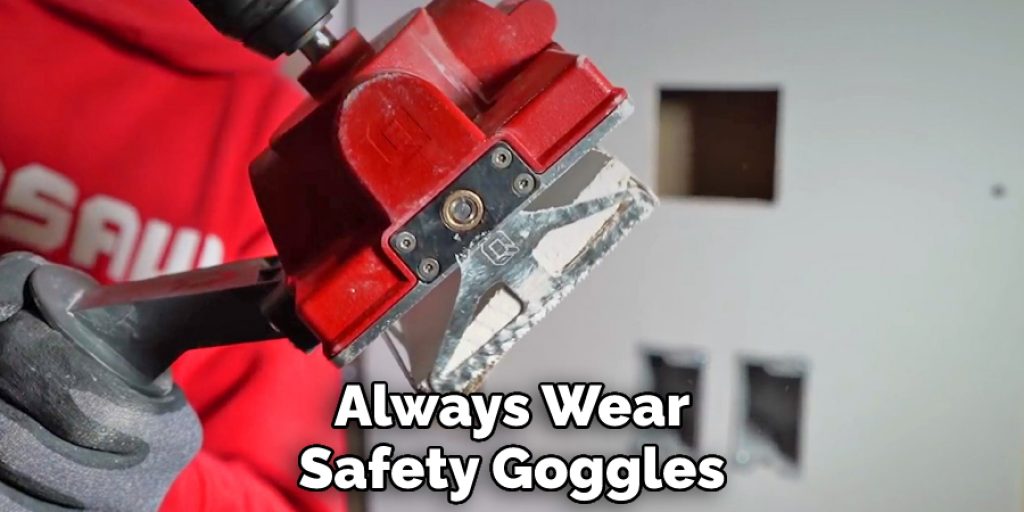
What Tool Is Best for Cutting Drywall?
The tool that is best for cutting drywall is a drywall saw. Drywall saws are available in various sizes, from 6-inch to 12-inch. A drywall saw has two sharp blades which cut the drywall easily without any effort. When using a drywall saw, always wear safety goggles to protect your eyes from the dust.
The other option would be using a utility knife and cutting through the drywall one sheet at a time. This process can take quite some time and is not as efficient as using a drywall saw because it requires you to cut multiple sheets of material to complete your project. To cut drywall with a utility knife, you will need to use a sharp blade and apply pressure evenly as you move the blade across the surface.
Can I Use a Circular Saw to Cut Drywall?
A circular saw is not the best tool for cutting drywall because it can’t cut through sheetrock easily. A power miter saw would be a better option because it has a large blade and can cut through sheetrock with ease. However, if you are trying to cut an already pre-cut piece of drywall, then you could use a circular saw or reciprocating saw instead.
Can You Cut Drywall With a Utility Knife?
A utility knife is not a good tool for cutting drywall. It is actually designed to cut metal and other hard materials. However, if you have an old knife at home that can be used as a utility knife, you can use it to cut drywall.
Can You Use Jigsaw to Cut Drywall?
A jigsaw is a popular tool used for cutting wood and metal. It can also be used to cut drywall as well. However, it would help if you did not use a jigsaw to cut drywall because it will damage the wall and make it more difficult to repair later.
Conclusion
How to cut outlet holes in drywall? Is it clear to you now? Look, there are numerous methods, but I have selected the easiest process of making a hole in the drywall. Hopefully, you have understood them. If you are confused, or you have found more straightforward ways, inform me through the comment section below.


