How to Decorate a Playhouse
Introduction
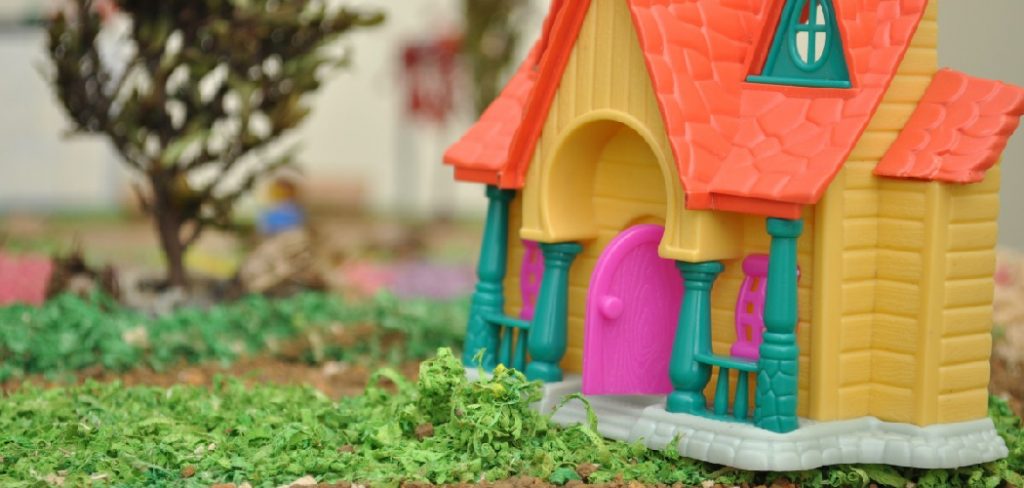
Playhouse is a memorable part of our childhood. This is a great way to make the time enjoyable for your kids. The siblings can easily play in this house and have a playful atmosphere. But sometimes, the regular arrangement of the playhouses makes the kids bored. In such cases, it will be much more beneficial if the playhouse is decorated. Many techniques can be implemented for decorating the playhouse, and all of these will require ordinary household skills today. We are going to discuss some of these techniques for decorating a playhouse.
Procedure
- Painting
To decorate your playhouse, you can apply paint to the surface. This will change the entire look of the playhouse and make it more beautiful. It is best to use colors to keep the inside of the playhouse warm and friendly. Additionally, you can use colors that your kid prefers. This will allow your kid to spend more time playing inside the house, which will be very beneficial.
For painting the playhouse, you will need some essential elements; you first have to buy the colors. You can use any suitable color you want for the playhouse. Then you will need a sash brush and roller brush. You will also need some necessary woodworking instruments like a hammer and screwdriver. Then you will need a primer. This is much important for getting the proper connection of the paint to the walls. You will also need sandpaper for this process.
Once you have managed all these elements, you must start the process. At first, you have to remove all the metal attachments used for decoration purposes in the house. It will be best to remove doors and windows from the house before painting. This will allow you to have a good hold while painting the walls. After you have detached all these, you have to start the primary process of painting the playhouse. You have to start with the primer.
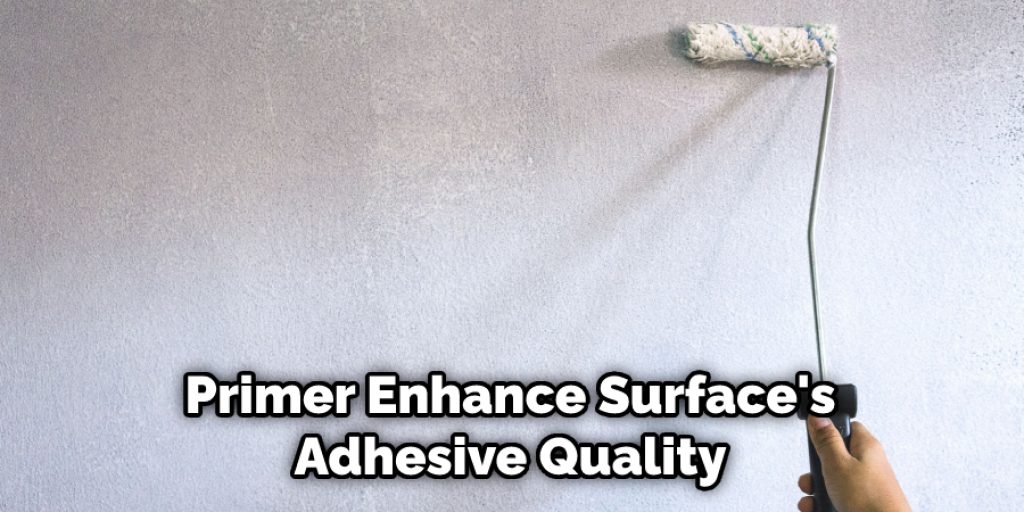
The primer is a pre-coating of paint given on the surfaces; this helps to enhance the surface’s adhesive quality. Before applying the primer, you have to start by cleaning the surface. You can use minimal grit sandpaper to clean the surface dust. This is essential for the whole painting process because the debris attached to the playhouse walls will reduce the wall’s integrity and paint. So it would be best if you cleaned the wall before painting.
Once the walls are cleaned, you can start the painting process. The primer should be applied before the paint. You have to apply for a permanent cat of primer. Once the primer is dried, you must start with the primary color. You can use the desired color, but you must maintain the ecological balance of the interior. You should not use dark colors for the exterior of your playhouse because it will increase the interior portion’s temperature. You have to use a sash brush to apply the paint along the walls’ boundaries, and then you have to use a roller brush to apply the paint to the central portion of the walls.
Once the first layer of paint is applied, you must wait for the color to dry. After the first layer is dried, you must apply the second paint coating. You have to use the manner for applying the paint. Besides, you can preserve the brush by covering it with a plastic sheet. Plastic sheets will resist the dripping of the color, and the paint will not be dried. In this manner, you will apply paint to the walls. After this, you can use a clear coat on the wall to make the paint firm.

- Shelf and Canopy
You can also decorate the playhouse by adding some shelves and a canopy to the house. Doe this, you will need some necessary woodworking instruments. You will need a drill machine and some metal fasteners. Then you will need a hammer and pencil to mark the places. Then you will need a measuring tape. This will be essential for taking the correct measurement of the wood. Once you have gathered all these, the installation of the canopy and shelves can begin.
At first, you have to install the triangular bracing. For this, you have to measure the in-between length of the canopy, and then you can easily cut the cloth according to the dimension. We will discuss the fabric later. Now you have to hold the bracing on the wall, and then, using a pencil, you have to mark the points for drilling the screws. Then you must use a drill machine and holes in those places. After the holes are made, you must start connecting the bracing with metal fasteners. In this way, you must click both the bracings on the wall.
Now you have to connect the triangular bracing using a regular wooden plank. This will be used as a shelf. To connect the wooden plank, you have to drill holes on the base of the triangular bracing, and then, using metal fasteners, you have to attach the wooden plank. Once the wooden planks are connected firmly to the wall, you must attach some hooks at the front end. This will be used for connecting the cloth used for making the canopy.
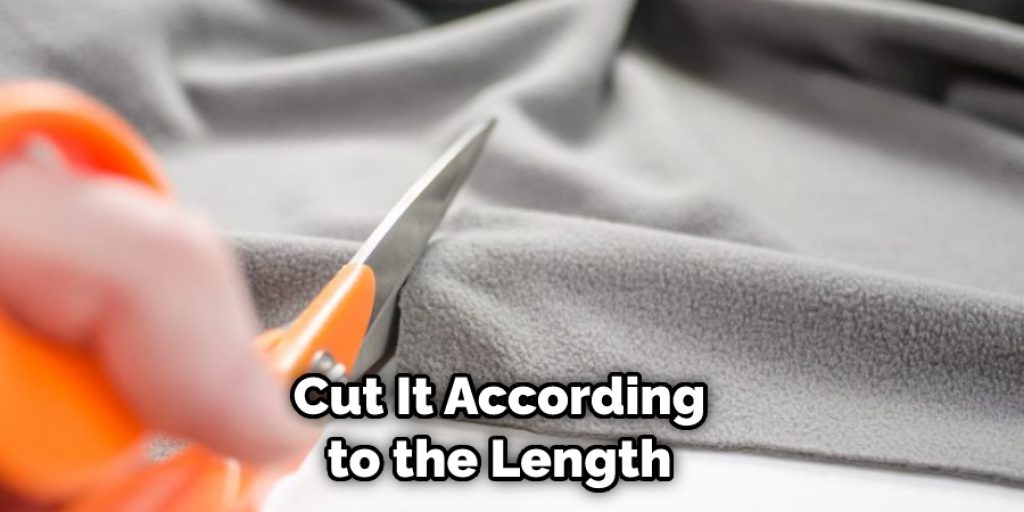
Now you have to take the cloth and cut it according to the length of the intermediate space. Then, you have to attach the fabric to the wooden plank using a hook and ring arrangement. You can also add a small metal strip at the tip of the fabric. This will allow the material to stay still in a windy atmosphere. Once the total arrangement is prepared, you can easily use it for multi-purpose. Your kid can sit under the canopy, and the shelf can also be used for keeping small plants.
- Miscellaneous Decoration
Besides the techniques mentioned earlier, various designs can be implemented for decorating the playhouse. The primary function of having a playhouse is to provide a realistic household experience to your kid. For this reason, you can apply some curtains to the playhouse’s windows. For this, you will need some thin cloths and using a pressing machine, and you can make a vacant space for inserting the rod. Then you can place the curtains on the windows to make it more realistic.
Then you can make small wooden chairs and beds and place them inside the playhouse. You kids will love to spend time in the playhouse and can also take a rest in it. But for this, you must ensure that there is ample space inside the playhouse because some playhouses are small in size, so such an arrangement will not be viable for them.
Then you can also install some dummy kitchen appliances in the house. This will make it look more practical. Besides, if the playhouse is situated on the lawn, you can make a small garden at the back of the house and connect it with a door. This way, your kid will also learn to take care of trees and have a joyful time.
You Can Check It Out to Set up a Canopy by Yourself
Final Thoughts
In conclusion, we hope the processes we have stated here will help decorate the playhouse. The beginners can quickly learn these techniques, and these processes will benefit the persons interested in DIY activities. Thank you for your precious time. Happy crafting! Have a nice day!
you may also read now
1.How to Decorate Kitchen With Brown Cabinets and Hardwood Floors

