
How to Do Print and Cut on Cricut
Crafting is considered one of the best ways to use the imagination of humanity. Some many ideas and techniques are used for crafting. And it is a great way to improve your DIY skill. When you are thinking about homemade crafting, then one thing that comes to the mind is Cricut.
This is a machine that is solely dedicated for printing purposes, and you can easily prepare many innovative designs and products by using this product. So it’s very important to know about how to do print and cut on cricut.
Cricut is a highly advanced printing machine that is also used for cutting purposes, and this is used to cut all types of materials, starting from papers and boards. This product can also be sued to cut many thick elements like wood, but this requires Cricut, which has more efficiency. But the process of using this product should be appropriately learned for the users because any mishap regarding using this product will affect the material too.
The persons who use this Cricut for DIY purposes often fall in confusion for using the product. Specifically, the cut and print options make them more confused. For this reason today we are suggesting you a step by step process on how to do print and cut on Cricut. This will help make your crafting much more comfortable, and any mishap’s possibility will be reduced. So without lengthening the discussion, let us go through the product description.
Required Apparatus
You’ll need two things for both the print and cut options on a Cricut machine: a printer and a Cricut machine. Many different printer models are available on the market, so choosing the right one is important. For the Cricut machine, there are three main models to choose from. Any of them will do the job. You can find them on various internet selling websites.
Next there, you need the design space software installed on the computer. The software is available for both the Windows and Mac platforms. So it will be much for the users to install this software. Then you should prepare the material that the Cricut will cut. You can also use the sticker print papers to design any t-shirt or dress for your children.
Procedure
Using the print and cut options in the Cricut is quite easy, requiring straightforward steps for the task to be performed correctly. These steps have resulted from your team’s relentless work, and we assure you that this process will be much more efficient for your DIY work purposes. These steps are stated below in brief.
Step 1 – Selecting the Picture to be Used
The first step is to select the picture from the internet that you want to print; in this case, you must be sincere about the film’s quality. It would be best if you chose a picture that will suit the machine, and for your better concern, some formats and images are provided by the company every week in the design space software that you can use for printing purposes.
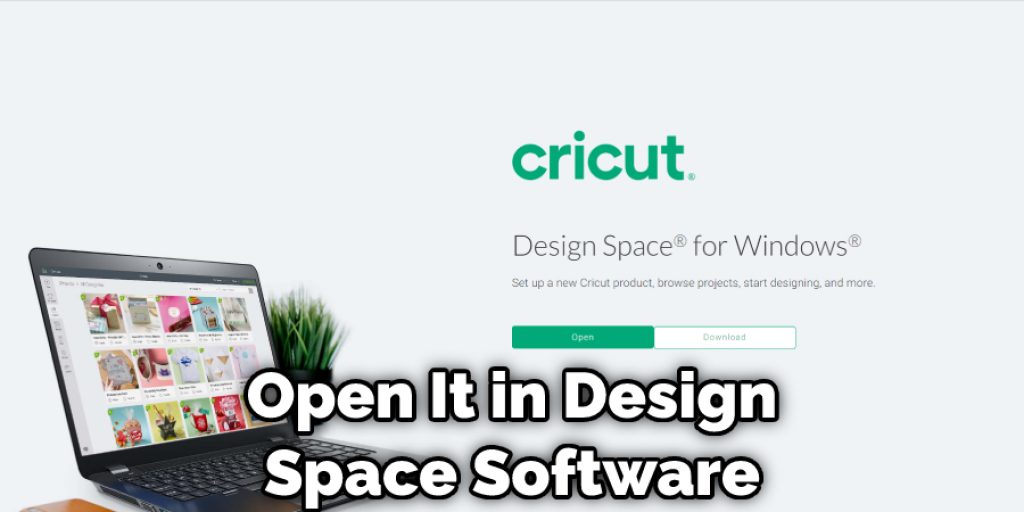
Step 2 – Formatting the Picture with Design Space
First, download the picture and open it in the Design Space software. Next, alter the image and arrange the pixels, including the size. There is a built-in option in the product that defines the maximum limit of the picture size you can use. After placing the picture in the Design Space project, select the cut and print option.
Sometimes some pictures only have the print option, and the cut option is absent. In such cases, you must select the whole image and the flatten option. This will make the picture activate both the print and cut options. Then you can directly send them to the standard printer to get the printout.
Step 3 – Using the Cricut
After you have printed the picture, you must attach the photo with the desired material you want. You can use regular cartridge paper or hard material like softwood that can be easily cut in the machine. After attaching the image, you must set the proper alignment of the Cricut machine and the material and press the on button.

The Design Space software has already marked the border of the image the machine will read; thus, the cut will be performed. Now we have to press the load button of the device, and then the device will start reading the border and cut accordingly. In this manner, you can easily print and cut an image in Circuit.
Things to Keep in Mind While Performing the Task
Bleed Option
There is an image bleed option that is available when you are printing the image. And it is much efficient because this will create a border to the picture, and thus while cutting a precise shape will be available. Though it is seen that the image gets fuzzy while printing but the cutting will become much accurate by keeping the option on.
Placement of Material
Another essential aspect that should be kept in mind while using the machine is the correct placement of the material to the cutting board. Because the cutting mat is appropriately aligned with the machine, and the content is not correctly placed, the desired output will not be possible, and the project will be jeopardized. So make sure to get these aspects into consideration while using the Cricut.
Frequently Ask Questions of How to Do Print and Cut on Cricut
What is the Need for a Print and Cut Option?
The Cricut can easily be used for the direct cutting of the material. Still, sometimes, there occurs less precise cutting, and this happens due to the sensor’s inability to read the image. For this reason, the image is first printed with Design Space, which provides a border that the device will easily read, and then the cutting will be much easy and exacting.
Conclusion
Lastly, we would like to conclude that our discussion on how to print and cut on Cricut has been advantageous for beginners to develop their DIY skills. This process will be much useful for making your crafting much more beautiful. The cutting of the product will be very good looking and without any specific issues. Happy crafting! Have a good day!!
You May Read Also
- How to Calibrate Cricut With Fine Point Blade
- How to Do an Offset on Cricut
- How to Use Cricut Cartridges?
Elizabeth Davis
Elizabeth is a creative writer and digital editor based in the United States. She has a passion for the arts and crafts, which she developed from a young age. Elizabeth has always loved experimenting with new mediums and sharing her work with others. When she started blogging, she knew that DIYquickly would be the perfect platform to share her tutorials and tips. She's been writing for the blog from the beginning, and her readers love her helpful advice and easy-to-follow instructions. When she's not writing or editing, Elizabeth enjoys spending time with her family and friends.


