How to Fix a Nicked Electrical Wire
This is a very common problem, and it can be easily fixed. It does not require any special tools or knowledge, although some safety precautions are necessary. This article will cover the steps on how to fix a nicked electrical wire and provide some important precautionary measures that should always be taken when dealing with wires of this type.
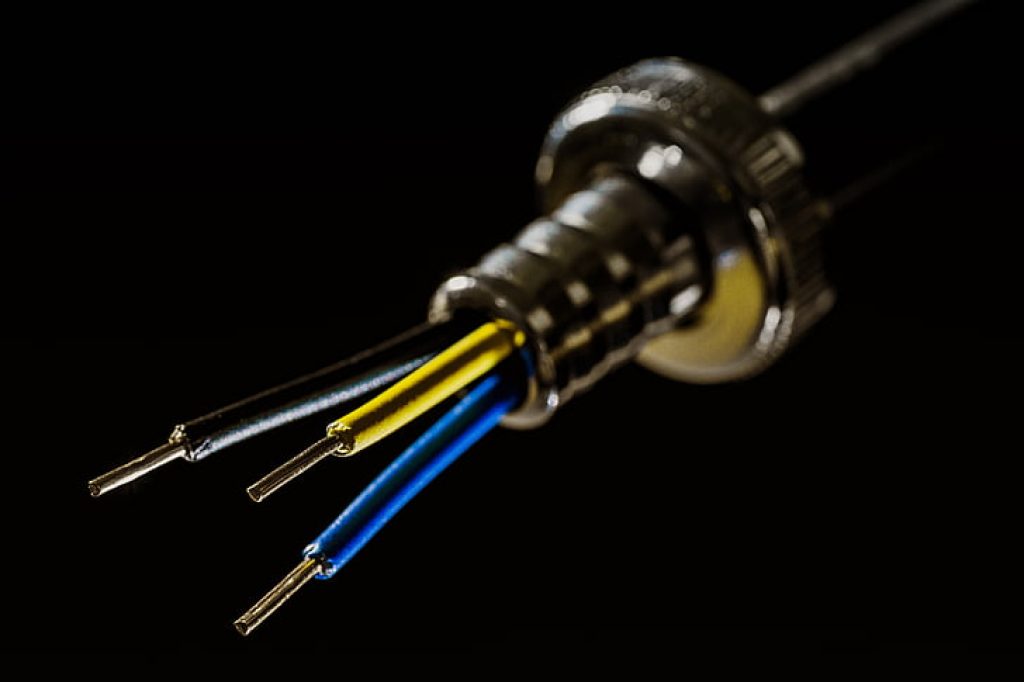
What is a Nicked Electrical Wire?
A nicked electrical wire is a wire that has been damaged or cut in some way, exposing the inner conductive material. This can happen for various reasons, such as accidental contact with sharp objects, wear and tear over time, environmental factors like heat or moisture, or even animal damage.
It is important to fix a nicked electrical wire as soon as possible, as it can lead to serious safety hazards and damage to your electrical system. The exposed conductive material can cause sparks, short circuiting, or even fires if left unfixed.
You can usually identify a nicked electrical wire by looking for visible damage to the outer insulation or by using a multimeter to check for continuity in the wire.
Why is It Important to Fix a Nicked Electrical Wire?
As mentioned earlier, a nicked electrical wire can lead to serious safety hazards and damage. If the exposed conductive material comes into contact with another conductor or metal surface, it can cause sparks or short circuits, which can lead to electrical fires. It could also cause the wire to burn out and stop functioning properly.
Moreover, a damaged wire can affect the overall performance of your electrical system. It could result in flickering lights, power outages in certain areas, or even damage to your appliances and devices due to inconsistent power supply.
Most importantly, fixing a nicked electrical wire is crucial for your safety and that of your family. Electrocution is a real danger when dealing with exposed wires, so it is important to take necessary precautions and fix the issue promptly.
Possible Reasons for Nicked Electrical Wire:
If you are noticing a nick in an electrical wire, then you may have incurred the following:
1. Accidental Nicking: The most common cause of nicking wires will be accidentally when cutting through thick or tough material such as wood and metal, using the wire cutter, scissors, and so on.
2. Natural Causes: Over time, as plastic electrical wires are used and then exposed to the sun and moisture, it can cause short circuits or nicks.
3. Impact Damage: Another probable reason why you would find a nick in an electrical wire is due to impact damage such as dropping a heavy object on a power cord or flexing the cable repeatedly, moving it about from room to room.
4. Rotting: If the wiring is exposed to moisture, over time, it can rust and even nick the wire, making a short circuit in some instances, which could damage electrical appliances that are switched on or plugged into sockets with nicked wires as part of their power cable.
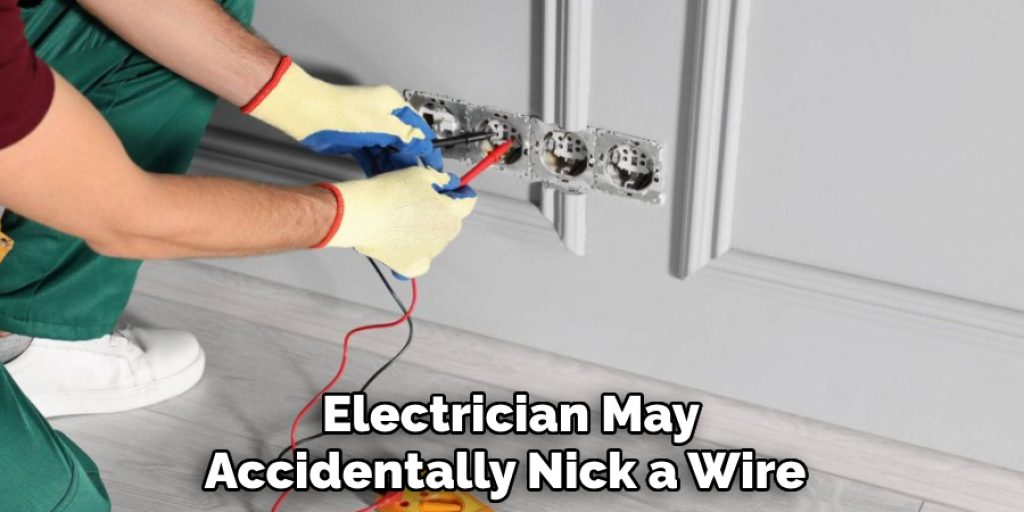
5. Improper Installation: An electrician may accidentally nick a wire while pulling through a cable or flex when passing it through the walls of your home.
6. Domestic Violence: You might have found nicked wires at your home due to domestic violence where there could be damage caused to the cables internally or externally, which will need to be repaired.
Required Tools:
Safety Glasses:
Make sure to wear safety glasses to protect your eyes, in case the wire sparks or breaks while working on it.
Wire Cutters:
Used for cutting and stripping wires. Make sure they are clean and sharp for a precise cut to avoid further damage.
Electrical Tape:
Used for insulating and wrapping the exposed area of the wire.
Heat Shrink Tubing:
Provides additional insulation and sealing against moisture.
Multimeter:
Used to test for continuity in the wire before and after fixing it. This ensures that the wire is functioning properly.
Electrical Testers:
Used to identify live wires and ensure safety before starting any work.
10 Instructions: How to Fix a Nicked Electrical Wire
Steps One:
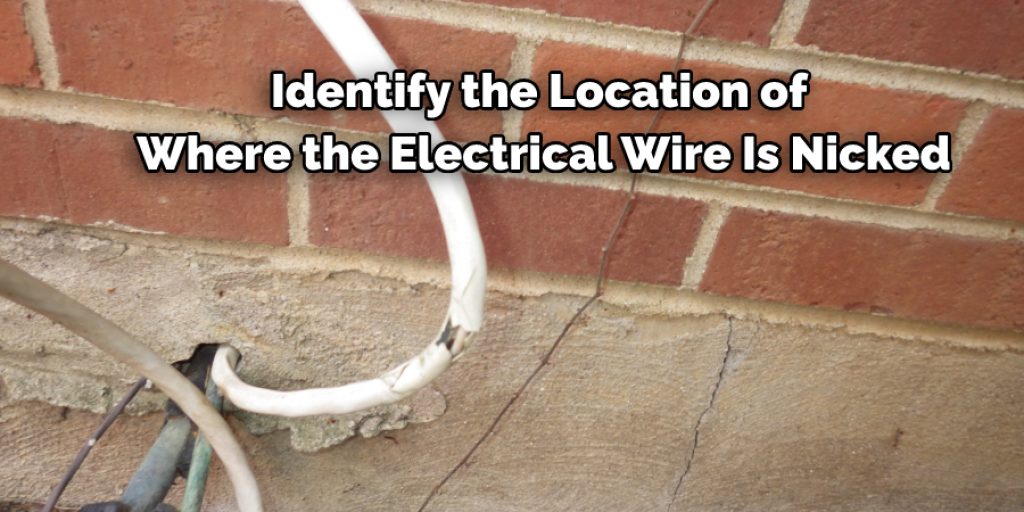
First, you need to identify the location of where the electrical wire is nicked. The sooner you identify the problem and attempt to fix it, the better. In this case, you will need to cut away any wire that is damaged immediately. Once done, secure the area with electrical tape or a spiral wrap cover. This will prevent any short-circuiting that may occur if you are to continue using the cord.
It is highly recommended that you cut the wire above and below the nick so that you have enough slack to work with.
Step Two:
Fix the broken or damaged wire with a new piece of electrical wire. Cut away any exposed strands of wire and push back on the strand into the rest of the cord to prevent future damage. Make sure that you use the same gauge as your existing wire; otherwise, this could be problematic in itself.
Otherwise, you can also use a wire connector or twist the strands together and wrap them with electrical tape as a temporary fix. It is always best to replace the damaged section of wire with a new one for long-term safety and effectiveness.
Step Three:
After repairing all breaks or nicks, it is now time to re-attach the cord to the plug. Then, simply push the wires into place and secure them with electrical tape or a spiral wrap cover. Make sure that you check for any exposed strands of wire before attempting this step. Otherwise, you may have to repeat the process.
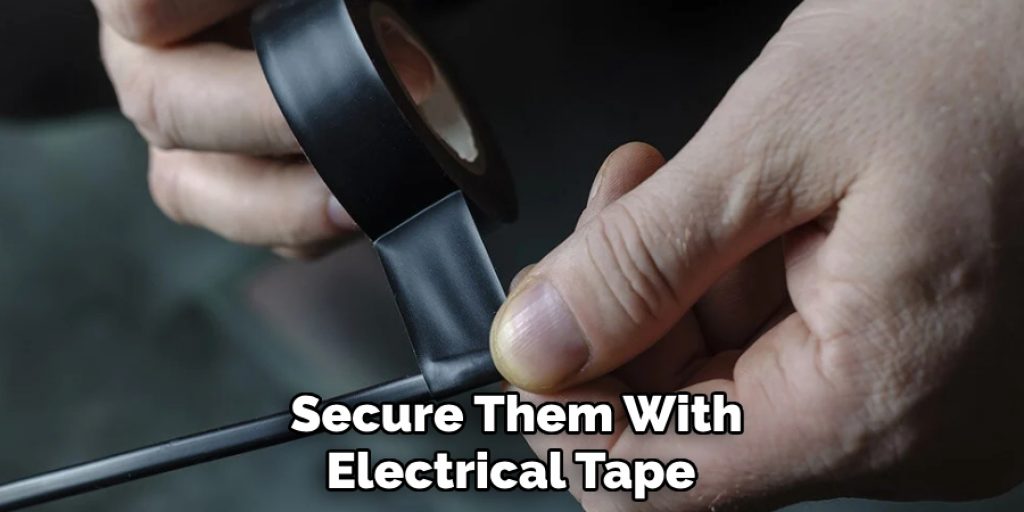
Heat shrink tubing is always recommended for added insulation and protection against moisture. But if you do not have any on hand, electrical tape will suffice.
Step Four:
Make a final check to ensure that no strands of wire are exposed. If so, you can cut them away and secure the area with electrical tape or a spiral wrap cover. Then, use your screwdriver to tighten the connections at both ends of the cord. Ensure that they are tight enough to prevent any possible loose connections but not so tight as to break the wires.
The cord should now be safe to use, and you can plug it into a socket to test the connection. It is also recommended to use a multimeter to check for continuity in the wire before and after fixing it. This will ensure that the wire is functioning properly and there are no issues with the connection.
Step Five:
If you have fixed a nicked wire in an appliance or electronic device, make sure to reassemble it carefully and securely. Check for any loose connections before using it again. It is also a good idea to test the device with a multimeter before use, especially if it is a high-voltage or sensitive appliance.
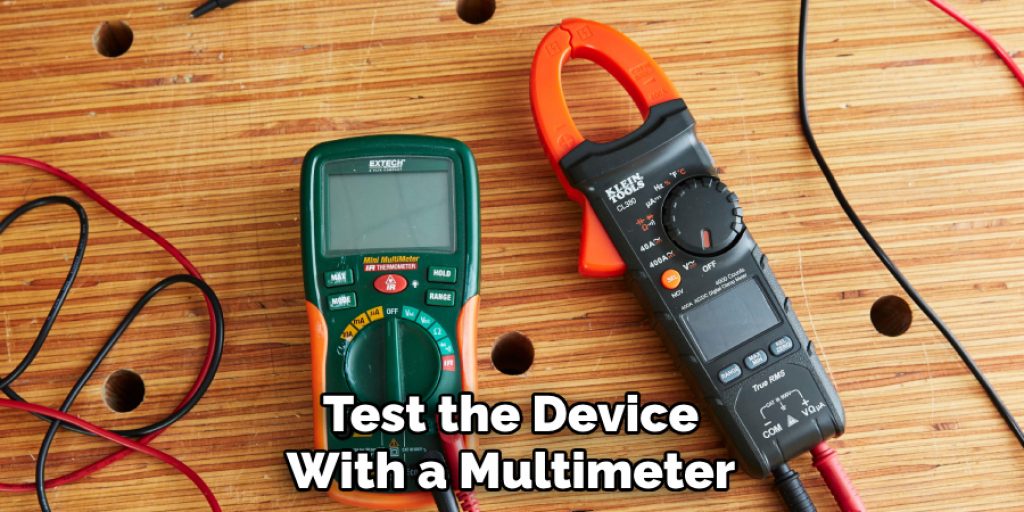
The safety of yourself and your family should always come first, so make sure to follow all necessary precautions while handling electrical wires.
Step Six:
If the nicked wire was due to natural causes such as wear and tear, make sure to inspect the surrounding wires for any potential damage. Replace any damaged or worn-out wires to prevent future problems. It is always better to be safe than sorry when it comes to electrical safety.
You may also want to consider upgrading your electrical wires to a more durable and long-lasting material, such as PVC or metal-clad wiring.
Step Seven:
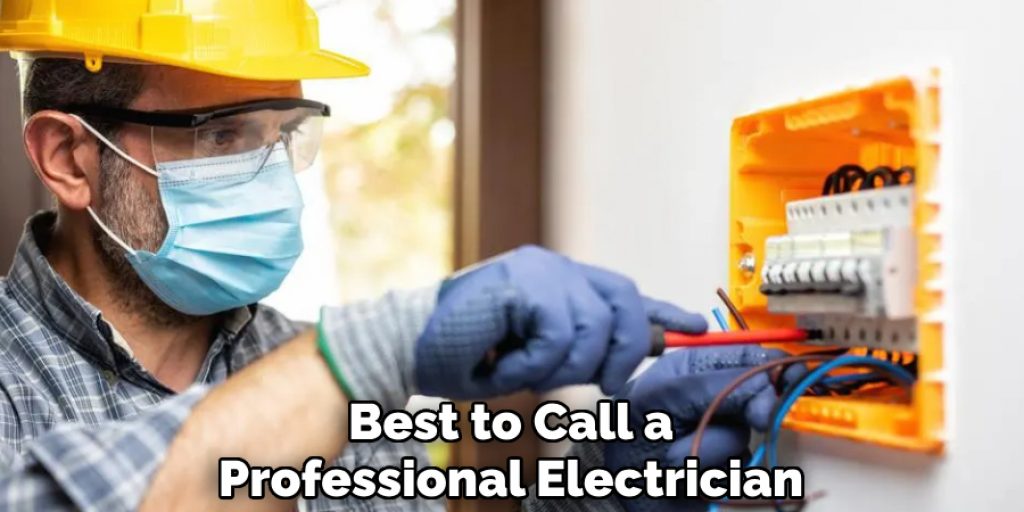
If you are unable to fix the nicked wire yourself or if it is in a hard-to-reach area, it is best to call a professional electrician. They have the necessary tools and expertise to handle any electrical issues safely and effectively.
Step Eight:
Prevention is always better than cure, so make sure to regularly inspect your electrical wires for any signs of damage or wear. This can save you from potential hazards and costly repairs in the future.
Also, make sure to unplug appliances and devices when not in use to prevent any accidents caused by damaged cords.
Step Nine:
Educate your family and household members on basic electrical safety measures, such as not overloading sockets and unplugging appliances by pulling on the cord. This will prevent unnecessary damage to your electrical wires.
You may also want to consider installing surge protectors or circuit breakers to protect your home’s electrical system from power surges and overloads.
Step Ten:
If you have any doubts or concerns about fixing a nicked wire yourself, do not hesitate to seek professional help. It is always better to be safe than sorry when it comes to dealing with electricity. Your safety and well-being should always be your top priority.
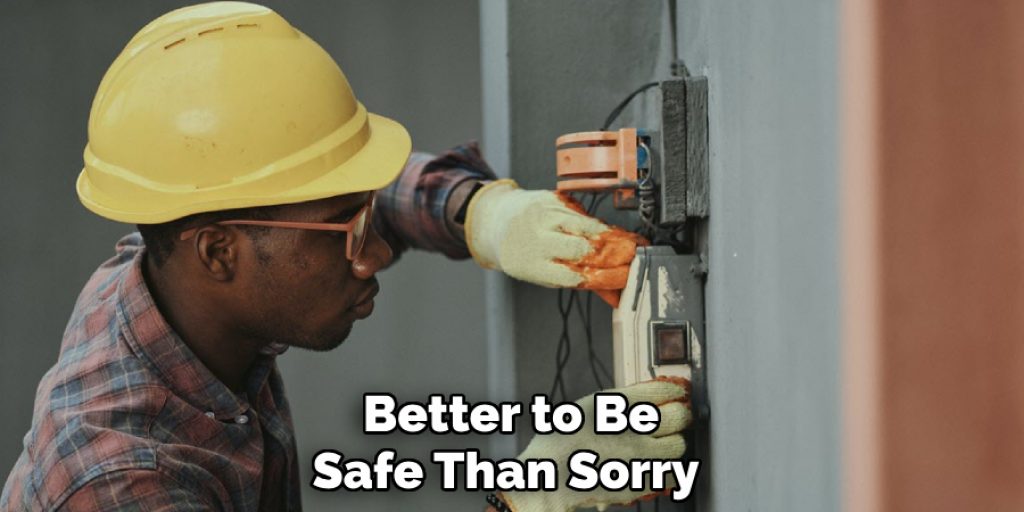
Remember, proper maintenance and regular inspections on how to fix a nicked electrical wire can go a long way in preventing any potential hazards caused by damaged electrical wires. So, make sure to take the necessary precautionary measures to ensure the safety of your home and loved ones.
Precautions To Take:
- Never Pull from the Wire, but always Push your Cutter or Stripper in a Counter Clockwise Motion.
- Always Keep Wire out of the Reach of Children and Animals to Avoid Accidental Electrical Shock or Fire Hazard but Read below if you have an already damaged Wire. Repairing Damaged Electrical Wires is possible.
- Never Extend the Wire or Wires Over the Head to Increase the Risk of Electrical Failure.
- Always Use a 3-pronged Ground Plug for Protection Against Electrical Shock, but if you have a Nick in your Wire already, you must repair it first before using it again.
- If you have a Nick in your Electrical Wires, then there is at least a 1% risk of Electric Shock or Fire, so be very careful when repairing this damaged wire.
- Always Screw your Light Socket or Outlet in the Clock Wise Motion.
- Always Unplug all of Your Electrical Devices before starting any repairs on them. If you have a Nick in your Electrical Wires, then there is at least a 1% risk of Electric Shock or Fire, so be very careful when repairing this damaged wire.
- Always Check the Condition of Your Stripped Wire by using a Multi-Meter before and after any repairs are made to ensure they are functioning properly.
- Always Use Safety Equipment such as Gloves and Eye Protection when dealing with electrical wires to avoid any injuries or accidents.
- Always turn off the power supply before attempting to repair a damaged wire.
- Make sure to properly insulate and protect the repaired area with heat-shrink tubing or electrical tape.
- Do not attempt to fix a nicked wire if you are unsure of how to do so safely. Always seek professional help if needed.
- Regularly inspect and maintain your electrical wires to prevent any potential hazards in the future.
- Educate yourself and your family members on basic electrical safety measures to prevent accidents and injuries.
- Do not overload sockets or use devices with damaged cords.
- Never attempt to repair a wire while it is still plugged in or receiving power.
- If in doubt, always seek professional help from a certified electrician. Your safety and that of your loved ones should always come first when dealing with electricity.
Frequently Asked Questions:
Q: How Do You Fix Nick in Wire Insulation?
A: If you nick wire insulation, and it doesn’t go completely through the insulation, but there is a hole where you might be able to see the copper wire, do not panic. This nick does not have to cause any problem unless you are planning on inserting that wire into an electrical outlet or switch.
The reason for this is that although the nicked insulation may look bad, it will not provide an egress path for electricity because of the rubber tubing surrounding the wires. In addition to that, if your skin contacts nicked line carrying live current, your body resistance would immediately trip the circuit breaker; if not worse, stop electricity from flowing through your body, preventing injury.
Q: How Do You Fix a Nicked Wire in an Appliance?
A: To fix a nicked wire in an appliance, start by unplugging the device and disassembling it carefully. Once you have access to the damaged wire, gently cut off the nicked portion using wire cutters or strippers. Next, strip both ends of the wire to expose a fresh section of copper. Twist the exposed wires together tightly and secure them with electrical tape or a twist-on connector. Reassemble the appliance and test it before use.
Q: Can I Use Electrical Tape to Repair a Nicked Wire?
A: Yes, you can use electrical tape to repair a nicked wire temporarily. However, it is recommended to properly fix the damaged wire by cutting off the nicked portion and twisting the exposed wires together or using a twist-on connector. Electrical tape may wear off over time and expose the damaged area, posing a potential hazard. It is always best to fix damaged wires properly for long-term safety.
Q: What Should I Do if I Suspect Damage to My Electrical Wires?
A: If you suspect damage to your electrical wires, it is important to take immediate action. Inspect the wires for any visible signs of damage, such as nicks, cuts, or frayed insulation. If you are not confident in fixing the issue yourself, call a professional electrician to handle it safely and effectively. It is always better to be safe than sorry when dealing with electricity. Remember to regularly inspect your electrical wires for any potential hazards and take necessary precautions to ensure the safety of your home and loved ones.
Q: What Are Some Common Signs of Damaged Electrical Wires?
A: Some common signs of damaged electrical wires include flickering lights, tripping circuit breakers, unusual sounds or smells near outlets, sparks or smoke coming from outlets, and warm or discolored outlets. If you notice any of these signs, it is important to take immediate action to prevent potential hazards. Regularly checking and maintaining your electrical wires can help prevent these issues from occurring in the first place. Remember, when in doubt, always seek professional help to ensure your safety and the proper functioning of your electrical system.
Conclusion:
In conclusion, if you have a nicked wire in your home, there are some steps mentioned in this blog on how to fix a nicked electrical wire that will help resolve the issue. It is important to fix nicked wires because they can lead to a fire. One way to do this is by using an electrician’s tape or electrical insulation kit.
To fix the wire, you need to twist it together with another piece of copper wiring and cover them in one-inch strips of electrical tape until there are no exposed areas left on either side of the joint. If done correctly, this will provide you with enough time before any potential dangers happen, like fires from exposed metal due to corrosion or sparks.
You may read also: How to Fix Copper Wire String Lights


