How to Fix Broken Leg on Antique Table
Are you excited to know how to fix broken leg on antique table? If yes, in that case, we must say this article is specially written for readers like you. Yes, you got that correctly!
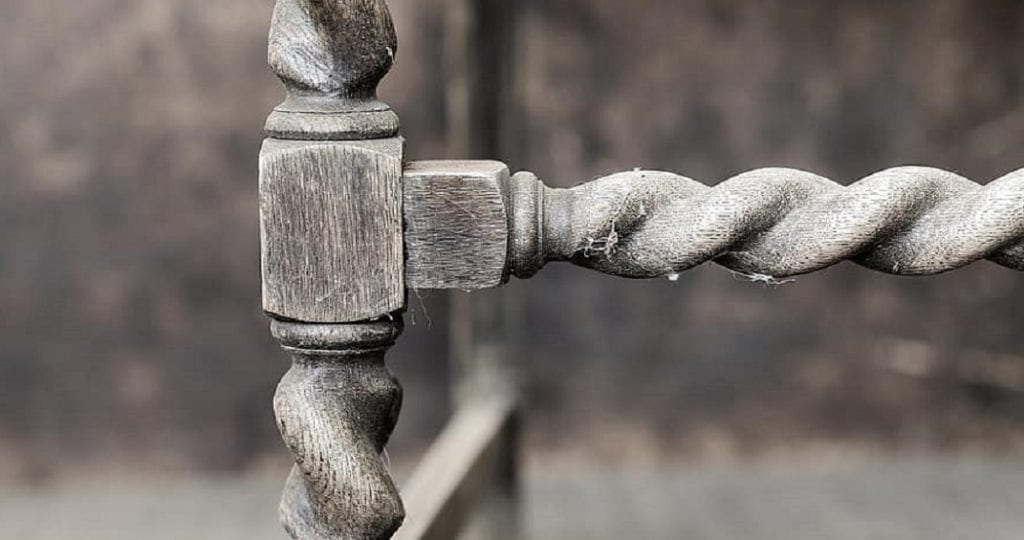
A messed up table leg frequently implies that the table will be tossed out and supplanted. Yet, on the off chance that the table fits as a fiddle, or on the off chance that it has nostalgic worth, the table leg can be effectively fixed. On the off chance that a table leg severs with a spotless, straight even edge, it very well may be set with woodworker’s wood stick.
The Process of How to Fix Broken Leg on Antique Table

- Pass the desk to the exterior or storage. If transferring the desk is not feasible, place a tarpaulin over the floor to save it for you from being damaged for the duration of the repair procedure.
- Turn the table over so it is over with the legs pointing into the air.
- Spot the crushed leg piece spirit into its unique situation, with the messed up edges fitted together as intently as could reasonably be expected.
- Fold concealing tape over the table leg three to multiple times to hold it in position while proceeding with the fix.
- Supplement a 1/8-inch bit into the drill.
- Drill two openings in the table leg at 90-degree points. The gaps ought to be situated at the break and ought to enter the segment joined to the table. And then experience the severed part of the leg. The two openings must experience the whole joined leg.
- Supplement a nail into each gap until it stretches out through the opposite side of the table leg. Utilize a mallet to tap the pin in if necessary tenderly. Expel the veiling tape from around the leg of the desk. You can likewise use a nail to rivet a cover on a table, particularly if it’s as of now split.
- To fix a broken table leg, first find the spot where the leg is broken. Then, put the tip of the paste bottle against the table leg in that spot. Next, press the container delicately to embed the stick into the break. Finally, work your way around the whole break, embedding the stick around the entire table leg. Press the leg sorts out with your hands to pack the paste.
- Turn an around one-foot segment of wax paper, so the facet faces to the leg of the table. Then you need to wrap the paper across the entire desk leg and relaxed it using any masking tape. Permit the table to sit for twenty-four hours to permit the paste to dry. The next step is to find a proper furniture polish that will protect the desk legs against future stains and also make it look shiny.
- Expel the veiling tape and wax paper from the desk leg.
- Remove the four nail closes as near the outside of the table leg as could reasonably be expected.
- Scrape down the four distending closures of the nails to easily get flushed with the leg of the table. Utilize a metal record. Then it would be best if you turn it straight up to place it once again into its unique position.
Final Thoughts
So, if you start your work by following the steps mentioned above, we can assure you that you will achieve your desired outcomes successfully. Then why would you delay to start?