
How to Fix Bulging Drywall Seams
Are you quite interested to learn about the perfect procedure of how to fix bulging drywall seams? If your ultimate reply is in the affirmative, we would assure you that this article is the one that you may be looking for a while. Yes, believe us because we are telling you the truth. In case you are interested to know about the exact steps of this process, we would like to inform you that there are several parts in this procedure. The very first part is to ensure that all the nails or screws are not exposed anymore.
If you want to study an effective procedure of fixing bulging drywall seams, you must follow some fundamental steps. If you failed to perform those steps accordingly, you could not hope to achieve your desired outcome. In this article, we will share some tips and tricks with you.
The great news is we will describe a step-by-step process along with some safety measures so that you can understand the entire method and execute the whole work effortlessly. So, to learn about in further detail, kindly read the rest of the parts! But before we proceed further, here is a question for you!
The Process of How to Fix Bulging Drywall Seams
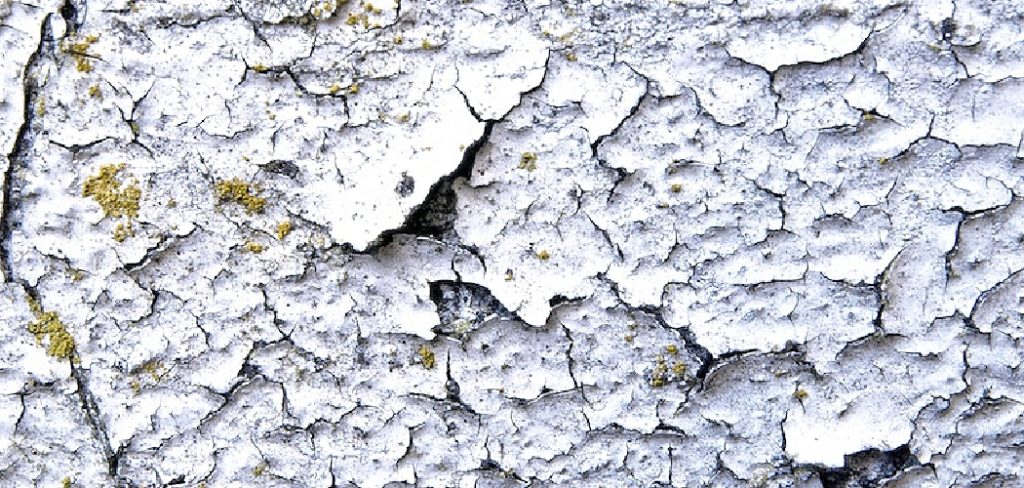
Not anything ruins the appearance of your dividers or roofs like unattractive lumps in the drywall. While appropriately introduced drywall seems smooth and liberated from flaws, everything from straightforward establishment mix-ups to the house’s normal settling can make knocks or lumps in drywall wraps up. Fortunately, you can without much of a stretch and rapidly repair drywall with just a couple of essential materials.
Luckily, a significant number of these issues can be settled by helpful property holders utilizing just essential apparatuses and gear. You can press the lump in your divider and feel the drywall move; you might have the option to fix your concern with only a couple of screws. In any case, on the off chance that you truly don’t have a clue how to fix drywall, or if fixing it won’t be compelling, call an expert.
At the point when installers neglect to drive screws totally into the divider, the drywall would not fit tight to the surrounding, bringing about lumps or knocks. To restore this problem, cast off the culpable screw and power some other drywall screw into the divider round half inches away on every aspect of the vintage screw.
The screw’s addition ensures that the head sinks only marginally beneath the drywall outside, making a dimple. You have long gone excessively far at the off risk; you damage the paper at the drywall.
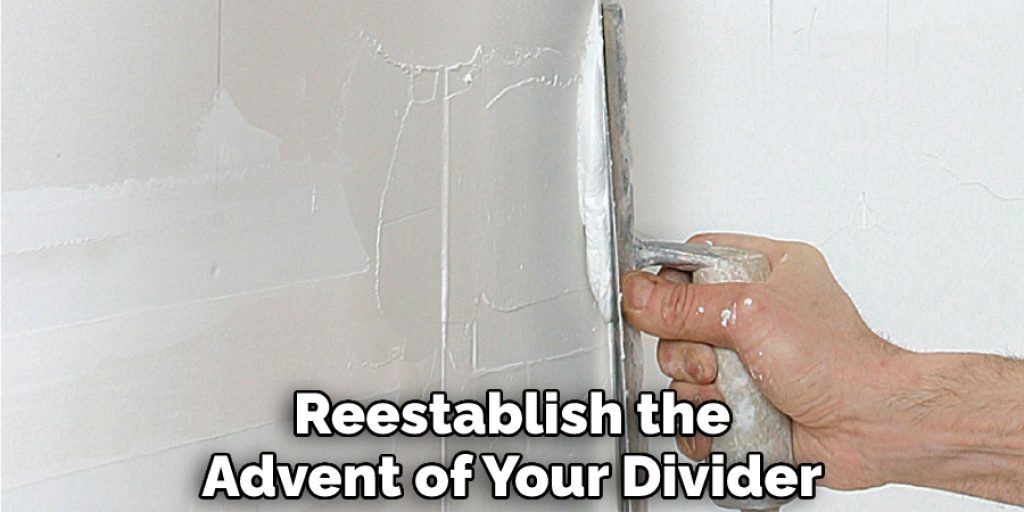
Include dainty covers the joint compound, each, in turn, to cover the screws and gap, permitting each coat to dry before applying. Helpless completing work, two sheets of drywall too intently together make delegated or swells along the creases.
Address this trouble with numerous sanding and use a straightedge to make feel of when you have sanded away most people. When the creases are comfortable and reasonably level, sand daintily, at that point, prime and paint to reestablish the advent of your divider.
Conclusion
We have appeared at the end. And lastly, we want to assure you that by following all the steps discussed in the earlier sections of this article, you will quickly learn about the vital details of how to fix bulging drywall seams.
Not only that, but if you can manage to follow the steps correctly, then you can perform the whole work all your own without requiring any additional support. But make sure you maintain the precautionary measures to avoid any kind of troubles, then you are good to go!
You may read also..


