How to Fix Garage Door Sensor
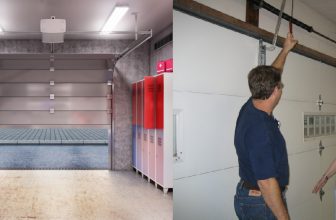
Is your garage door not closing properly? Do you have difficulty opening it from time to time? If so, a malfunctioning garage door sensor could be the source of your problem. A broken sensor is one of the most common reasons for incorrect operation; however, this issue can usually be identified and fixed relatively quickly with minimal effort.
Here, we will cover what to look out for when troubleshooting problems with sensors and provide step-by-step instructions on how to repair or replace faulty sensors. So if your carport’s shutting mechanism has been acting up lately, read on to find out how you can get it working like new in no time!
If you’re dealing with a malfunctioning garage door sensor, don’t fret – it’s still possible to repair your system. With this helpful guide, you can get your garage working like new again in no time!
We’ll walk you through the basics of why your sensors are malfunctioning and how to properly diagnose any potential issues. From there, we’ll provide some easy step-by-step instructions on how to get everything back up and running safely and securely once more. So read on to find out all you need to know about how to fix garage door sensor!
What Causes Problems in Garage Door Sensors?
There are many reasons why your garage door sensor may not be working properly. Such as:
1. Misaligned Sensors
One of the most common causes of problems in garage door sensors is misalignment. When the sensors are not properly aligned, they cannot communicate with one another and this can cause them to malfunction.
2. Dirty Sensors
Another common problem with garage door sensors is that they become dirty over time due to dust and dirt accumulating on them. This can prevent the sensors from transmitting signals correctly, which can lead to them malfunctioning.
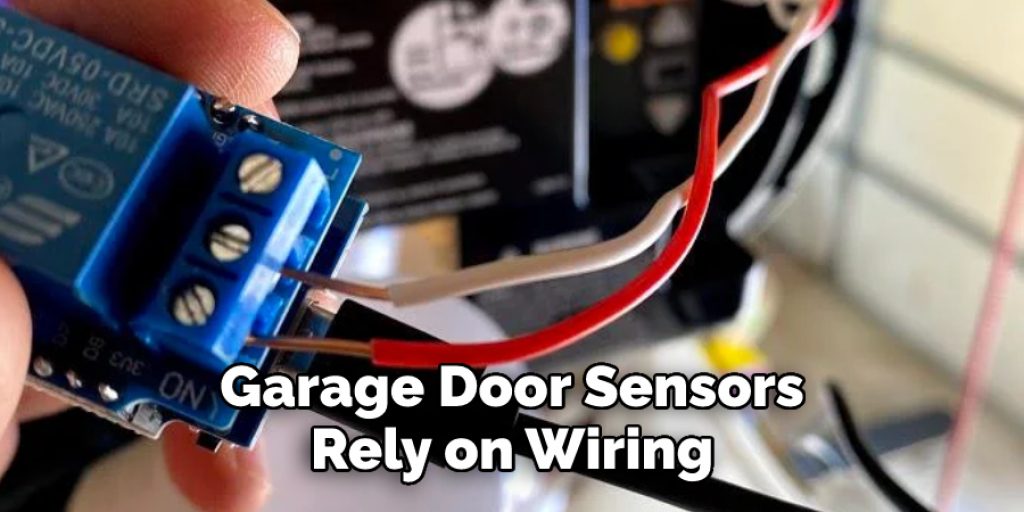
3. Wiring Issues
Garage door sensors rely on wiring in order to transmit and receive signals. If the wiring becomes corroded or damaged, this can cause the sensor to malfunction. So if you find that your sensor is not working correctly, it could be due to a wiring issue.
Knowing what causes problems with your garage door sensor is important in order to determine the best method for fixing it. Fortunately, with a few simple steps to realign, clean and check the wiring on your garage door sensor, you can get your system back up and running again in no time. Don’t forget to regularly inspect and maintain your sensors as this will ensure that they continue to work properly in the future. With a little bit of effort, you can ensure that your garage door sensor continues to provide a safe and secure system for your home.
12 Tips On How to Fix Garage Door Sensor
Fortunately, there are several ways you can fix these issues and get your garage door sensors working properly again. Here are some steps you can take:
1. Realign the Sensors
If the problem is related to misalignment, simply realign the sensors and make sure they’re pointing toward each other. It’s best to adjust the sensors so that there’s a 3-4 inch gap between them for proper operation.
2. Clean the Sensors
Dust, dirt, and debris can build up on the garage door’s sensors, causing them to malfunction. Try cleaning the sensors with an electronic contact cleaner or a damp cloth and check if that solves the issue. Also, check the lens of each sensor for any dirt or obstructions.
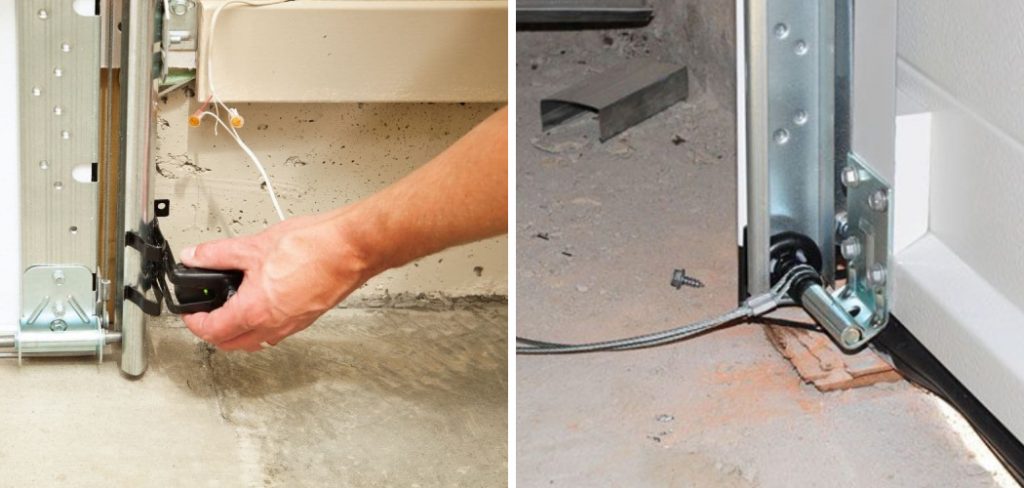
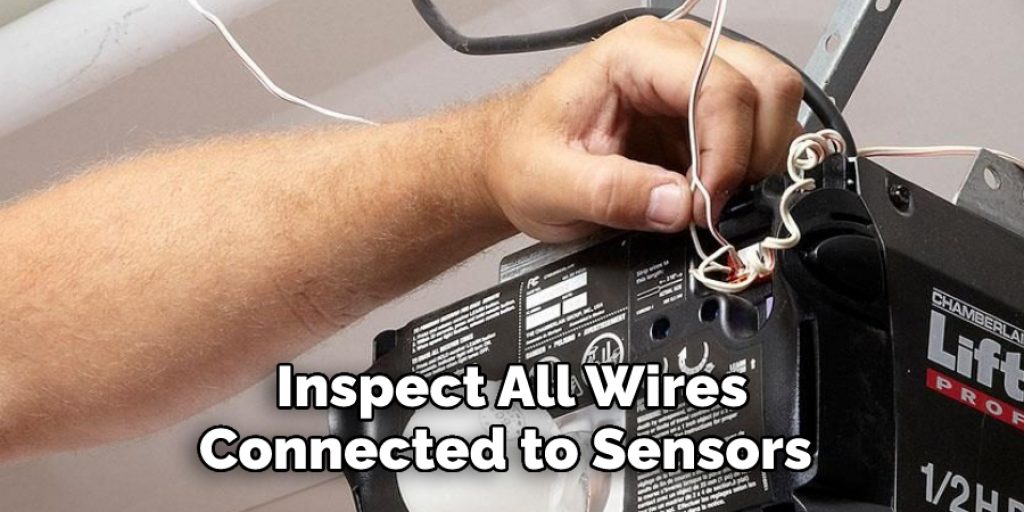
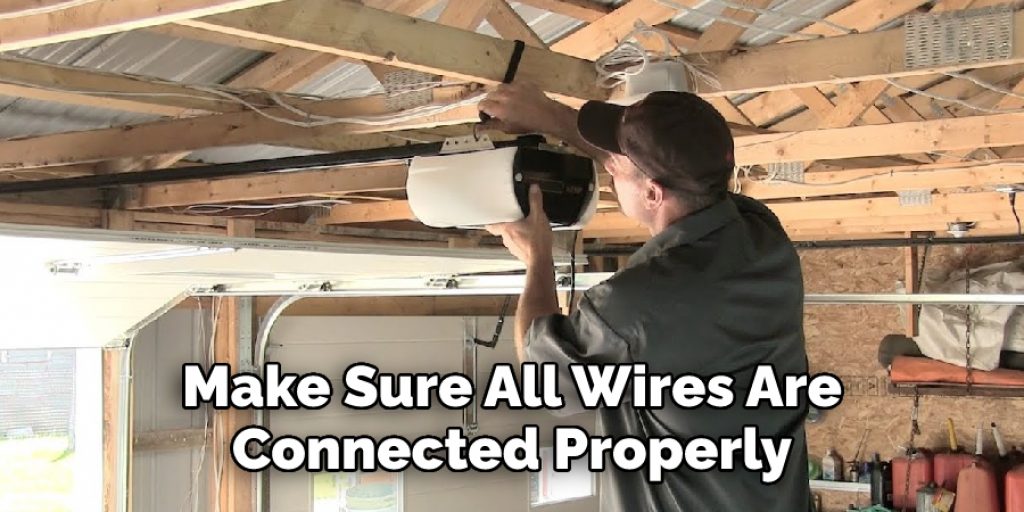
3. Check the Wires
Inspect all wires connected to your garage door sensors and make sure they’re undamaged and securely plugged in. If you find any loose wires, unplug them and reconnect them firmly back into place.
4. Replace a Broken Sensor
If one of the sensors is broken, you may need to replace it. Make sure to get a new sensor that’s compatible with your garage door opener and install it according to the manufacturer’s instructions. But you have to make sure you unplug your garage door opener before attempting this.
5. Remove Obstructions
If something is blocking the sensors, such as a leaf or a piece of debris, it can interfere with their operation. Make sure to check around the area for any obstructions and remove them as necessary. Be careful not to move the sensors while doing this, as it could disturb their alignment.
6. Check for Voltage
If the sensors are receiving power, they should have a minimum of 10-15 volts. You can check this with a multimeter at the sensor terminals. If you find that the voltage is too low, reset your circuit breaker or replace the fuse.
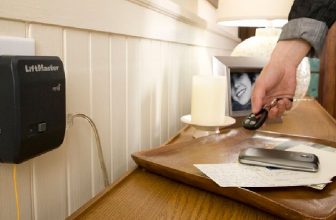
7. Check the Battery
The sensors may not be able to detect each other if their power source is weak or depleted. Try replacing the batteries and check if that solves the issue. Some models require fully charged lithium-ion batteries, so make sure to get ones with a high enough voltage rating for your garage door opener.
8. Update Firmware
If your garage door opener is equipped with a Wi-Fi connection, be sure to check for any available software updates. This can help ensure the best performance from your sensors and make sure they’re functioning properly.
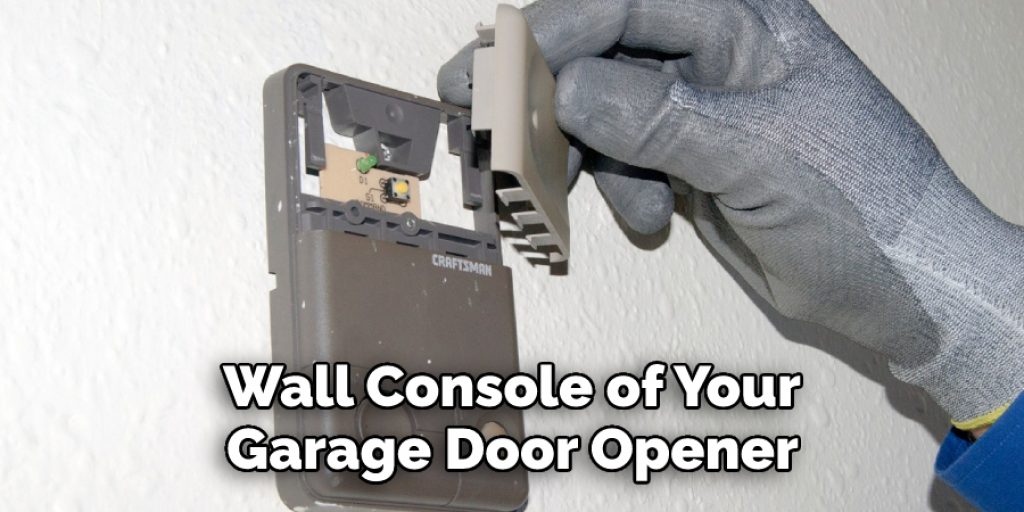
9. Replace the Wall Console
If the wall console of your garage door opener is malfunctioning, it could be preventing the sensors from communicating with each other. Try replacing the wall console and see if that resolves any issues you’re having.
10. Clean the Track
Make sure to check the track of your garage door for any dirt or debris that may be causing problems with its operation. A clogged track can prevent the sensors from functioning properly, so be sure to clean it thoroughly with a damp cloth.
11. Reset the System
If all else fails, try resetting your garage door opener. This will clear out any settings or glitches that could have caused the issue and allow you to start fresh. Be sure to consult your owner’s manual for instructions on how to do this properly.
12. Call a Professional
If you’re unable to resolve the issue on your own, it may be best to call in a professional garage door technician. They can diagnose the problem and provide a solution that will make sure your sensors are functioning properly again.
By following these simple steps, you can easily fix any issues with your garage door sensors and restore them to proper working order. Have patience and take your time when troubleshooting the issue; this will help ensure that you get it fixed as quickly as possible. In no time at all, your garage door will be functioning smoothly again!
Frequently Asked Questions
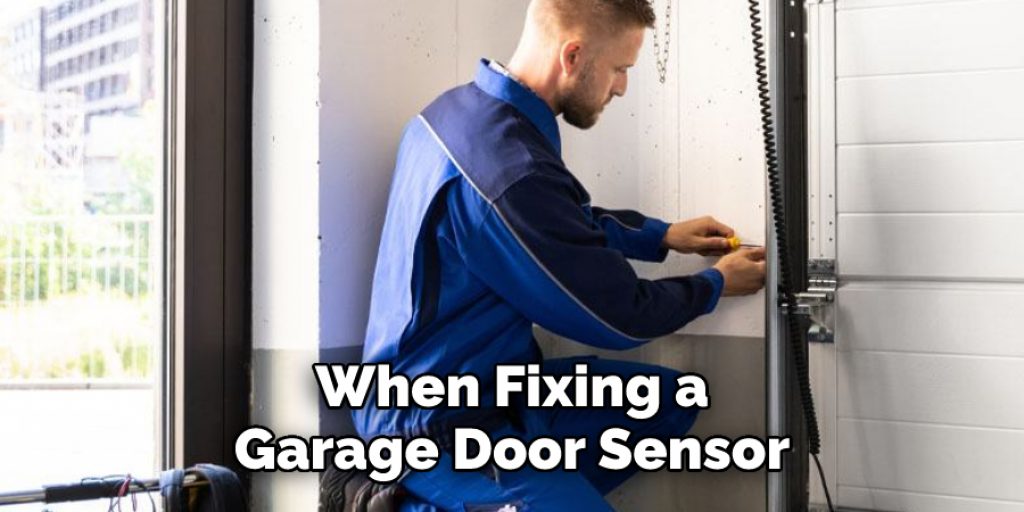
What Precautions Should I Take When Fixing a Garage Door Sensor?
When fixing a garage door sensor, it is important to take the necessary precautions to ensure your safety. Be sure to disconnect the power source before attempting any repairs on the opener or sensors. If you are not comfortable performing such repairs, be sure to consult an experienced technician for assistance. Additionally, be sure to wear protective clothing such as gloves, safety glasses, and sturdy shoes when working on or near the garage door.
What Are Common Problems With Garage Door Sensors?
Common problems with garage door sensors include misalignment of the sensor itself, inadequate wiring, faulty connections, and dust or debris obstructing the sensing beams. In some cases, the sensors may even be damaged or broken.
How Do I Troubleshoot a Garage Door Sensor?
Troubleshooting a garage door sensor involves testing the wiring and connections of the unit to ensure everything is working properly. If wiring issues are suspected, refer to your owner’s manual for specific instructions on how to make the necessary repairs. Additionally, check for any obstructions in the beams of the sensors and make sure they are aligned properly. If all else fails, consider replacing the entire unit with a new one.
How Do I Replace a Garage Door Sensor?
Replacing a garage door sensor is relatively simple if you have some basic knowledge of wiring and electrical components. To begin, disconnect the power source to the garage door opener and remove any existing sensors. Then, follow the instructions provided with your new sensor to install it properly. However, if you do not feel comfortable replacing the unit yourself, consult an experienced technician for assistance.
Do I Need Professional Assistance When Fixing a Garage Door Sensor?
In some cases, professional assistance may be necessary when fixing a garage door sensor. If you are unsure of how to properly troubleshoot and/or replace the unit, contact an experienced technician for help. They can provide you with the necessary expertise and tools needed to get the job done safely and correctly.
How Often Should I Check My Garage Door Sensor?
It is recommended to check your garage door sensor at least once a month to ensure it is in proper working order. This can be done by visually checking the sensors and testing them with an electrical tester. Additionally, make sure all wires are connected properly and that nothing is blocking the sensing beams. If any issues are detected, contact a professional technician for repair or replacement.
Conclusion
Now you know how to fix garage door sensor. If you followed the instructions listed above, then your garage door sensor should be functioning properly, and you can use it to open and close your garage door without any issues. If the problem persists, contact a professional garage door technician for help. Garage doors are complex machines and require specific knowledge to repair them correctly.
Professionals have the experience and the tools necessary to diagnose and fix any issue with your garage door sensor. Be sure to take the time to ensure that your garage door is functioning properly so that you can use it safely and conveniently. Thank you for reading!