How to Install Single Torsion Spring on Garage Door
Are you looking to install a single torsion spring on your garage door? It can be intimidating at first, but it is a relatively straightforward process with the right tools and knowledge. Here is what you need to know about how to install a single torsion spring on your garage door.
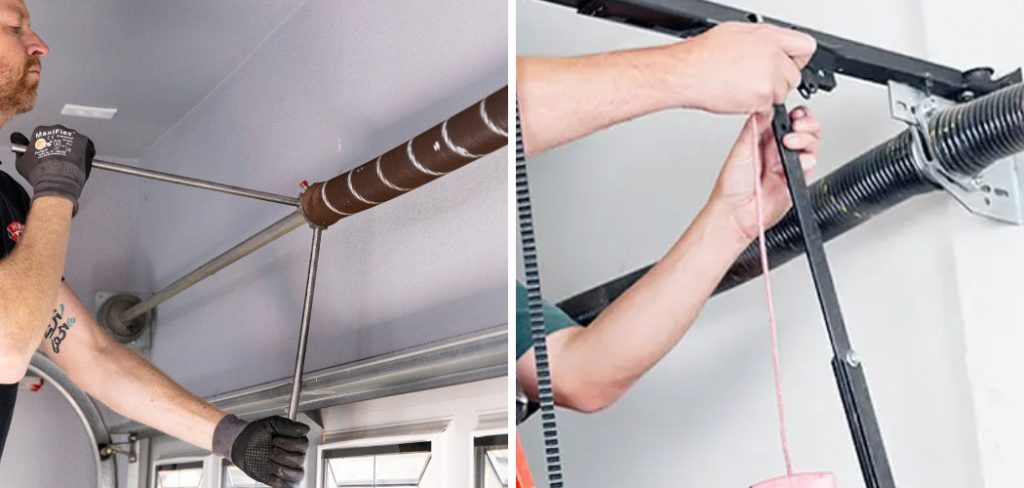
Installing a single torsion spring on a garage door can be intimidating for DIYers, but it doesn’t have to be. With the right instructions and tools, you can easily install your spring quickly! Whether you’re looking to make repairs or simply want to give your garage door an updated look, installing a single torsion spring is an affordable way of getting it done quickly and effectively.
From selecting the proper parts to ensuring that everything is installed correctly, we’ll show you how to install single torsion spring on garage door quickly and easily. Let’s get started!
What Will You Need?
Before you get started, make sure you have all the necessary parts and tools required for installation. Here is a list of what to buy:
- 1. Single torsion spring
- 2. A set of winding bars
- 3. Wrench or ratchet and socket set
- 4. Safety glasses
- 5. Ladder (if needed)
Once you have all your parts and tools ready, let’s start installing!
10 Easy Steps on How to Install Single Torsion Spring on Garage Door
Step 1. Secure the Door
Before beginning the installation process, make sure that the door is secured in place. This will ensure it does not move during installation and cause any damage or injuries. Moreover, it also makes working with the torsion spring easier.
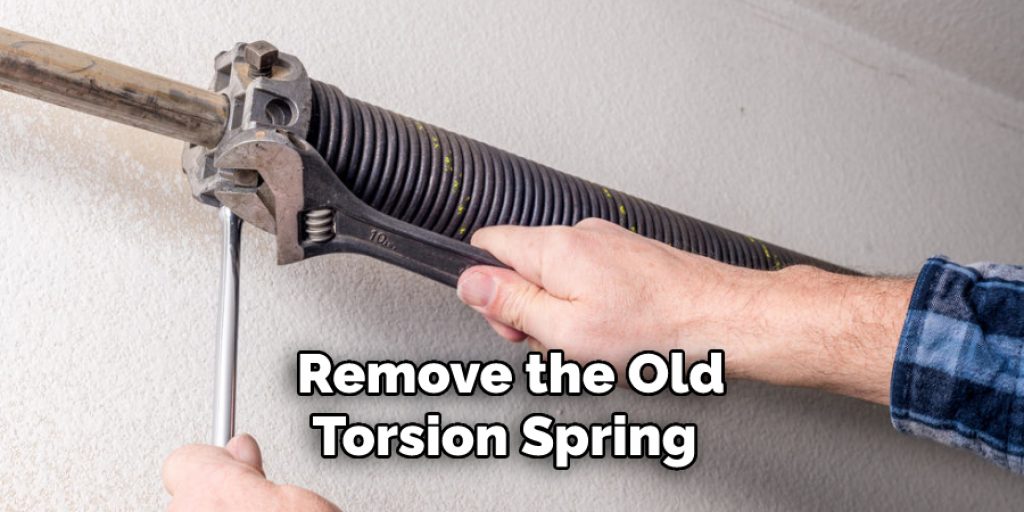
Step 2. Remove the Old Spring
Remove the old torsion spring from the garage door using your set of winding bars by loosening the tension. Make sure to wear safety glasses to protect your eyes from any flying debris. It will be helpful to take note of which side the spring is attached to and how it is fastened.
Step 3. Install the New Spring
Insert one end of the new torsion spring into the center bracket on the garage door. Make sure that it is installed correctly and securely. Otherwise, the door may not open and close properly.
Step 4. Adjust the Spring Tension
Using your ratchet, adjust the tension of the spring to the desired level. Ensure that the tension is not too tight, or it may damage the door and its opener. You can also use a torque wrench to ensure the tension is right.
Step 5. Secure the Spring
Once you’ve adjusted the tension to the required level, use your wrench or socket set to secure the spring onto the garage door. If you need to, use a ladder to reach the higher parts of the door. Keep an eye out for any loose screws or bolts.
Step 6. Check the Balance
After securing the new torsion spring, open and close the door to make sure that it is balanced correctly. If there are any uneven gaps or the door seems too heavy, readjust the tension until it is properly balanced. Be careful not to overtighten the spring.
Step 7. Install Winding Bars
After making sure that the garage door is balanced, install the winding bars on the shaft of the torsion spring. Make sure to secure them tightly and that they are perfectly aligned with each other. Because the winding bars will hold tension in the spring, be sure to check them periodically for any stretching or wear and tear.
Step 8. Test the Door
Once you’ve finished installing the torsion spring, it’s time to test the door. Slowly open and close it several times to make sure that everything is functioning properly. If you feel any resistance or if there are gaps in the door when it’s closed, readjust the tension of the spring until everything is balanced again.
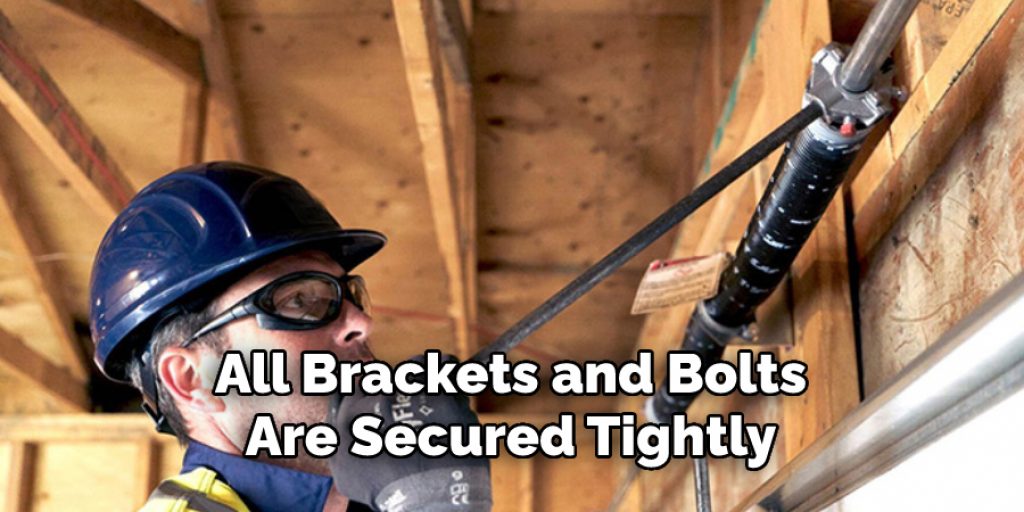
Step 9. Secure the Brackets
Finally, ensure all brackets and bolts are secured tightly onto your garage door. This will ensure that everything stays in place during operation and prevent any possible accidents or injuries. Additionally, it will also make sure that the door works properly for a longer period of time.
Step 10. Enjoy Your Handiwork
Congratulations on successfully installing a single torsion spring on your garage door! You should now be able to open and close your door without any issues. Enjoy the convenience of having a functional garage door, and don’t forget to check the torsion spring tension periodically!
By following these ten easy steps on how to install a single torsion spring on the garage door, you should be able to complete this process in no time. With the right tools and knowledge, you can now rest assured that your garage door is functioning properly.
5 Additional Tips and Tricks
- Before you begin, ensure all the required materials are available. This includes a wrench set and all necessary screws, bolts, and fasteners.
- Carefully measure the garage door opening to determine the size of the torsion spring required for installation. It’s important to select a torsion spring that fits correctly.
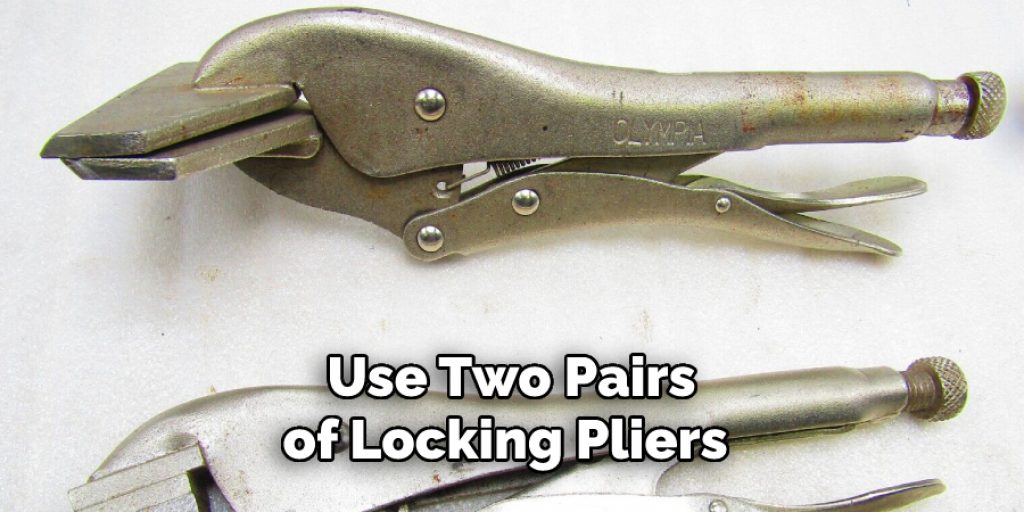
- Use two pairs of locking pliers to install the new spring onto the shaft located above the center support bracket on either side of the garage door opening. Make sure that each set is firmly locked in place before proceeding with the installation.
- When winding up the new torsion spring, ensure that you are following manufacturer guidelines and wind it up gradually until there is no more tension left in it – do not over tighten or over loosen as this could lead to damage to your garage door system!
- Finally, check all nuts and bolts that you installed and make sure they are all tightened securely. This will ensure a safe and functioning garage door system.
Following the steps above should help you install a single torsion spring for your garage door safely and easily! Contact a professional for assistance if you encounter any difficulties or need more guidance.
5 Things You Should Avoid
- Do not try to install the torsion spring yourself – it requires special tools and must be done correctly to ensure your garage door’s safe operation.
- Don’t use inferior parts or low quality materials when replacing the torsion spring. The springs are exposed to a great deal of tension, so good quality materials need to be used for safety reasons.
- Don’t allow any kinks or twists in the cables that connect the spring to the tracks on either side of your garage door opening. Kinks can cause damage and make installation difficult at best – and dangerous at worst.
- Avoid over-tightening the screws or other bolts used to secure the springs in place when installing them; doing so can cause the bolts to snap or break, leading to possible injury.
- Don’t expect a single torsion spring installation to provide the same level of tension or speed of operation as a double torsion spring setup; this is why double springs are recommended for larger door openings and heavier doors.
Installing a single torsion spring on your garage door requires skill and precision, but following these tips will help you avoid potential problems along the way. With patience and attention to detail, you can successfully install your new single torsion spring with confidence – and enjoy many years of safe operation for your garage door!
How Do You Know What Size Torsion Spring You Need?
When selecting the right size torsion spring for your garage door, you need to take into account the type of door and its weight. Different sizes and types of torsion springs will be able to handle different amounts of loading.
Generally speaking, a single torsion spring is best suited to doors with smaller openings or lighter weights. You should also consider any additional load that may be applied to the door as this can affect the performance of the torsion spring.
As such, it is important that you accurately measure all factors before purchasing a replacement spring. If necessary, contact your manufacturer for advice on which size and type of spring are most suitable for your garage door installation.

By taking these extra measures when measuring, selecting, and installing your torsion spring, you can ensure that your garage door system functions safely and reliably. With the right preparation and installation techniques, you can confidently install a single torsion spring on your garage door for many years of service.
Conclusion
Installing a single torsion spring on a garage door is a job that almost anyone can do. It doesn’t require any special skills or tools, and it’s surprisingly affordable. Armed with the knowledge we’ve just outlined, you can now confidently assess when it’s time for a broken garage door spring to be replaced and how to replace it successfully yourself.
You’ll be impressed at how easy and cost-effective this project is, saving you from an expensive repair visit from the professionals. Now that the torsion springs are securely installed, you’ll be able to hit those pay-me-now bargains knowing your car is safe in your own garage with a new and long lasting torsion spring!
Hopefully, the article on how to install single torsion spring on garage door has been helpful. If you have any questions, please consult a professional to ensure that your installation is as safe as possible and will last many years. Happy installing!
Louis Wein
Louis has always been fascinated by cars. He loves the way they look, the sound of the engine, and how they make him feel when he's driving. He is always keen to learn more about different mechanics of cars and how the engine contributes to other aspects of the car. As an automotive technician with over 10 years of experience, he knew how they worked and loved taking them apart to see how they went back together. He was especially interested in the mechanics of combustion engines and loved finding ways to make them more efficient. He loves to work on cars and help people keep their vehicles running smoothly. As a senior editor, he enjoys contributing to Diy quickly because it allows him to share his knowledge and expertise with others.