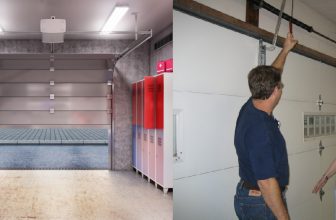
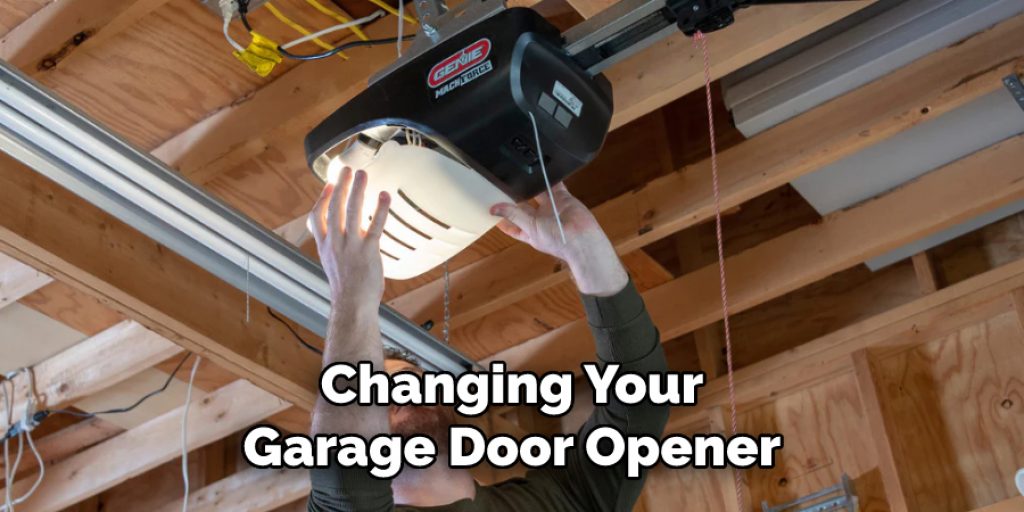
How to Change Garage Door Opener
Are you having trouble opening your garage door? If so, it could be time to replace or upgrade the garage door opener. But don’t worry – replacing a garage door opener isn’t as difficult as it may seem.
Changing a garage door opener can be daunting for anyone, but especially for someone who’s never done it before. It might seem complicated or difficult to do, but with the right tools and instructions, you can easily make this handy upgrade yourself.
In this blog post, we’ll walk you through everything you need to know about how to change your garage door opener – from the type of equipment needed to troubleshoot common issues that may arise during installation.
Whether you’re an experienced DIYer or just starting out in home improvement projects, we’ve got all the answers you need! So let’s get started and learn how to change garage door opener.
What are the Benefits of Changing Garage Door Openers?
When you upgrade your garage door opener, you’ll reap a number of benefits. These include increased safety, convenience, and cost savings.
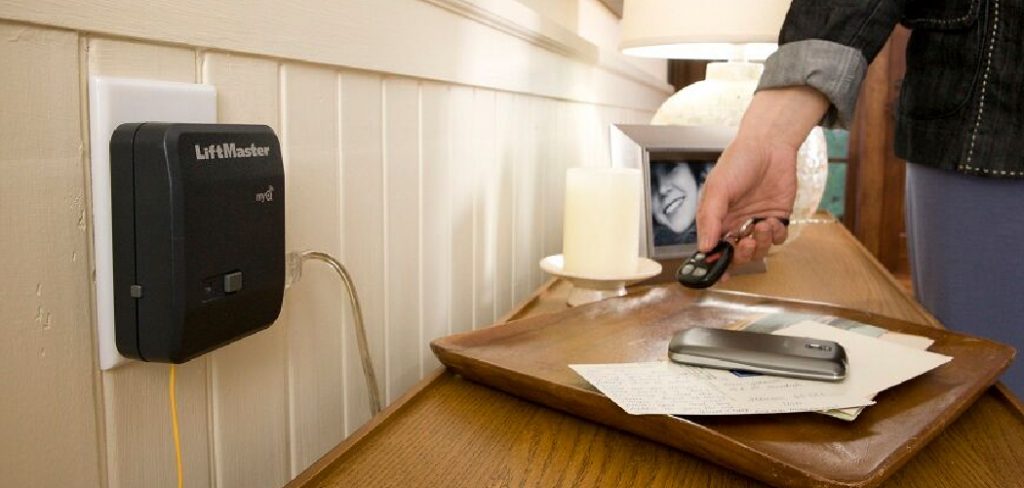
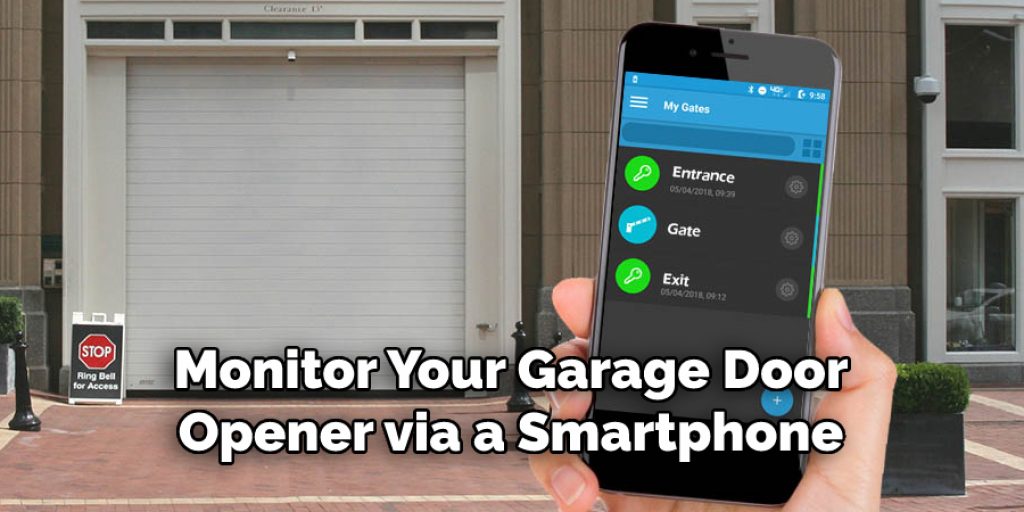
The main benefit of replacing an old garage door opener is that it provides better security for your home. Newer models come with enhanced features such as rolling code technology which randomly changes the access code each time you use it, making it nearly impossible for someone to break into your garage. With new Wi-Fi-enabled models, you’ll also be able to control and monitor your garage door opener via a smartphone or laptop.
Upgrading your garage door opener also adds convenience – you can open and close the door from anywhere, allowing you to access your garage without having to be in the same location.
Finally, a new garage door opener can save you money in the long run. Newer models are more energy efficient and will use less electricity than older models. This means lower utility bills for you!
What Equipment Do You Need?
Before you start, make sure you have the right tools and supplies. You’ll need the following:
- A new garage door opener
- Screwdriver set
- Hammer
- Level
- Pliers
- Cordless drill
- Stud finder
- Wire stripper/crimper tool
- Socket wrench set
Once you have all your supplies, it’s time to start!
10 Easy Steps on How to Change Garage Door Opener
Step 1. Disconnect the Power
First, turn off the power to your garage door opener at the circuit breaker. This will help prevent any serious electrical issues from occurring during installation. If you’re unsure of where your circuit breaker is located, consult the owner’s manual or contact an electrician.
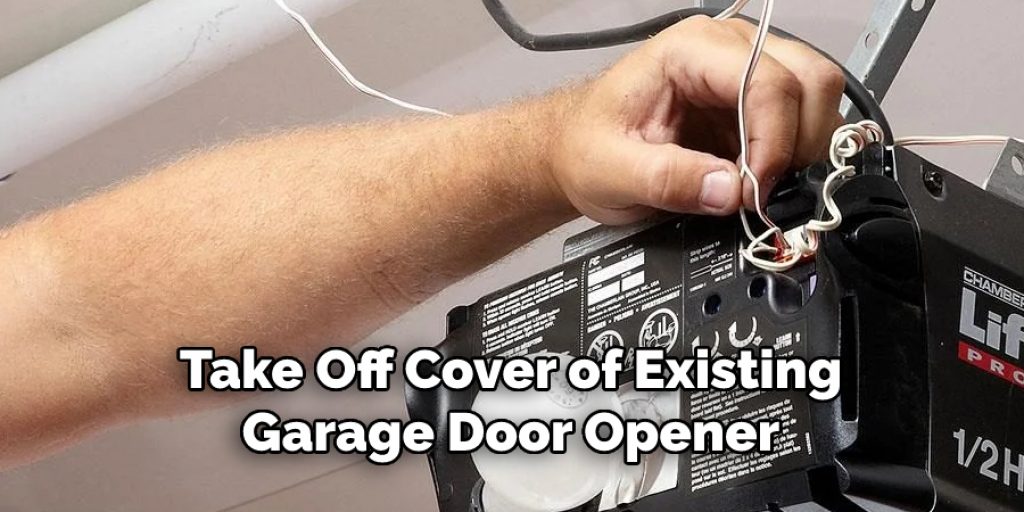
Step 2. Remove the Old Opener
Take off the cover of your existing garage door opener and unscrew any mounting bolts holding it in place. Then disconnect all the electrical wires connected to the old unit. It may be helpful to take a picture of the wiring before disconnecting it, so you can easily refer back to it when installing the new opener.
Step 3. Install New Garage Door Opener
Before you start, ensure you have a sturdy mounting surface for the new opener. Use a stud finder to locate two framing members (typically wood beams) that are 16 inches apart from one another. Once you’ve found them, use a level to mark them for drilling and installation.
Step 4. Secure Mounting Brackets
Secure the mounting brackets to each side of your garage door opening using screws or lag bolts. Make sure they’re securely in place and level with one another. Otherwise, the new opener won’t fit properly.
Step 5. Attach the Rail
Attach the rail of your new garage door opener to the mounting brackets and secure it using lag screws or bolts. Make sure it’s properly aligned with the door before tightening the fasteners. Keep in mind that the rail should be able to move freely with your garage door.
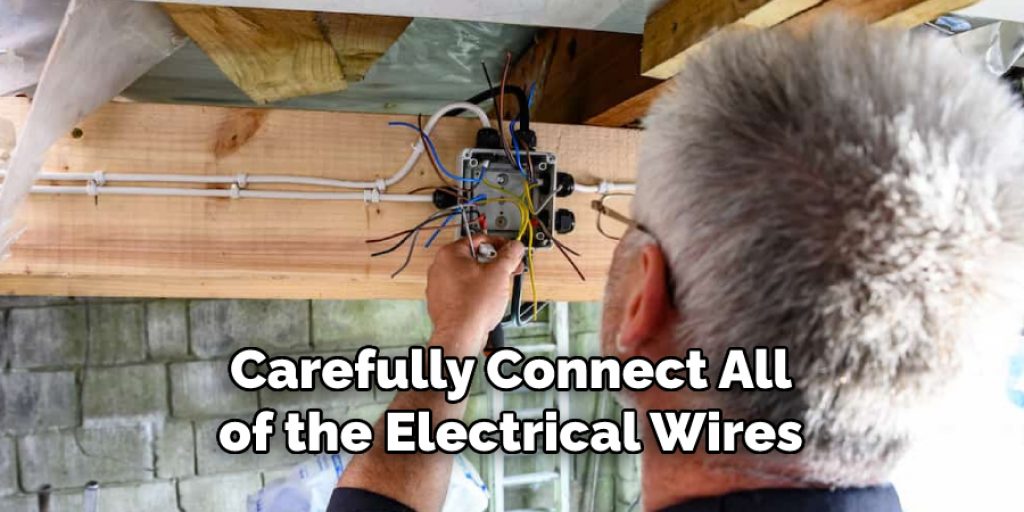
Step 6. Connect Electrical Wires
Carefully connect all of the electrical wires according to the manufacturer’s instructions, being sure to adhere to local safety codes and regulations. Ensure that each wire is connected correctly, as incorrect wiring can be a major source of problems during installation. Because of this, it’s recommended that you consult an electrician if you’re unsure of what to do.
Step 7. Mount Motor Unit:
Lift up your motor unit onto its mounting bracket and tighten any necessary fasteners, such as nuts or bolts. Ensure it’s securely in place and level with the floor before continuing. Additionally, check to see if any wires are pinched or damaged during installation. Because of the strain that garage doors can put on the motor unit, it’s important that the mounting is done correctly.
Step 8. Connect Drive Chain or Belt
Follow the directions provided by the manufacturer to attach the drive chain or belt to your new opener’s motor unit. This step is important for the proper functioning of your new opener. Another aspect to consider is lubricating the chain or belt before installation, as this will help it last longer.
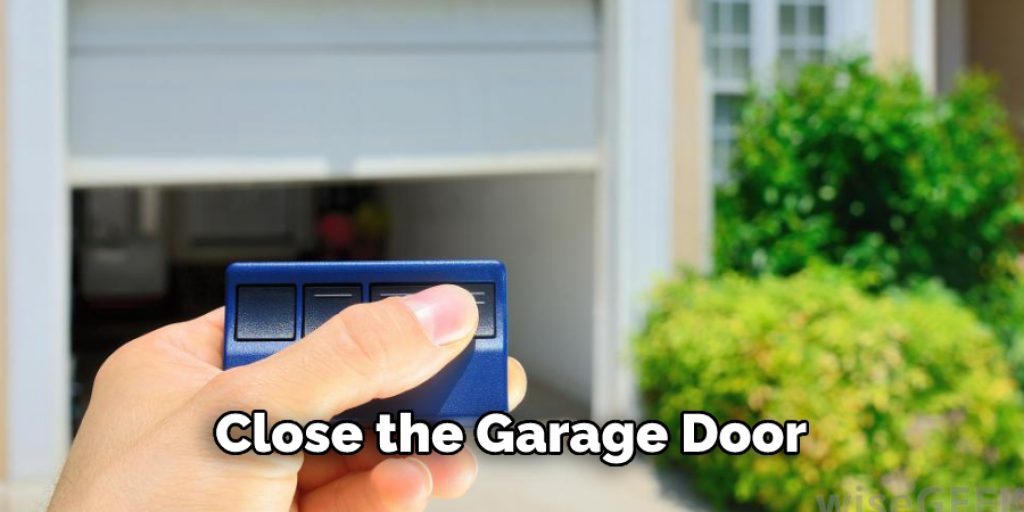
Step 9. Test Your Garage Door Opener
Test your garage door opener to make sure that it works properly and safely. You can do this by pressing the remote control button while standing near your unit or by using a smartphone app if available. Try opening and closing your door a few times to ensure that it works properly.
Step 10. Reattach Power
Finally, reattach power to your garage door opener at the circuit breaker and test that everything is working correctly once again before you close up shop! You can also use a surge protector to help protect your new unit from any potential power surges. It will also make resetting the unit easier in case of future issues.
By following these steps, you’ll be able to easily change your garage door opener and upgrade it with the latest technology. With a few simple tools and some basic knowledge, you can give your home the convenience of modern living while saving money on energy costs.
5 Additional Tips and Tricks
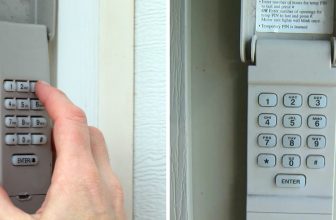
1. Ensure the Correct Frequency: Ensure your garage door opener is programmed to the correct frequency. Modern openers come pre-programmed, but if yours is older, you may need to change the frequency manually.
2. Check Compatibility: Make sure your garage door opener is compatible with all your existing remotes and other devices.
3. Test Buttons: Before you begin reprogramming, test all the buttons on your remote to ensure they work properly.
4. Be Aware of Codes: When programming a new garage door opener, be aware of any security codes that it may use so that they can be entered correctly during setup.
5. Secure Connections: Make sure every connection is secured before attempting to open or close the garage door, as loose connections could cause damage to the electronics in the motor unit or even interfere with its operation entirely. This can also help keep intruders out by locking any wireless connections.
By following these tips, you can ensure that your garage door opener is properly set up and all connections are secure.
5 Things You Should Avoid
1. Don’t Use a Ladder: As tempting as it may be to climb up and reach the opener, using a ladder is an unsafe way of changing your garage door opener. It is best to avoid ladders when attempting this task.
2. Don’t Leave Tools Lying Around: Your garage can easily become cluttered with tools if you’re not careful. Ensure that any tools you are using are put away after you finish the job to prevent any accidents.
3. Don’t Forget to Unplug the Opener: Before starting any work, make sure that the power has been disconnected from the garage door opener so that no unintentional electric shock occurs while working on it.
4. Don’t Attempt to Do the Job Alone: Working on any type of machinery can be dangerous, so it is best to have someone helping you with this task. This will not only increase safety but also help ensure that the job is done properly.
5. Don’t Forget to Test the New Opener: Once you’ve installed and programmed your new opener, make sure that it works correctly by testing it out a few times before closing up the garage door for good. This way, you can ensure everything went smoothly, and there will be no surprises later down the line.
You now know how to change your garage door opener safely! With these tips in mind, you should be able to easily and successfully complete this task without any issues.
Can You Control Your Garage Door With Your Phone?
Yes, you can control your garage door with your phone! Smartphone technology has made it possible to open and close the garage door from anywhere in the world. With a compatible opener system, you can use an app on your phone to control the opener – perfect for those who are always away from home or forget to shut their garage doors!
However, as with any type of technology, you should be sure to read up on how to properly install and configure this feature before attempting so that everything runs smoothly.
Overall, changing your garage door opener can be difficult, but with these tips in mind, it should go much more smoothly. So why not give it a try and see how easy it is to update your system? You may be surprised at how simple the process really is.
How Do You Replace a Garage Door Control?
Replacing the control for your garage door opener is relatively easy. First, locate the motor unit above or near the garage door frame and unplug it from power. Then, you’ll need to remove the cover to access the cables inside.
Once they are exposed, look for two pairs of wires that were connected to two terminals on the old control board and connect them in the same manner with your new board. Finally, plug in your new control board and reinstall its cover before replacing the power source (usually a battery) and testing out your newly replaced control!
Remember, safety should always come first. If you are unsure of what you’re doing or find yourself in over your head, it’s best to contact a professional for help. They will be able to ensure that the job is completed correctly and safely.
How Can You Make an Old Garage Door Opener Smart?
Making your old garage door opener ‘smart’ is easier than you might think. You must purchase a compatible smart device, such as an Amazon Echo or Google Home, and connect it to your Wi-Fi network. After that, you will be able to control the door using voice commands!
However, it is important that you make sure your existing garage door opener is compatible with these devices before making any purchases. Once that’s confirmed, you can easily add one of these smart devices to your home and start taking advantage of all its features!

Smartening up your old garage door opener doesn’t have to be complicated or expensive. With just a few simple steps, you can start enjoying the convenience and security of controlling your garage door with a few simple voice commands.
Conclusion
Changing your garage door opener can be quite a task, but if you understand the multiple steps that you need to take and ensure that you take the proper safety precautions, then it is a fairly simple process.
After all these steps have been taken, you should hopefully now have a functioning garage door opener in your home. This new addition to your home will be an updated and secure version that will help protect your property from intruders and further improve the security of your home. It may be a bit of effort, but you’ll know it was worth it in the end!
We’re sure you’re already thinking about other ways to modernize and update your home – why not start small with something like changing out your door opener?
As always, we hope this post has provided guidance on how to change garage door opener. Just remember, no matter what tasks come along, quality often beats quantity, so doing the job right is much more important than rushing through it!
Louis Wein
Louis has always been fascinated by cars. He loves the way they look, the sound of the engine, and how they make him feel when he's driving. He is always keen to learn more about different mechanics of cars and how the engine contributes to other aspects of the car. As an automotive technician with over 10 years of experience, he knew how they worked and loved taking them apart to see how they went back together. He was especially interested in the mechanics of combustion engines and loved finding ways to make them more efficient. He loves to work on cars and help people keep their vehicles running smoothly. As a senior editor, he enjoys contributing to Diy quickly because it allows him to share his knowledge and expertise with others.