How to Fix Window Tint That Is Peeling
Introduction:
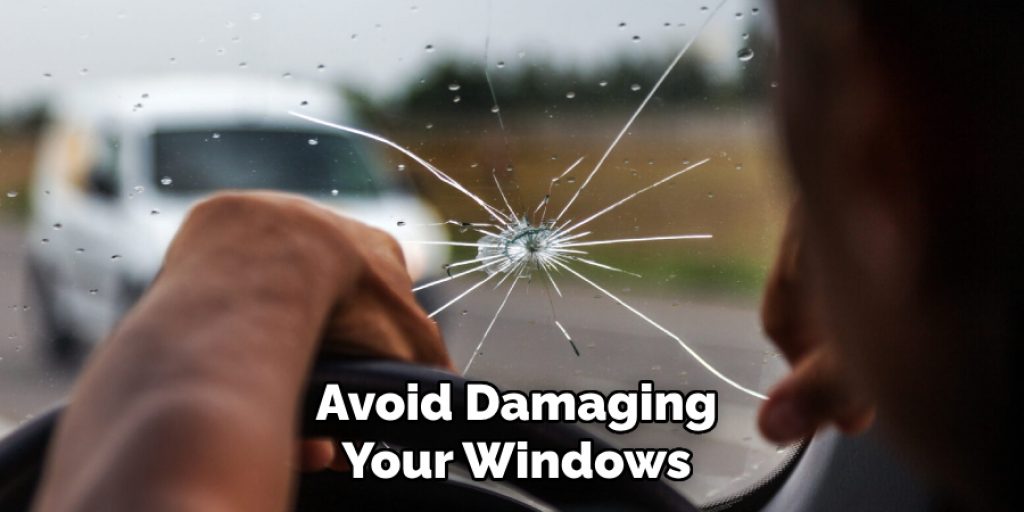
Peeling window tint, also known as bubble or blistering, is a condition in which the applied window film separates from the surface of the glass. As a result, air bubbles form under the window tint film that can visually disturb owners and drivers alike. The problem becomes even more noticeable when light reflects off of trapped air pockets beneath the skin of your car windows.
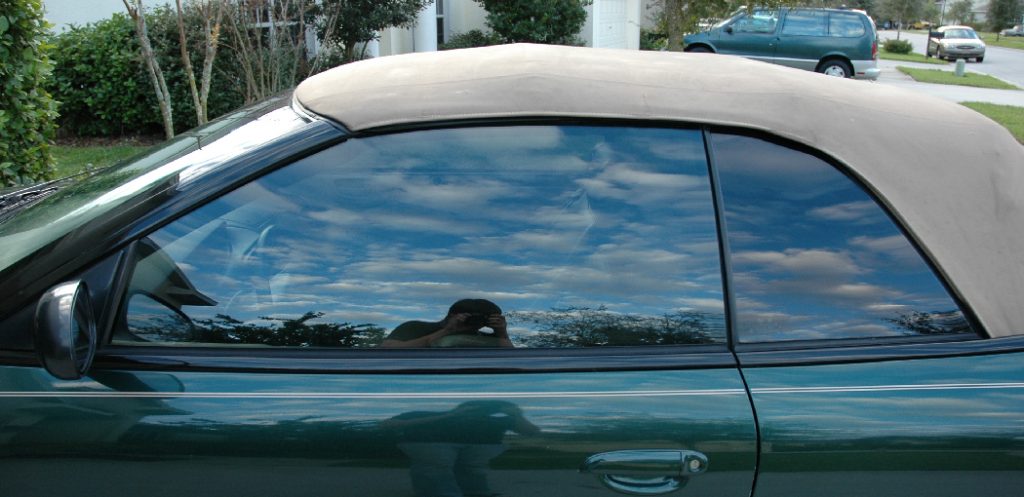
Do not worry if you have never dealt with this issue before because it might seem like a complicated problem upon first analysis. However, once you understand its causes and effects, fixing peeling window tint is simple and inexpensive compared to replacing your exterior windows. It just requires some time on your part to ensure that all excess adhesive has been removed from behind each tint. Today I am going to discuss a process on how to fix window tint that is peeling . So, let us get started.
Why Use Tint in Car Windows?
The main purpose of tinting is to help shield your windows from UV rays that emanate from the sun during daylight hours. Unfortunately, these harmful UV rays can cause a lot of damage to your car interiors, especially the leather or vinyl parts.
It also helps reduce glare if you have it in front of your rearview mirror. Glare may be caused by reflected sunlight inside or outside the car, making it harder for you to drive safely during intense sunlight conditions.
Tint adds style and class to your vehicle and offers protection against heat or cold air temperatures that may come through open windows when driving.
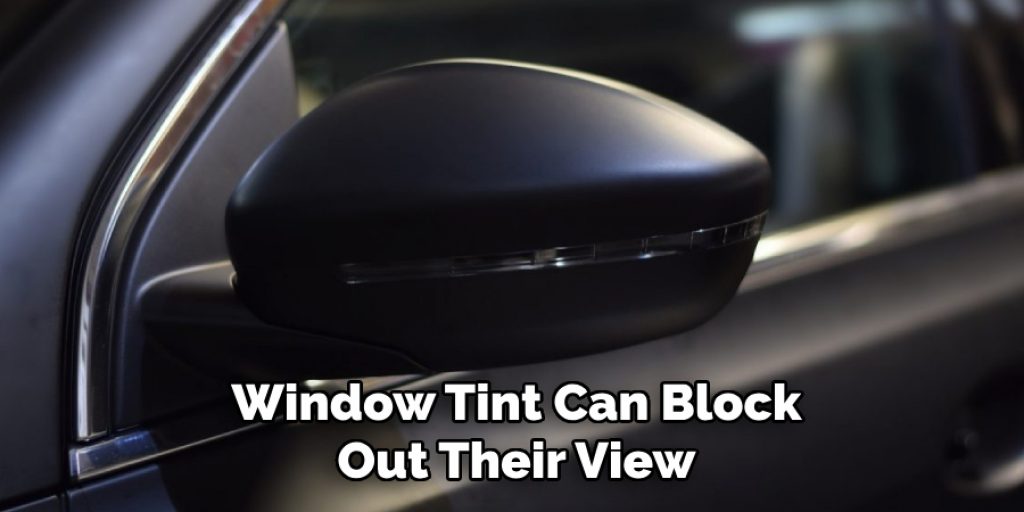
If you do not want people to see inside your vehicle, window tint can block out their view so that no one can see what is inside. It may also protect valuable items that you have inside your cars, such as computers and iPods.
Tinting can prevent individuals from seeing the contents of your cup holders. This helps reduce potential crimes when criminals see something valuable that is sitting out in plain view.
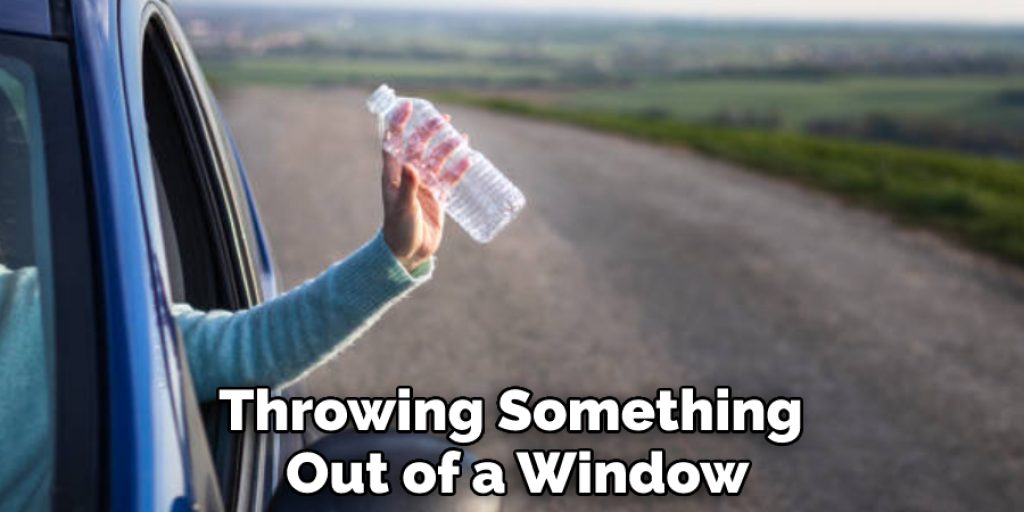
You can use tint to keep small children or pets from accidentally hurting themselves by throwing something out of a window (such as an empty spray bottle). Tinted windows will not allow anyone outside to see what’s going on inside, but if anything gets thrown out of the window, they will be able to see it so they do not get hit by it.
Step-wise Guide on How to Fix Window Tint That Is Peeling:
There is nothing worse than seeing your windows with unsightly bubbles. Unfortunately, you can’t push the bubbles out or vacuum them off, so it looks like you have three options: get the film redone when they pop up; live with them until they are gone from all of your windows (depending on how big that is), or fight back and do something to keep this from happening again in a few years.
Step 1: Diagnose…Is It Just Bubbles? Or Is Your Window Tint Peeling Off Completely?
This might seem like an obvious piece of advice to some, but be sure you’ve got a peeling window tint problem and not just bubble trouble. A bubble may be fixable with a quick spray of soapy water, but if the tint film is actually coming off in large sheets, you’ll need some more help.
A good clue as to whether or not your window tint is peeling completely comes from checking out the edges of the remaining tint film: have they pulled away from the glass at all? You can use a small flathead screwdriver (or something similar) to pry along the edge to see what’s going on up there. If anything is loose, it’s probably best to replace your window film entirely. It won’t get any better on its own…trust us.
Step 2: Figure Out Whether You Have One Large Problem or Several Smaller Ones
Suppose you were wondering how long this step would be; welcome to the club. With peeling window tint, you’ll have to check your windows in a few sections and decide what is going on with each one. If you have a light peeling issue, like on the edges of the window film, try to fix those spots first. You may be able to remove all the tint from that area without damaging anything else, or if it is particularly nasty, you can cut away an ugly portion and replace it with a clear piece of adhesive-backed vinyl. The whole point here is not to sacrifice your nice new tint by putting cheap fixes in. Whatever you do should still allow for proper light-blocking capabilities of your windows and keep drafts at bay as much as possible.
Step 3: Get Your Materials Together
You’ll need several tools and supplies when tackling this project. There’s little point in getting too upset over a few bubbles appearing on your windows if you don’t have everything you need to get the job done. Look at your car or window tint as it is now and start getting a list of what you’ll want for this project:
Gloves – even if that’s not necessary all the time, we’d highly recommend them here. The more protection you have from chemicals and such, the better off you’ll be.
Tape – some masking tape might be nice if you deal with tiny bubbles and have to line them up just right.
Clean cloth/rag – something to wipe down your windows once they’re clean too (important!)
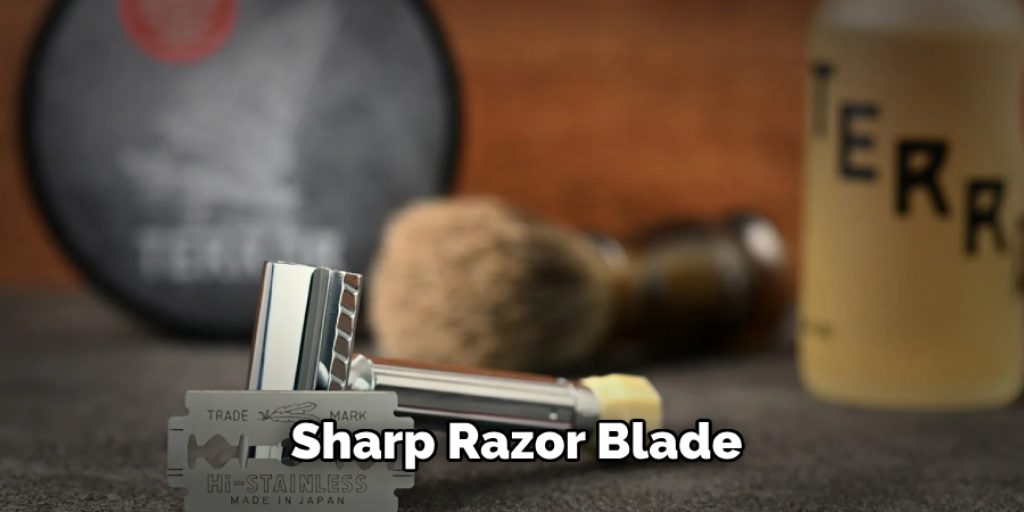
Sharp razor blade or glass installation product – since this will depend on how much of your film has peeled off, but we would recommend pulling out a razor for the times when you’ll need to cut away a bad portion and put it in the new film.
Cleaning supplies – soapy water, dish soap, index, paper towels…whatever you have on hand should be good enough. Just make sure it’s all clean and ready to go!
Step 4: Get Prepared and Remove Your Tint Film (If Necessary)
This project is likely going to take most of your time. If you can avoid taking everything off one window at a time, do that instead. It’s much faster if you can roll down the windows on several cars or go through multiple ones over the course of an afternoon as opposed to spending days working on just one or two windows.
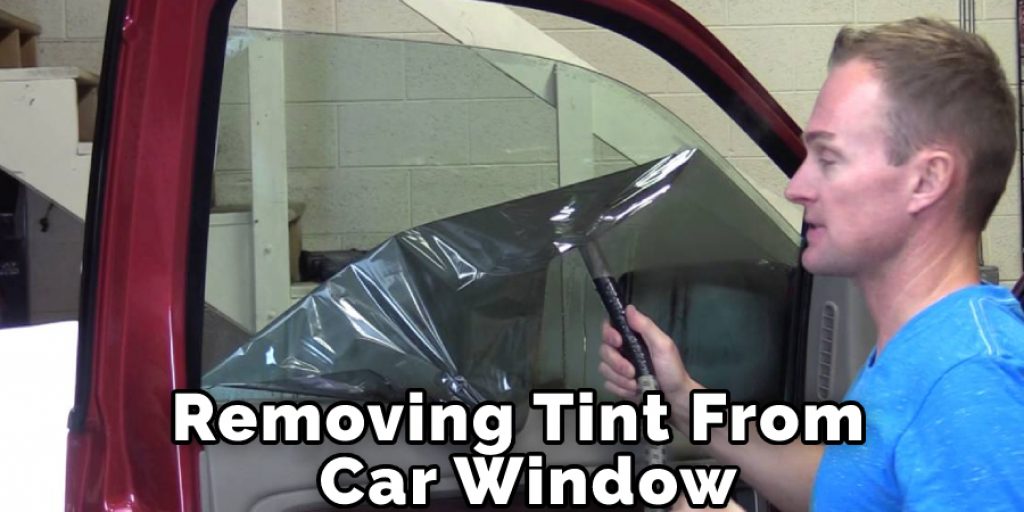
If your tint is actually peeling off in large sheets, you can try to cut away as much of the old film as possible without damaging your window and then clean everything really well with a cleaning solution. If you are dealing with small bubbles or discoloration, make sure to check out the tips for avoiding bubbling issues first!
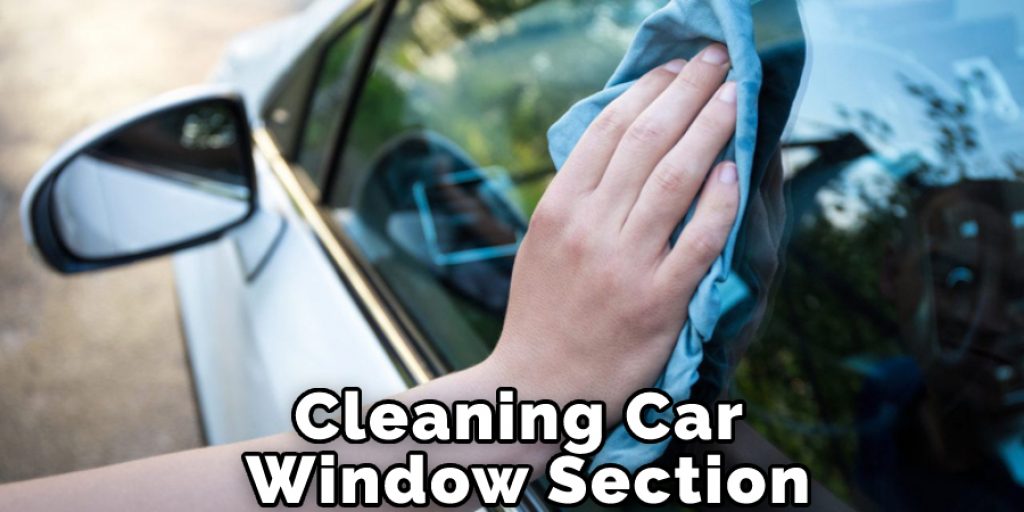
Step 5: Clean Your Window One Section at a Time
After you’ve gotten rid of the old tint, it’s time to vacuum up any loose pieces or use some tape to pick them up from whatever surface they may be lying on. You don’t want these left behind when applying the adhesive because they can cause air pockets that weaken the overall bond between your new material and glass. Once you’ve got everything all cleaned up, now is the time to get your new tint ready for installation.
Step 6: Measure Your Window and Cut Out Your New Tint
When it comes time to cut out a new section of window tint film, make sure that you measure the window’s dimensions precisely. If you’re using a pre-cut piece of adhesive-backed vinyl, make sure that it’s the right size for your window. If you’re cutting down a roll of film to fit your own windows, measure twice and then cut once! Remember: measure one time wrong, and you can’t reverse that. Cutting up an entire sheet of adhesive-backed vinyl ends up being pretty wasteful.
Step 7: Peel Off Your Film’s Backing and Apply to the Window
Now is the time when you’ll be glad you have all of your supplies on hand and ready! You’ll want to get a good grip on the edges of the film, pull off one edge of backing from top to bottom or left to right, then position another. If it doesn’t look like it will fit correctly for some reason, peel it back off and reapply to the window with a new sheet of adhesive-backed vinyl. You want to make sure that you get a good seal on the edges and that the color is as even as possible.
Step 8: Trim Your Window Tint
Now that you have your new film in place, you should be able to trim any excess pieces from the edges of the window. It’s important that these are trimmed as close to the edge as possible so that nothing gets caught up in the windows when you’re opening or closing them. Once you’ve cut off any unnecessary film, use a razor blade to trim away the excess parts carefully and then clean up the entire area with soapy water. Repeat this process for all of your windows that need tending to.
Step 9: Clean Up Your Car’s Interior
Now is the time to get everything back into place. Make sure that you put all your tools away and clean off any remaining residue from adhesive or film before returning things to their original positions. It’s important that everything looks as good as possible because anything left behind could lead to more of the same bubbling or other problems in the future.
Step 10: Keep an Eye on Your Newly Installed Window Tint
The last step is to make sure you’re aware of any issues that might crop up after the fact. With a little care, your new window tint should be free of bubbles and other similar problems, but it’s still important to check in on them every once in a while. You never know when something might happen or if there are any small issues that you might need to fix. If everything looks good, then congratulations! You’ve successfully installed new window tints on your car or home windows.
Enjoy the added benefits of privacy and protection from harmful UV rays while driving or relaxing at home. So go ahead and hit the road with your newly tinted windows, feeling confident in a job well done. And remember, if you encounter any issues or have questions, don’t hesitate to seek professional help. It’s always better to be safe than sorry! Happy tinting!
Precautions While Performing How to Fix Window Tint That Is Peeling:
Be careful while trying to fix your car tint film. It is likely that the parts of the window tints that are peeling off will be sharp and might cause cuts, so take precautions like wearing gloves or using coverings on your hands to protect them from any harm.
If you are working on a dry day, you should wear safety glasses and close-fitting clothes to avoid any particles from flying into your eyes or skin.
Likely some water would be needed for this project, so make sure that there is no electricity around if you plan to use a wet rag to fix up the window tint film.
If you are unsure about how to fix your window tint, it is always better to seek professional help. You do not want to damage your windows or risk your safety by trying to do something that you are not confident about.
Also, be cautious while using sharp tools like razors or blades. Make sure to use them carefully and keep them away from children’s reach.
Frequently Asked Questions:
Q: Can I Fix the Peeling Tint on My Car Windows Myself?
A: Yes, you can fix the peeling tint on your car windows by following the steps mentioned above. However, if you are not confident or comfortable doing it yourself, it is best to seek professional help. You do not want to damage your windows or risk your safety. It’s always better to be safe than sorry.
Q: Why Does Window Tint Peel?
A: Window tint can peel due to various reasons such as improper installation, poor quality of the film or adhesive used, ultraviolet rays, extreme temperatures, and age. Regular maintenance and care can help prevent peeling in the future. You can also choose high-quality tint films and have them professionally installed to avoid such issues. It’s important to research and invest in the right products for your needs.
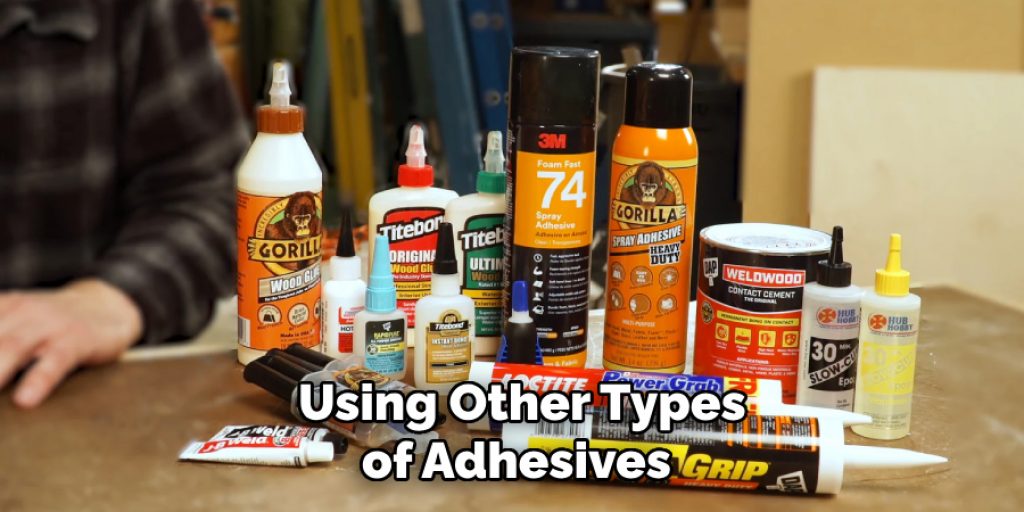
Q: Can I use any adhesive to Fix the peeling window tint?
A: It is recommended to use an adhesive specifically designed for window tinting, as they are more effective in bonding the film to the glass. Using other types of adhesives may cause damage or not provide a strong enough bond, resulting in a peeling tint. Thoroughly research and read reviews before purchasing any adhesive for your window tint.
Q: How Long Does Window Tint Last?
A: The lifespan of window tint depends on various factors, such as the quality of the film and installation, exposure to sunlight and extreme temperatures, etc. Generally, high-quality window tints can last up to 10 years or more with proper care and maintenance. It is important to regularly check for any signs of wear or damage and address them promptly to extend the lifespan of your window tint.
Q: Can I Wash My Car After Installing New Window Tint?
A: It is recommended to wait at least 3-4 days before washing your car after installing a new window tint. This allows enough time for the film and adhesive to bond properly with the glass. Using any harsh chemicals or scrubbing vigorously can also damage the tint, so it’s best to use a gentle cleaner and soft cloth when cleaning your windows. Always follow the manufacturer’s instructions for cleaning and maintaining your window tint.
Q: Can Window Tint Be Removed?
A: Yes, window tint can be removed. However, it may require professional help as the process can be time-consuming and tedious. If you plan to remove the tint yourself, make sure to research and follow proper techniques and tools to avoid damaging your windows. It’s best to consult with a professional for safe and efficient removal of window tint. Always consider the laws and regulations regarding tint darkness before removing it from your car or home windows. Some states may require a certain level of tint for safety purposes.
Conclusion:
I hope you have obtained all the necessary information about how to fix window tint that is peeling. As you can see, it is not a difficult task, and with the right tools and precautions, it can be done easily. Regular maintenance of your window tint can help prevent peeling and bubbling issues in the future. Remember to always use high-quality materials and follow proper installation techniques for the best results. With these tips on how to fix peeling window tints in mind, you should now be able to fix any peeling window tint on your own. Happy tinting!
Louis Wein
Louis has always been fascinated by cars. He loves the way they look, the sound of the engine, and how they make him feel when he's driving. He is always keen to learn more about different mechanics of cars and how the engine contributes to other aspects of the car. As an automotive technician with over 10 years of experience, he knew how they worked and loved taking them apart to see how they went back together. He was especially interested in the mechanics of combustion engines and loved finding ways to make them more efficient. He loves to work on cars and help people keep their vehicles running smoothly. As a senior editor, he enjoys contributing to Diy quickly because it allows him to share his knowledge and expertise with others.