How to Use Oil Filter Wrench
Having trouble changing an oil filter? Having the right tools for auto repairs and maintenance can be daunting, especially if you are not sure what is needed or how to use them. Don’t worry – it’s a fairly easy task that anyone can do with the proper knowledge and tools.
Oil filters are built to ensure you get the best performance from your vehicle or other machine, so it’s always important to maintain them properly. In this blog post, we’ll explain how to use an oil filter wrench for quick and effective removal of oil filters in no time!
Whether you’re new to maintaining vehicles or just want a refresher about removing oil filters, this article has got you covered. Read on as we give essential tips on how to use oil filter wrench for using an oil filter wrench like a pro. By the end of this article, you’ll understand why having a good quality oil filter wrench in your arsenal of automotive tools should be a no-brainer!
What is Oil Filter Wrench?
An oil filter wrench is a tool used to loosen and remove the oil filter from your vehicle. It looks like a big pair of pliers or tongs that come in various sizes, shapes, and materials. This includes metal wrenches, adjustable wrenches, and strap wrenches. The best kind of oil filter wrench for you depends on the type and size of your oil filter.
The Benefits of Using an Oil Filter Wrench
1. Saves Times
Using an oil filter wrench saves time and makes the job easier. It is especially useful when working in tight spaces, as it gives you more leverage over the oil filter than if you were using a regular wrench or pliers. The extra torque can help get the job done faster and without damaging the filter or its housing.
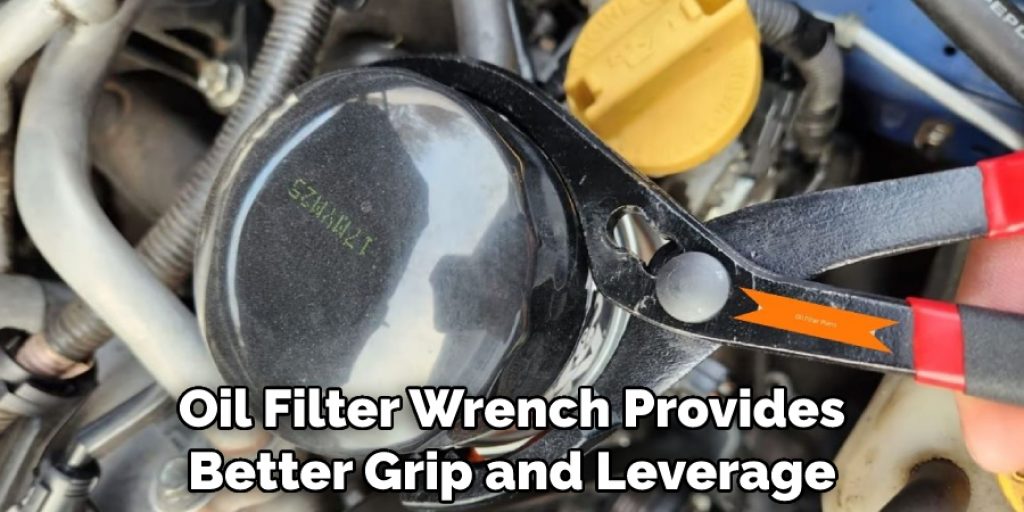
2. Reduces Risk of Damage
Using an oil filter wrench reduces the risk of damaging the filter or its housing. It provides better grip and leverage than a regular wrench, so it is less likely to slip and cause damage during removal. This also helps to prevent any potential messes or spills when you’re working on your vehicle.
3. Prevents Injury
When removing an oil filter, it is important to use the right tool for the job to prevent injury. An oil filter wrench provides better grip and leverage than a regular wrench, so it is less likely to slip and cause injury during removal. This also helps you avoid any potential messes or spills when working on your vehicle.
Required Items
Before you use an oil filter wrench, make sure you have the following items:
- A replacement oil filter
- A new gasket or seal for the filter
- Fresh engine oil
- An old rag to catch any spills
- A funnel, if needed.
10 Steps on How to Use Oil Filter Wrench
Step 1: Park the Car
Park the car on a flat surface and turn off the engine. It will give you easy access to the work area. Parking on a flat surface will also help prevent oil from spilling. The car should be cool, so it is best to wait a few hours after the engine has been running.
Step 2: Locate the Oil Filter
First, locate your oil filter. It will typically be located at the bottom of your engine, where the oil pan is located. If you are unsure where to find it, consult an automotive repair manual for your make and model.
Step 3: Drain the Oil
Place the old rag beneath the oil filter to prevent any spills. Unscrew the oil drain plug located at the bottom of the oil pan, allowing all of the oil to drain into a catch pan. Once all of the remaining oil has drained, secure it back in place.
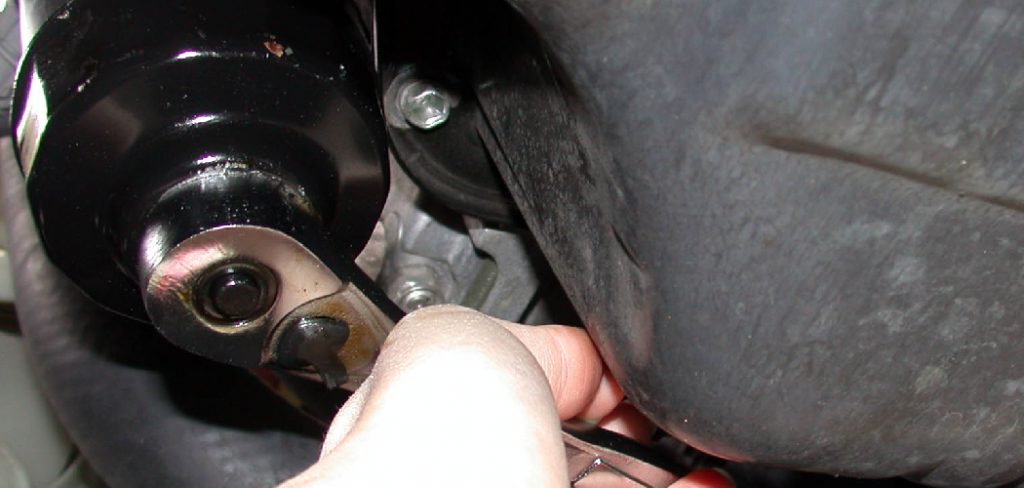
Step 4: Remove the Old Filter
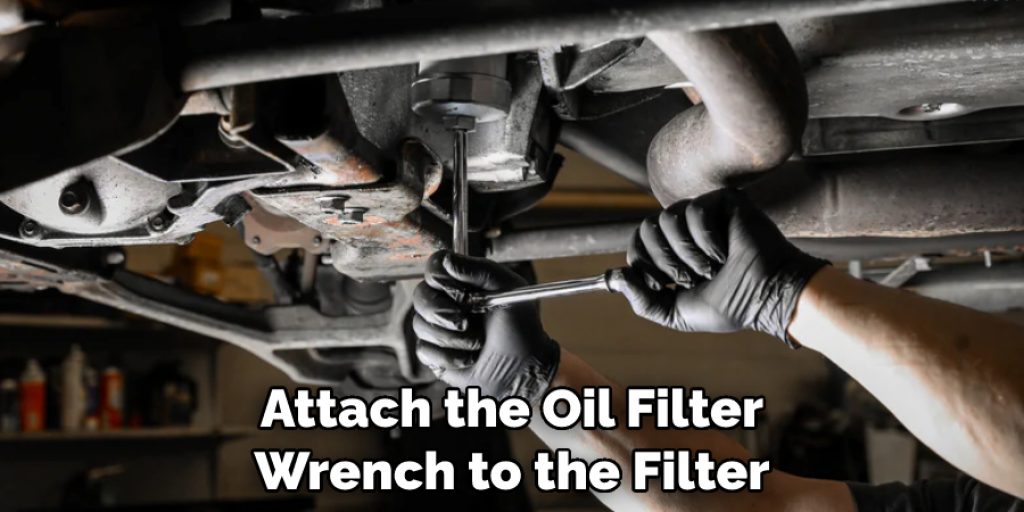
Take the appropriate size oil filter wrench and attach it to your oil filter. Once attached, turn it counterclockwise until you can unscrew the old filter from its housing. Be sure to take caution when removing the old filter, as some of the oil may still be hot.
Step 5: Attach the New Filter
Take your new filter, and make sure to place a new gasket or seal on it first. Then, attach the oil filter wrench to the filter, making sure that it is secure before tightening. Turn it clockwise until you feel resistance. Once you have tightened it enough, remove the oil filter wrench and make sure that it is secure.
Step 6: Add Oil
Using a funnel, add fresh engine oil to the oil pan until you reach the full line indicated on the dipstick. Make sure not to overfill it, as this can cause serious damage to your engine. Oil levels should be checked regularly to make sure the engine is running properly.
Step 7: Clean Up
Take the old rag and wipe up any spills around the oil pan or filter housing. Make sure that you dispose of all used rags, filters, and other materials properly. Cleaning up any spills will help to prevent potential hazards.
Step 8: Check for Leaks
Start the engine and check for any leaks around the oil filter or drain plug. If there are any leaks, tighten the connections until they stop. If you continue to experience leaking, it may be time to replace your oil filter wrench.
Step 9: Re-check the Oil Level
Once the engine is running smoothly, turn it off and re-check the oil level with a dipstick. If needed, add more oil until you reach the full line indicated on the dipstick. The oil should be changed every 3,000 miles or as recommended by your car’s manufacturer.
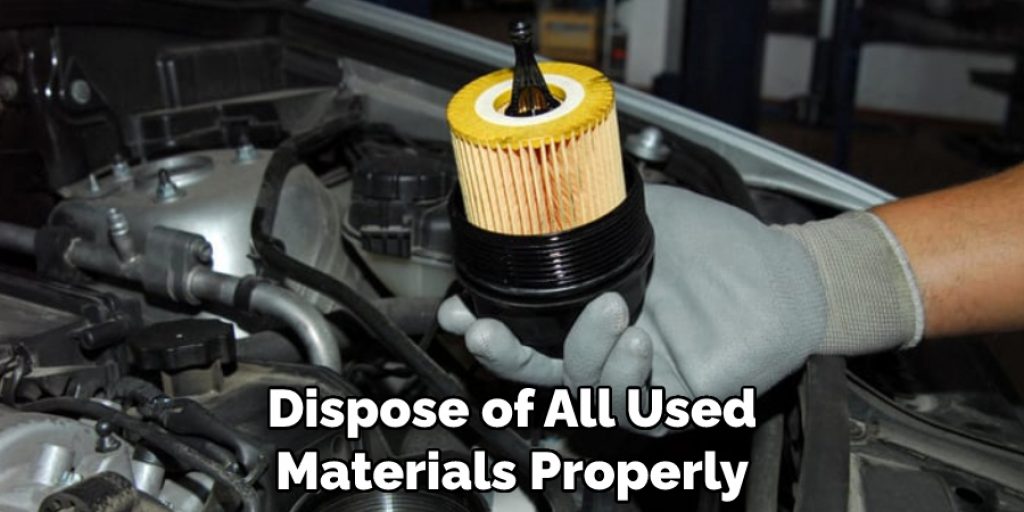
Step 10: Dispose of Used Materials Properly
Once you have completed the job, dispose of all used materials properly. Old oil filters and other materials can be taken to a hazardous waste facility for proper disposal. Also, make sure to dispose of any old rags or papers you used for the job.
Using an oil filter wrench is a relatively easy job, but it does require some basic knowledge and care. If you are unsure about how to use the tool, it is best to consult an automotive manual or seek professional help. Following these steps, you can time and money by giving your car the maintenance it needs.
7 Maintenance Tips
1. Prepare the oil filter properly. Make sure to locate the right filter for your vehicle. Unscrew it by hand (if possible), or use an oil filter wrench if it is too tight. The oil filter wrench should fit over the filter with no gap between the two.
2. Align the oil filter wrench around the body of the filter, making sure that it is positioned correctly and securely. You may need to adjust its placement multiple times in order to ensure a proper fit before fully tightening it down.
3. Use a flat-head screwdriver to loosen the filter by turning it in a counterclockwise direction. Make sure not to strip the filter with too much force and that you’re using the right size of oil filter wrench for your specific model.
4. To remove the oil filter completely, hold onto it firmly as you turn the oil filter wrench in a counterclockwise direction. Once you have loosened the filter, it should come off easily and without too much effort.
5. Clean up any spilled oil using paper towels or shop rags as soon as possible. Doing this will help to protect your engine from potential damage caused by the spilled oil. The oil filter should also be cleaned with a rag or paper towel before it is reused.
6. Make sure to use the correct replacement oil filter for your vehicle. If you’re unsure, contact a professional mechanic or do an online search to find out what type of filter your vehicle requires. The replacement oil filter should fit snugly on the engine and should not be too tight or too loose.
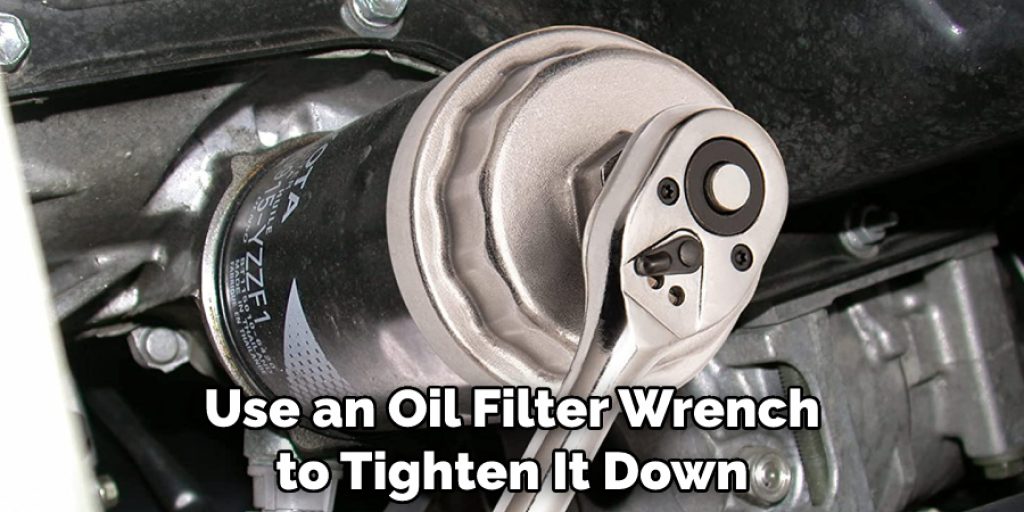
7. After replacing the oil filter, use an oil filter wrench to tighten it down securely. Make sure that you do not over-tighten it, as this can cause damage to your engine. Stop tightening when you feel resistance, indicating that the filter is securely seated. After securing the oil filter, it’s important to check for any leaks before running your vehicle.
Following these simple steps will ensure that you’re using your oil filter wrench correctly and that your engine stays in good condition.
Conclusion
In conclusion, changing an oil filter is not a complicated task if you have the right tools. It requires only a few simple steps on how to use oil filter wrench outlined in this post. A specialty tool, such as an oil filter wrench, can make the job much easier. With its specialized design and features, the oil filter wrench eliminates many of the common hassle factors associated with oil changes.
By making sure to use the correct size wrench and applying enough torque to loosen the filter, then replace it with your new one, you’ll have successfully changed your car’s oil filter. The whole process shouldn’t take more than 30 minutes and will save you time, money, and hassle in the future. So remember: always have quality tools to make quick work of any automotive maintenance.
Louis Wein
Louis has always been fascinated by cars. He loves the way they look, the sound of the engine, and how they make him feel when he's driving. He is always keen to learn more about different mechanics of cars and how the engine contributes to other aspects of the car. As an automotive technician with over 10 years of experience, he knew how they worked and loved taking them apart to see how they went back together. He was especially interested in the mechanics of combustion engines and loved finding ways to make them more efficient. He loves to work on cars and help people keep their vehicles running smoothly. As a senior editor, he enjoys contributing to Diy quickly because it allows him to share his knowledge and expertise with others.