How to Hook Up Trailer Lights to a Battery
If you’ve ever had to change a flat tire on your trailer, you know how important it is to have working trailer lights. They help other drivers see you on the road, but they also allow you to signal for help if needed. Hooking up your trailer lights to a battery is an easy way to ensure that your lights are always working, even when there’s no outlet to plug them into.
However, if your trailer lights are not working correctly, it could be because your battery is not providing enough power. Fortunately, there is an easy way how to hook up trailer lights to a battery so that you can be sure they will work when you need them most. Keep reading to learn how!
Five Advantages of Using Trailer Lights in Your Car:
1. Increased Safety While Driving:
When you are driving and have trailer lights attached to your car, other drivers will be able to see you better, which will make the roads safer for everyone.
2. Improved Visibility:
Having trailer lights also means that you will have improved visibility when you are towing your trailer. This is especially important when you are driving at night or in low-light conditions. In addition, with trailer lights, other drivers will be able to see your trailer and know that you are there. This can help to prevent accidents and make the roads safer for everyone.
3. Increased Safety:
In addition to the benefits listed above, hooking up your trailer lights to your battery can also increase safety. When you’re driving, it’s important that other drivers can see your trailer. By having working trailer lights, you can make sure that everyone on the road is aware of your presence and avoid any dangerous collisions.
4. Enhanced Driving Experience:
The experience of driving will be a lot better when you have trailer lights attached to your vehicle. You will be safer, but you’ll also be able to see better at night and in low-light conditions. This will make it easier for you to get to your destination without any problems.
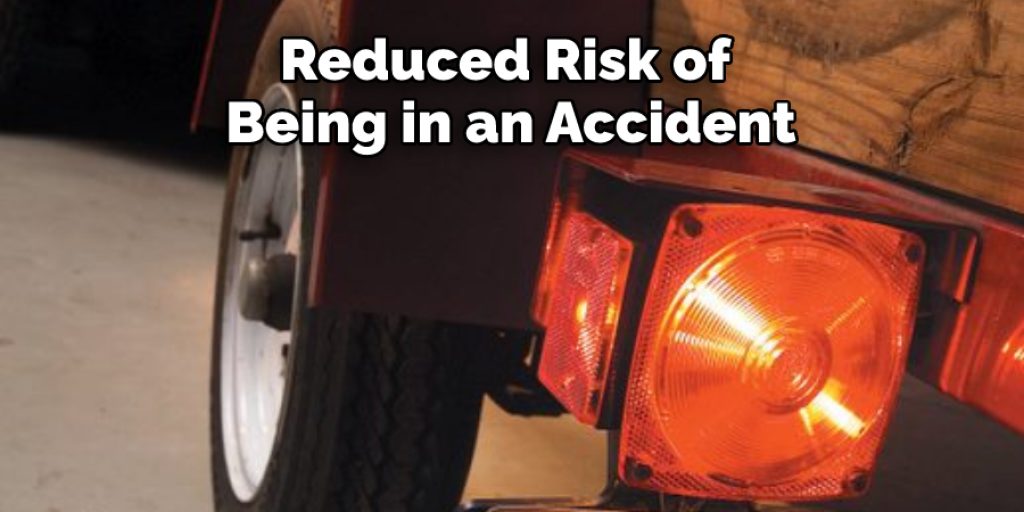
5. Reduced Risk of Accidents:
Since you will be easier to see while driving, there is a reduced risk of being in an accident. This is especially important if you are driving in areas with a lot of pedestrian or bicycle traffic.
10 Ways on How to Hook Up Trailer Lights to a Battery:
1. Use an Adapter:
You can buy an adapter that will plug into your car’s cigarette lighter and have two outlets, one for the trailer lights and one for the trailer brakes. This is a good option if you only need to use your trailer lights occasionally.
2. Use a Battery Box:
If you use your trailer lights often, it might be worth purchasing a battery box. This box sits between the car’s battery and the electrical system. It has a set of cables that allow you to plug in the trailer lights without running a wire directly from the battery.
3. Hardwire the Trailer Lights:
If you are comfortable doing some electrical work, you can hardwire the trailer lights directly to the car’s battery. This is the most permanent option, but it will take some time to install.
4. Use Alligator Clips:
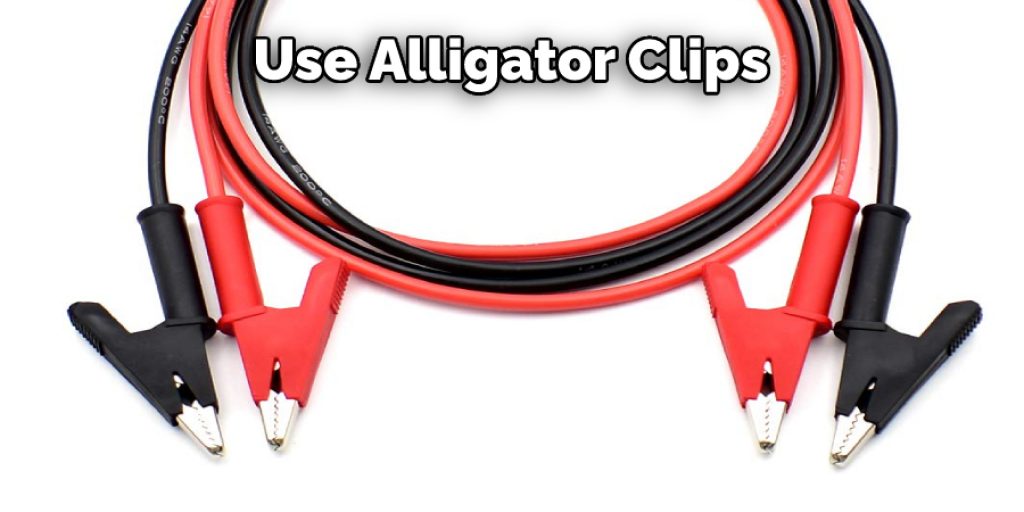
You can use alligator clips to connect the trailer’s lights to the battery directly. This is a temporary solution, but it will work in a pinch. You’ll need to connect the positive clip to the positive terminal on the battery and the negative clip to the negative terminal. Be sure that the alligator clips are not touching each other or anything else metal, as this could cause a short circuit.
5. Use an Inline Fuse:
If you’re going to be using your trailer’s lights often, it’s a good idea to install an inline fuse. This will protect the battery from being overloaded and keep the lights from burning out. First, you’ll need to find an empty spot on the wiring harness and then use wire connectors to attach the fuse to the wires.
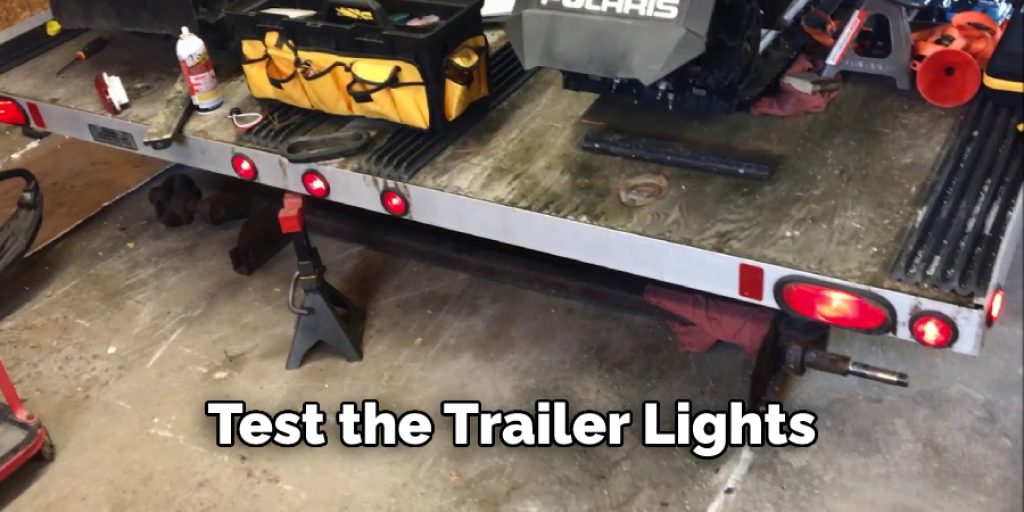
6. Test the Lights:
Once you have everything hooked up, test the lights is a good idea. This can be done by driving slowly forward and back or parking your car in a dark area and turning on the headlights. If everything is working correctly, you should see the trailer lights come on.
7. Use a Jumper Cable:
If you have a jumper cable, you can use it to hook up the trailer’s lights to the battery. Just make sure that the black clamp is on the negative side of the battery, and the red clamp is on the positive side. Once you have the clamps in place, connect the other end of the jumper cable to the trailer’s lights.
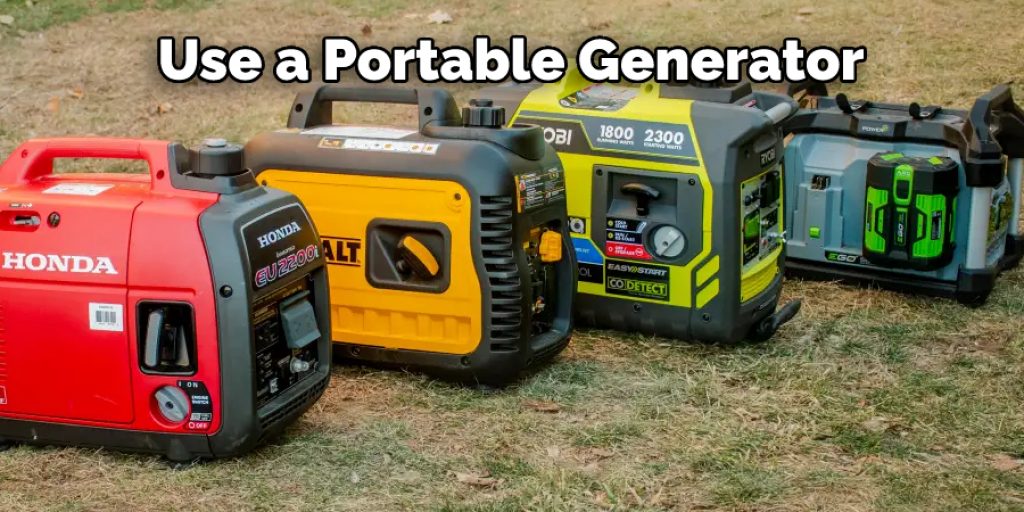
8. Use a Portable Generator:
If you have a portable generator, you can use it to power the trailer’s lights. First, just make sure that the generator is properly grounded and that the output voltage is 12 volts. Then, connect the trailer’s lights to the generator’s output using a standard extension cord.
9. Use a Car Battery:
If you have a car with a working battery, you can use it to power the trailer’s lights. First, just make sure that the car’s engine is off and disconnects the battery. Then, connect the trailer’s lights to the car battery using a set of jumper cables.
10. Use Dielectric Grease:
If you want to protect your trailer’s lights from corrosion, you can use dielectric grease. This is a special type of grease that will prevent moisture from building up on the electrical connections. Apply a small amount of dielectric grease to the areas where the wires connect to the lights.
Hooking up your trailer’s lights to a battery can be tricky, but with a little knowledge and patience, you can do it yourself. Just take all the necessary precautions, such as disconnecting the car’s battery and using dielectric grease on the electrical connections. Then, with a little effort, you can get your trailer’s lights up and running in no time.
Step by Step Guide: How to Hook Up Trailer Lights to a Battery
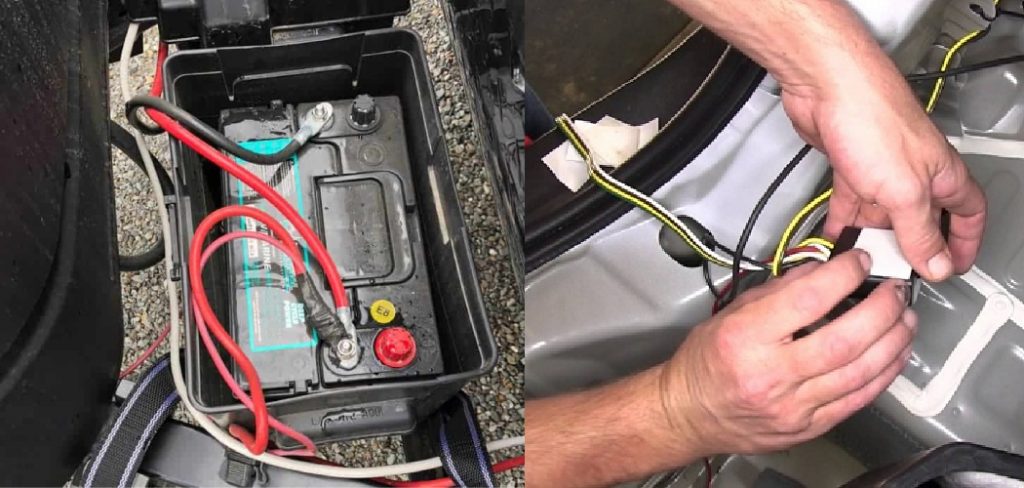
Step 1: Locate the Battery in Your Vehicle.
The battery will be in a compartment on the vehicle’s driver’s side, most likely under the hood. Once you have found the battery, open the compartment and remove the negative terminal cap (this will be labeled with a minus sign).
Step 2: Open the Battery Compartment.
Use the tool that came with your car to open the battery compartment. The tool is usually a metal bar with a hook on one end and a pointed end.
Step 3: Find the Battery Cables.
The battery cables will be coming out of the battery compartment. There will be one positive cable and one negative cable. The positive cable is usually red, and the negative cable is usually black.
Step 4: Attach the Trailer Lights to the Battery Cables.
The trailer lights will have positive and negative wires coming out of them. Attach the positive wire of the trailer lights to the positive battery cable, and attach the negative wire of the trailer lights to the negative battery cable.
Step 5: Close the Battery Compartment.
Now that you’ve hooked up the trailer lights to the battery, it’s time to close the battery compartment. First, make sure that the compartment is properly sealed and that there are no loose wires or connections that could cause a short circuit.
Step 6: Test the Trailer Lights.
Turn on the trailer lights and make sure they are working properly. If they are not working, check the connections to make sure they are tight. Also, check the fuse to make sure it is not blown. If everything looks good, then you are ready to hit the road! Just remember always to be safe when hooking up and driving with a trailer.
Some Helpful Tips and Suggestions
- Always disconnect your battery’s negative (-) terminal before beginning any work.
- Use the right size wire for your application.
- Use heat shrink tubing or electrical tape to cover all exposed connections and terminals.
- Make sure all lights work before you hook up the trailer to your vehicle.
- Start with the taillights and work your way forward when hooking up the lights.
- Use a circuit tester to test the lights before hitting the road.
- Make sure all connections are secure and tight.
- If you are not comfortable working with electrical systems, consult a professional for assistance.
How Do You Hook Up Temporary Trailer Lights?
There are a few ways to go about hooking up your trailer lights to a battery. The first is by using alligator clips, which will connect the positive and negative terminals of the battery directly to the corresponding wires on the trailer lights. This is a quick and easy way to get your lights working, but it’s not the most secure way to do it, and it’s not recommended for long-term use.
Another option is to use a battery box. This is a small metal box that houses the battery, and it has a set of connectors on the top that allow you to hook up the wires from the trailer lights. The benefit of using a battery box is that it provides a more secure connection and protects the battery from weather and debris.
You Can Check it Out to Paint a Jet Ski Trailer
Conclusion
In conclusion, it is possible to hook up trailer lights to a battery as long as the wiring is done correctly. Hooking up your trailer lights to your battery is a great way to improve your driving experience. It’s also a smart safety measure that can help protect you and other drivers on the road.
If you have a trailer, make sure that you take the time to connect its lights to your battery. You’ll be glad you did! By following the steps in this article on how to hook up trailer lights to a battery, you should be able to do just that. After completing the project, be sure to test your work to ensure that everything is working properly.